Finding stuff can be a pain, but not
with our handy hints
1. Quickly find a person The Search field
in Mail in OS X 10.8 is a little simpler than it was in previous versions, but
it hasn’t lost anything in the way of sophistication. On the contrary, now when
you type a phrase or a name, it actively suggests what you might be looking for.
Under ‘People’ it will show a list of email addresses that match your search
term, fully or partially. Simply select an address to show all messages from
that person. You can click the ‘From’ arrow to switch views to see messages to
that person, or any mail in which that person’s name appears. Alternatively,
you can also choose to view search results in Subject fields, and in attachment
names using click on any email address in a message for the option to add it to
your Contacts list.

When
you type a phrase or a name, it actively suggests what you might be looking for
2. Spotlight is your friend Don’t forget
that Spotlight can search all kinds of data from inside Mail, so if you enter a
search term into Spotlight in the Finder, it will pop up any messages it finds
containing that search term or contact name. Simply click on a message in
Spotlight to open it in Mail. In Mountain Lion, you can mouse over Spotlight
results and see a mini preview of the content. Additionally, in the case of
Mail, it shows you the whole message in a small window complete with clickable
links and associated attachments.
3. Find your biggest attachments In the
message viewer, right-click on the column header and choose to add ‘Size’ as a
column. Then click on the Size header to sort the message list by size and you
will find that it’s easy to see your messages in descending size order this
should help you quickly identify and archive, move or delete any big mails you
have languishing in your inbox.
4. Search individual mailboxes Sometimes you
want to search a specific mailbox rather than the whole library. Enter your
term into the Search field at the top-right of Mail and then you will see the
mailbox selector at the top left change colour and go blue. Now you can select
where to search, as well as VIP, sent, flagged and draft mails. To search a
specific inbox the procedure is slightly different and you have to select the
mailbox, perform the search and then choose Search: Inbox to restrict searching
to that one inbox.
5. Get account info If you right-click on a
mailbox and then select Get Account Info, you will see a summary of that
mailbox including its behaviours and whether any messages are left on the
server. In the case of IMAP mailboxes such as Gmail, you will be able to see
available and used space, quota limits and a list of all the folders in your
account sorted by size. This is really useful for understanding how your mail
space is being used.
6. How do I back up my emails? Apple
doesn’t provide a simple way to do this but luckily it’s not too difficult to
get around. You need to go to the Mail folder located in
/Users/username/Library/Mail, where you will find your mail database. Its name
will depend on your version of Mail but it will probably be at least a few
hundred megabytes in size if you have been using Mail for a while. You can
simply copy this folder to an external drive to back up the entire database. If
you are backing up with Time Machine as you ought to be, you can open Mail then
enter Time Machine and go back to any snapshot of any mailbox. Mails can be
restored back to the present like any other file.

Time
Machine
Use Mail with iCloud
Use iCloud to access your Apple mail on
all your devices
1. Set up mail for iCloud On Mail in OS X
10.7.2 and iOS 5 or later, you can use mail in iCloud. Go into the System
Preferences on your Mac and choose the iCloud section, then click to turn on
the Mail option. You are prompted to create an iCloud email address, which
cannot be changed after creation. On your iOS device, go to Settings > iCloud
and sign in with either your Apple ID or your me.com email address. Your mail
should now sync across all your devices. Mail sent to this address will be
pushed to all signed in iOS devices and you also get notifications of new
messages across devices.
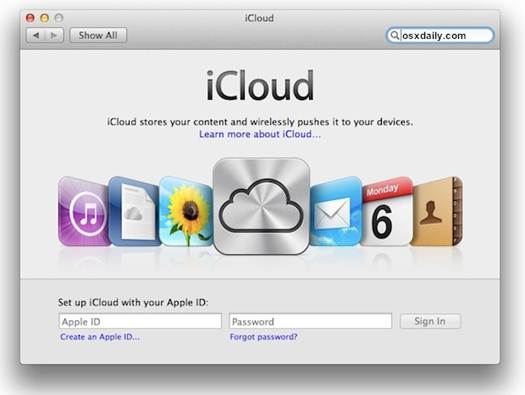
Set
up iCloud on your Mac running OS X 10.7.2 or later and you can sync your
icloud.com email across iOS devices
2. Use aliases in iCloud If you sign into
your iCloud account via a browser, you can set up mail aliases by going into
Settings > Accounts and adding an alias. These will forward to your main
account but they can be any name you choose, so they’re ideal for using when
you don’t want to give out your real address. If you do start getting spammed,
simply delete the alias and the spam has nowhere to go. Mail rules and auto responders
are also supported so you can manage iCloud mail as easily as messages on your
Mac.
3. Set up Mail on your iOS device You can
still use iTunes to sync accounts over from Mail on your Mac, to Mail on your
iOS device, either over a USB cable or wirelessly on iOS 5 or above. It’s
almost as easy to set up manually on the device itself. Go to Settings >
Mail, Contacts and Calendars them click Add Account. There are easy options for
iCloud, MS Exchange, Gmail, Yahoo, AOL and Hotmail accounts that will do much
of the setup for you. If you click ‘Other’ you can set up your own account from
scratch, complete with server settings, and also set up LDAP and CalDAV
accounts.
4. Send mail from iOS Emailing stuff to
people can be a quick and easy way to share everything from pictures and videos
to Office documents. From your iOS device, there’s generally an option to share
something by email. Up to five pictures or one movie can be shared per mail,
and smaller documents can also be copied and pasted into messages in many
cases. Attachments to mails in iOS can be tapped and help to choose to open
them in another app, attach them to a new mail or Quick Look them.
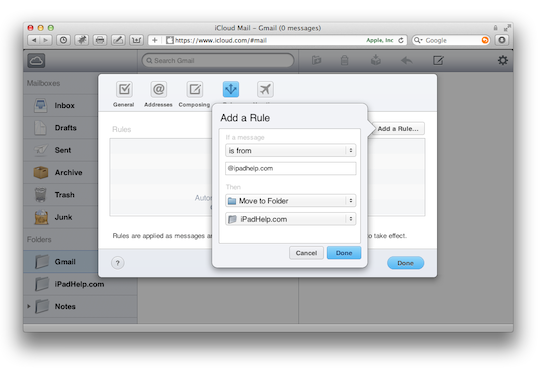
Set
up an alias by logging into the Preferences of your iCloud Mail account – great
for spam protection
5. Use IMAP mail for backup A clever way of
quickly backing up a file or folder is to simply email it to an IMAP account
that you have access. So for example you could send yourself an email with a
Word document attached to make sure it was backed up and to be able to access
it from your mobile device.
6. Manage your iCloud storage Every iCloud
user gets 5GB of free storage space on Apple’s servers but if you have a Mac,
iPhone and iPad this can start to fill up. Sending iCloud mail with attachments
can use up space quickly as well. Go into System Preferences > iCloud and
click the Manage button. Here you will see exactly how much space Mail and
backups as well as other apps are using, and this can be accessed from an iOS device
too. Click on Change Storage Plan and you can add more storage relatively
cheaply, up to a total of 55GB.