We stretches the reach of your system
across the globe
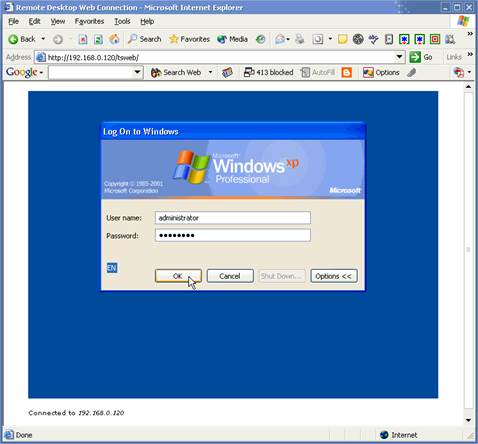
What’s Windows RDP? It’s the service that
enables you to log into a networked Windows PC remotely as if you were sitting
right in front of it. It’s a great tool for accessing headless servers, or just
for the lazier among us who can’t be bothered sorting out gran’s PC issue in
the other room.

Windows
RDP is the service that enables you to log into a networked Windows PC remotely
as if you were sitting right in front of it
It’s great because it’s a standard part of
Windows and it’s super-fast. Although VNC is good enough for some
circumstances, it works by effectively capturing and then streaming the entire
desktop image. Windows RDP, on the other hand, can get away with capturing just
the underlying data structure to recreate the Windows desktop locally.
More importantly, windows RDP ties into the
existing Windows Groups and User system. This means it can be made pretty
secure, as you can restrict access to a RDP user who’s connection over the
internet. I features 128-bit encryption, redirection of the clipboard, audio
and a host of other devices.
All in all it’s pretty funky. There are
some restrictions on the versions of Windows that can instigate a RDP server,
but any version can access a server once it’s running, so let’s get started
there…
Step-by-step: Remote desktop online
Create a secure Windows RDP connection over
the interwebs
1.
Which Windows?
You can use any version of Windows to connect to a PC running Windows RDP service.
The issue is that generally only the Pro, Business and Ultimate versions offer
the Windows RDP host service. If you’re running an edition of Windows Server
you’re also good to go, but be aware that only one user can be logged in at a
time.

You can use any version of Windows to
connect to a PC running Windows RDP service
2.
Enable RDP access
Before starting anything we need to set Windows so it’ll accept Windows RDP
connections. Right-click on ‘Computer’ in the Start menu and choose ‘Properties
> Remote settings’. In the Remote Desktop section select the middle ‘Allow’
option. The last option will enhance security, but you need the latest Windows
updates.
3.
Create user You
should notice the ‘Add’ button on that last dialog box. You can use this to add
existing users for remote access, but for security over the internet, consider
creating a dedicated user account with restricted permissions. To start,
right-click ‘Computer’, select ‘Manage > Local users and groups > Users’
and then ‘Action > New user’.
4.
Strong passwords
Anyone can potentially access this over the internet, so choose a complex
username with a number and some caps, and a strong password. We’ve covered this
before, but a long, memorable password is better than a short random one, or a
short word with a number and capitalization. Deselect the ‘Change’ option and
tick ‘Cannot change’.

Choose
a complex username with a number and some caps, and a strong password
5.
Set permissions
Create the new user, double-click the entry and click ‘Member of > Add >
Advanced > Find now > Remote desktop users’. This tells Windows this user
has RDP privileges. You may also remove them from the Users group and add them
to the Guest group for restricted access.
6.
Keep it local
Before continuing, you should check that RDP and the new user account are
working. Jump on another PC or RDP client and try to log in over your home
network. Click ‘Start’, type Remote Desktop Connection and run it, or
find it in the ‘Programs > Accessories’ folder. Enter the remote PC’s name
or IP address to get going.
7.
Port forwarding
Windows RDP server works over TCP port 3389. For added security we’ll connect
to the router over the internet to a randomly selected port, making it harder
to hack. The available range of general ports is from 1024 to 65536. Depending
on your router, configure it to forward that port to the IP of your PC and to
port 3389.
8.
Get the internet
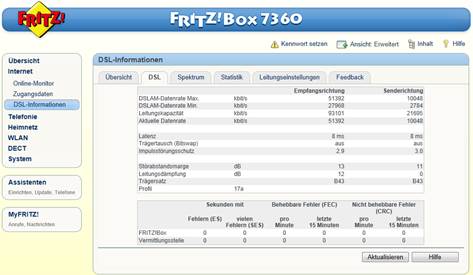
IP Again, this depends on your broadband router, but somewhere in its interface
you’ll find the external IP address your ISP has assigned to your router. Try
looking in the ‘Logging’ or ‘Internet’ section. You can Google ‘What’s my IP’
and the search engine will tell you. If you don’t have a static IP when you’ll
need a DDNS service.

Windows
RDP server works over TCP port 3389
9.
Create RDP profile So how do you connect to a remote desktop that’s using its own port
with the Remote Desktop Connection program? Under the Computer section you need
to enter the external IP of your router, then a colon, then the port number –
all with no spaces. Press the down arrow and you can also add the username,
ready to log in.
10.
Optimizing connections Click the ‘Experience’ tab to see how you can speed up your remote
desktop experience. You can leave all the options off, but visual Styles and
Desktop Composition don’t slow things down too much. Under Display you can
select a smaller resolution and reduce the colour depth, although this might
rearrange your desktop.
11.
Mobile phone testing To really test this out, you’ll need access to a connection outside
your own home network. For many the easiest option is to fire up your
smartphone and use it to create a wireless hotspot or access the remote system
from it directly. Bear in mind that this will connect via the mobile network,
so data charges may apply.
12.
Android and iOS
So far we’ve only talked in terms of access from other Windows systems. The
situation is that Windows RDP clients exist for all systems including Android
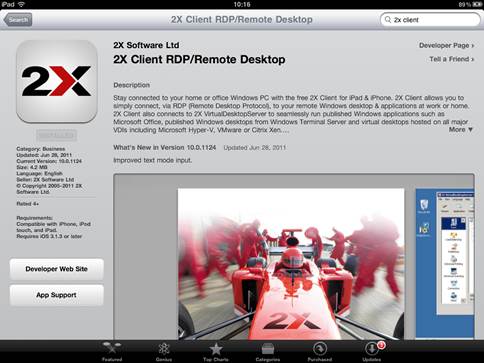
and Apple iOS. Search for 2X Client this is a free app supplied by a RDP vendor
and it’s an excellent choice, just configure it just as the Windows one we’ve
covered.

2X
Client is a free app supplied by a RDP vendor and it’s an excellent choice
13.
Firewall restrictions Windows Firewall is pretty comprehensive, and you can restrict RDP
access to systems from specific IP addresses. If you know these details, it can
be a really secure option. Click ‘Start’, type Firewall and select ‘Windows
Firewall with Advanced Security’. Select ‘Inbound rules > Remote desktop
> Scope’ and set the IP here.
14.
Removing access
If you no longer need external access, there’s a level of tidying up that will
secure your system again. First remove the forward port from the router.
Second, remove remote access privileges or remove the user from the system
entirely. Finally, if you don’t plan to use it, you can remove remote access,
reversing step two entirely.