Connect to your server
Open Windows Explorer on one of your other
computers and click the Network link on the left. You should be able to see and
access your server. Double-click it and enter your username and password. You
can create a shortcut to your shared folders by right-clicking the one you want
and selecting ‘Map network drive’. It will appear on the left.

Map
the server’s shared folder to a drive in Explorer to access it more easily in
Windows
Back up your computer
Using the server as a back-up device is
simple. To use the built-in Windows back-up utility in Windows 7, open Start
and search for ‘backup’. Launch the ‘Backup and Restore’ tool. Click the ‘Set
up backup’ link, click ‘Save on a network’ and browse to the location of your
new server. Other versions of Windows have their own back-up tools, but they
are all slightly different.

Click
‘Save on a network’ to send PC back-ups to your server
You can use other back-up software if you
prefer, but it must be able to back up across a network. FBackup (free from www.fbackup.com) can do this.
You can also use your server as a central
repository for all kinds of files, including documents, photos, music and
videos. To find out how to stream files from your server, follow our Mini Workshop
on page 73
Mini workshop: install Ubuntu
1.
Download and burn the ISO image file to a disc
or USB memory drive and boot from it. The files will be copied over and the
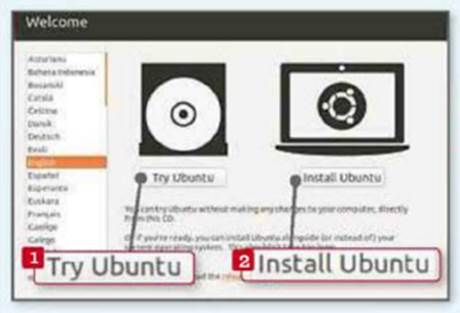
installer will load. You’ll be given two choices: you can try Ubuntu 1 (run it
without making permanent changes to your computer) or install it. 2 Select the
latter option.

Download
and burn the ISO image file to a disc or USB memory drive and boot from it
2.
The program will check your PC to make sure
there is enough free drive space 1 and that it is connected to the internet. 2
Tick ‘Download updates while installing’ 3 and ‘Install this third-party
software’. 4 Click the Continue button. 5

The
program will check your PC to make sure there is enough free drive space
3.
Because the old computer will only be used as a
server, you can select ‘Erase disk and install Ubuntu’. 1 You can encrypt the
new installation for security. 2 As the OS installs, set your location and
keyboard layout, and enter your personal details. Make sure you set it to log in
automatically. Reboot the computer.

Because
the old computer will only be used as a server, you can select ‘Erase disk and
install Ubuntu’
Mini workshop: Stream media using Plex
Media Server
1.
Copy any files you want to be able to stream
from your server, such as video files, onto its hard drive. In Ubuntu, open the
Software Center and search for ‘plex’. Click the Plex Media Server entry, then
click the Buy button 1 (don’t worry, it’s free). You’ll need to create an
account to download the software. Install the software. During installation,
you’ll be prompted to enter your Ubuntu password.

Copy
any files you want to be able to stream from your server, such as video files,
onto its hard drive
2.
Once Plex is installed, launch it from the Dash.
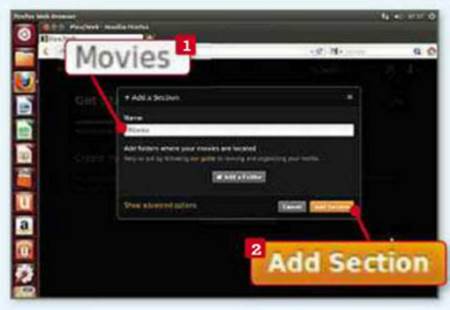
Click the Start button and give your server a name. Next, create a media
library by adding categories. Click the Add Section button and pick the type of
media you want (such as Movies, 1 TV Shows or Music). Navigate to the folder
where your media is stored. Once done, you can add the next new section. 2

Once
Plex is installed, launch it from the Dash
3.
You can add channels that let you enjoy content
from online services including BBC iPlayer and Funny or Die. To access your
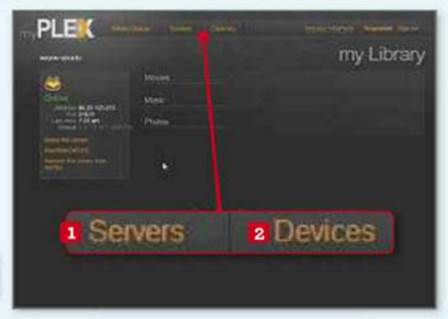
library when you’re away from home, sign up for a myPlex account at https://my.plexapp.com. Download the software
for your other computers, or for Android and iOS devices, from www.plexapp.com/getplex. Sign into
your account and you’ll be able to access your server and connected devices.2

You
can add channels that let you enjoy content from online services including BBC
iPlayer and Funny or Die