You're ready to give your presentation,
but until that first slide appears on the big screen, you can never be sure
that your equipment has got your back. We can't tell you not to worry, but
these handy tips should help bail you out if your presentation goes south.
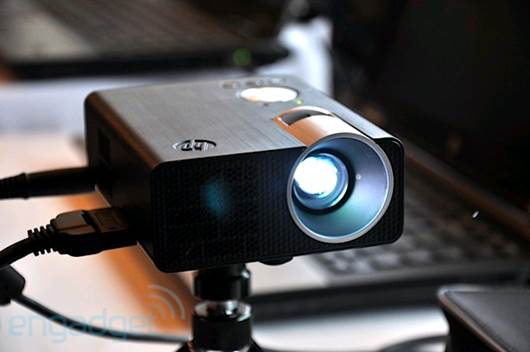
Hardware & Cable connections
It can be difficult to track down the
source of problems that occur when connecting a notebook and projector. Here
are some things to watch for.
Solve
notebook-projector setup
problems
Video
Turn off all equipment and connect your
notebook's video out port to the projector. The usual connection choices for a
notebook are VGA (Video Graphics Array), DVI (Digital Visual Interface), HDMI
(HD Multimedia Interface), and DisplayPort. Many projectors have VGA and one
or more digital connections. If possible, use a digital connection for high
quality.

Many
projectors have VGA and one or more digital connections.
Sound
Some HDMI and DisplayPort digital video connections can carry audio through the same port,
but both notebook and projector must support audio over the digital video
connection. Traditionally, audio is connected using the notebook's audio out
jacks and the projector's audio in ports; both of these are often RCA or 3.5mm.
If you're not using the projector's built-in speakers, make sure you connect
your notebook's audio out to the sound system you intend to use and turn the
volume down on the projector's speakers.
Mouse
If you are using a mouse, or a remote mouse
controller, make sure the controller/mouse is connected, usually through the
notebook's USB port. If you are using a wireless device, make sure the notebook
has the appropriate wireless connection enabled. This is typically Bluetooth or
a USB port wireless dongle.
Network connection
Many venues supply network projectors,
which are made available as a shared resource. Making a connection to a network
projector is as easy as plugging your notebook into the corporate network via
wired or wireless Ethernet. Check with the company's IT staff for specifics.
Once connected, use the network connection wizard in Windows 7 to find the
projector you wish to use:
·
Click Start (the Windows button in the
bottom-left corner of the screen).
·
Click All Programs.
·
Click Accessories.
·
Click Connect To A Network Projector.
·
The network connection wizard may inform you
that your notebook's firewall is blocking the ability to connect with the
projector. Click to establish the network connection.
·
Either have the wizard search for available
network projectors or enter the projector's address manually if it is
available.
Once connected, a Network Presentation
window will minimize to your Taskbar. When you're ready to make your
presentation, open the Network Presentation window and select Resume. Your
notebook will treat the network projector like an external monitor.
No Video
In many cases, your notebook will detect
that you have a projector plugged into one of its video outputs and will
automatically turn on the port. Not all notebooks do this, however; and even
those that do can still have missing video if the notebook isn't set to duplicate
the Desktop or extend it to the secondary monitor (the projector). Many
notebooks use a function key combination to toggle the projector port on or
off and set how you can use the display. We recommend using the control panels
in Win7:
·
Right-click a blank area on the Desktop.
·
Select Screen Resolution.
·
Select the second display from the drop-down
menu.
·
Select Extend These Displays from the Multiple
Displays drop-down menu. Your Desktop background should now appear on the
projector.

Win7 also has a pop-up display for
selecting the content that is sent to the projector. Press the Windows-P keys
to bring up the four possible selections:
·
Computer only (turns the projector display off)
·
Duplicate (mirrors your computer's Desktop on
the projector)
·
Extend (uses the projector as an extension of
your Desktop)
·
Projector only (turns off your notebook's
display and uses the projector as the main display)
Video is out of range
When the projector can't reconcile a video
signal from a notebook with its preset resolution, it displays an out-of-range
message. To solve this in Win7:
·
Right -click a blank area on the Desktop.
·
Select Screen Resolution.
·
Select the display associated with the
projector.
·
Use the resolution drop-down menu to adjust the
resolution to the correct value. Try 800 x 600 or 1024 x 768, as these are
resolutions that many projectors can handle.

Display turns off
If the projector's display turns off during
your presentation, check your notebook's power management feature, especially
if you're running the notebook off of its battery. Whenever possible, use
your AC adapter to run your notebook.
Video won’t display or is choppy
Your slide presentation works fine, but
when you try to show a video, all you see is a blank window or a choppy rendition
of the video. Trying to display a video on two monitors can be too much for a
video card that has marginal graphics capabilities. If video isn't displaying
correctly, change the Display settings to make the projector the primary
display.
Troubleshooting tips
Turn off all equipment before connecting
the notebook to the projector.
If possible, use a digital connection to
ensure a high-quality presentation.
If you're not using the projector's
built-in speakers, turn them down and connect the notebook's audio out to the
sound system.
If you're using a wireless mouse or
controller, make sure you can establish the wireless connection.
Use the straightforward network connection
feature in Win7 to connect to a network projector.
If there is no video, check all the ports
and then check Windows' Screen Resolution settings.
Out of range messages can be solved by
adjusting the screen resolution.
When a projected image isn't proportionally
correct, try repositioning the projector and/or changing the projector's
keystone setting.
If a display turns off during a
presentation, check the notebook's power management settings.
If video isn't displaying correctly,
change the Display settings to make the projector the primary display.
