Create, edit and share spreadsheets
on your phone or tablet
An often overlooked part of the Google Docs
integration with Drive is its spreadsheet functionality. Providing users with a
simple way to create, edit and manage their spreadsheets, you’ll find a wide
range of features that mimic the likes of Excel, but without being overcomplicated
to new and advanced users alike.
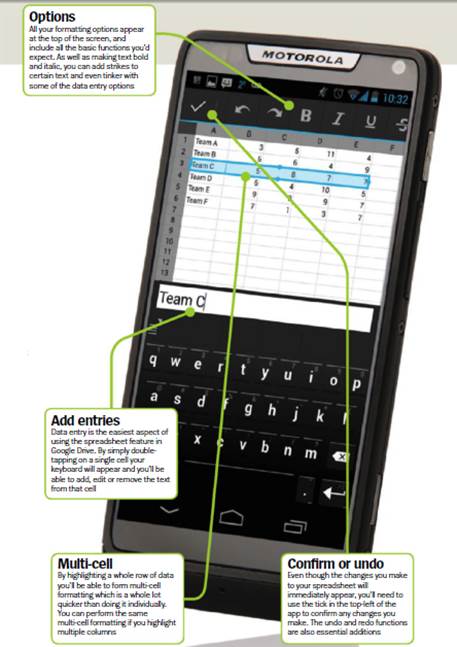
Google
Drive Spreadsheets For Pros
In addition to simple edits that can be
performed with ease, you’ll also be able to see the changes you make to your
spreadsheet immediately on your screen, where before you would need to refresh
your page to see them. It also takes advantage of a whole selection of
shortcuts and gestures to make formatting your spreadsheet a lot easier, and
once you’ve mastered these, you’ll find working with spreadsheets on your
Android device a whole lot easier.
In this tutorial we’ll guide you through
the various elements of the spreadsheet function on Drive, and show you some of
the features that are supported but are absent from the app’s toolbar. These
include the ability to add formulas and links to your documents.
1.
Categorize your data
If you’re dealing with a large quantity of
numbers, but need to put them in a logical order, there’s a quick way of being
able to sort through them. A single tap at the top of an individual column will
bring up a small menu from which you can select to put your data in a specific
order.

Categorize
your data
2.
Mathematical formulas
To perform useful mathematical formulas
with data on your spreadsheet, first you will need to press on the desired cell
you want the number to be inputted to. Then type into the cell: =sum(**+**),
replacing ** with the cells you want to add together
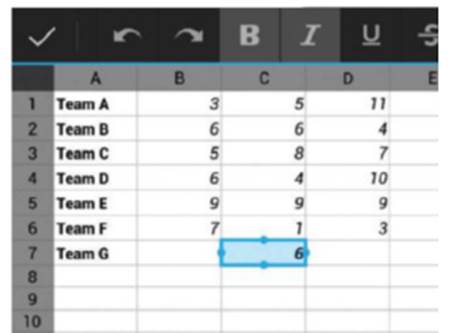
Mathematical
formulas
3.
Multiple cells
After selecting a single cell, drag the
blue bars that surround the cell across multiple cells to select them. Whatever
formatting you choose will take place across every cell. This is a great way of
copy and pasting large amounts of data. The undo button will help if something
goes wrong.

Multiple
cells
4.
Using equations
Instead of tediously copying over your data
from one spreadsheet to another, you can use an equation to move data
effortlessly. With a new sheet open, type in worksheets (“sheet1”) and then add
the cells you wish to copy over afterwards before pressing Enter.
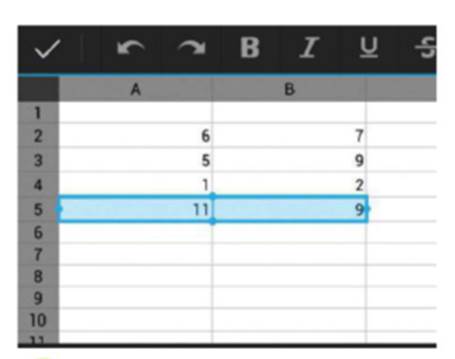
Using
equations
5.
Create replicated cells
If you need to input the same piece of data
over multiple cells, there’s a quicker way than manually entering it into every
cell and copy and pasting. Press and hold on the piece of inputted data and
drag it downwards or left and right to put it into multiple cells. Press the
tick when done.
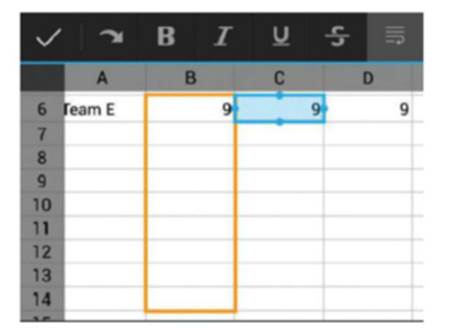
Create
replicated cells
6.
Input hyperlinks
Directing people to websites using
spreadsheets isn’t easy, but by following a formula you can input hyperlinks
into single cells. As an example using YouTube, type =HYPERLINK(“www.
youtube.com;[youtube]”) to add a hyperlink to your specified cell.

Input
hyperlinks
7.
Create a new sheet
At the bottom of your current spreadsheet
is a large ‘+’ symbol that allows you to create a new sheet for your
spreadsheet. Once pressed you’ll have an entirely blank sheet to work on, and
you’ll also be able to make a duplicate of your previous sheet to work on.
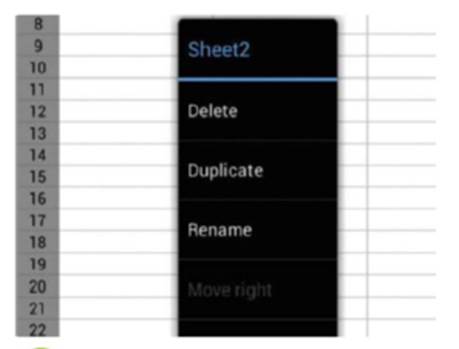
Create
a new sheet
8.
Hide columns
While working on the spreadsheet, press on
the options button in the top-right and select Open in Browser. Your
spreadsheet will now open in the browser version of Drive, and from here you
can select columns and rows to minimize so they aren’t taken into account when
creating formulas.

Hide
columns
9.
Add third-party access
Press on the person icon in the top-right
of the app to add a person to your spreadsheet. Using this option will allow
you to choose someone who can edit the spreadsheet when it’s not in use by you.
Enter a contact’s name, or their email address, to invite them.

Add
third-party access