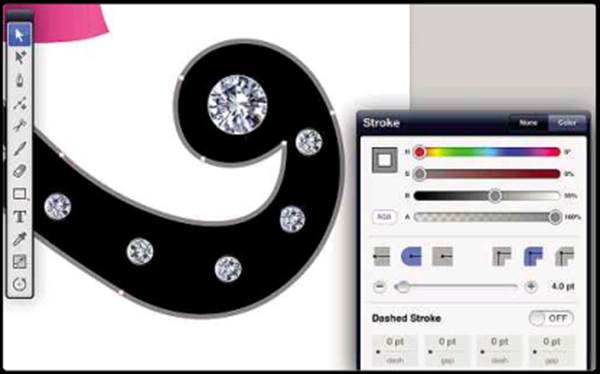
To make the ‘Z’ crisper, add a stroke using
the Stroke palette. This allows for dashed strokes as well as simple lines, and there are controls for setting the shape of
corners and end caps, but those aren’t needed here. For now, a simple 4pt grey
stroke is sufficient.
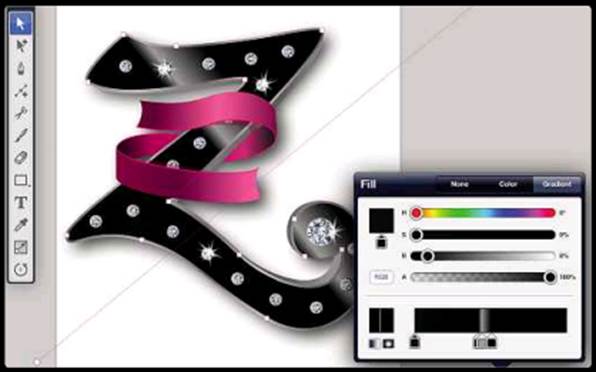
Shade the stroke
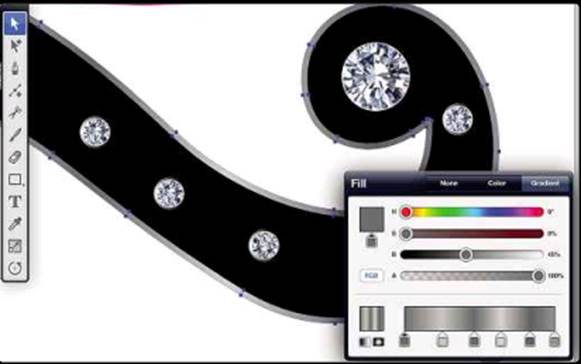
Duplicate the base artwork and select the Outline Stroke command from the Path menu. This turns the
stroke into a regular object, exactly the size of the original stroke (and
loses the original fill, which is why you duplicate the object first). Give
this expanded stroke a metallic look by adding a gradient fill to it, at an
angle across the whole piece.
Add some depth
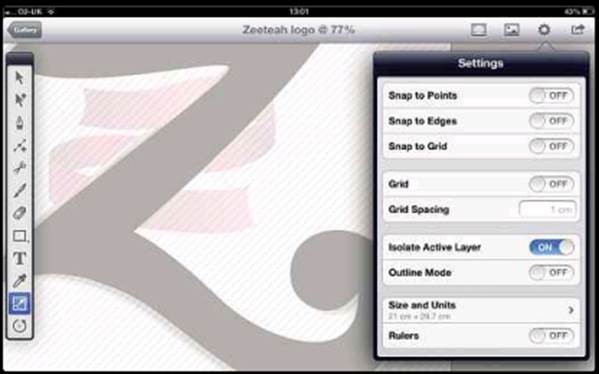
Duplicate the base layer and reduce it slightly, then move it to the bottom of the stack. It’s now hard to
reach it to work on its shape, so choose Isolate Active Layer from the Settings
menu. This dims out all other layers and prevents their artwork from being
selected, making fine-tuning a single layer much more straightforward.
Shading depth layer
With the sides of the ’Z’ now adjusted to
make it appear that the letter is a solid object, you can add the effect of
shading to it. Inkpad isn’t a painting program, so it isn’t possible to draw
shading on the layer as you would in a bitmap app, but you can create a
gradient that simulates the effect of light and shade on the layer.
Create the sparkles

Make the sparkles with the Pen tool by
clicking alternate in and out points. It’s easier to work with fewer points, so
I just created a five-point white star, then rotated and scaled a copy of it to
make the other five points. The key is to aim for a random effect.
Edit the sparkle
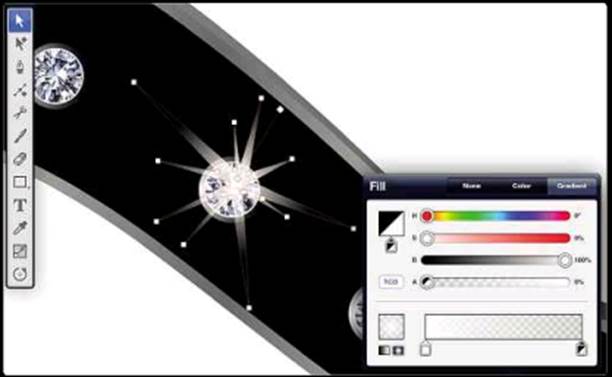
Apply a circular gradient to the sparkle
and adjust the opacity of the gradient - here, the centre is set to 100%
opacity, while the edge is set to 0% using the ‘A’ slider. Duplicate the
sparkle around the artwork, with each copy slightly rotated so they all look
different.
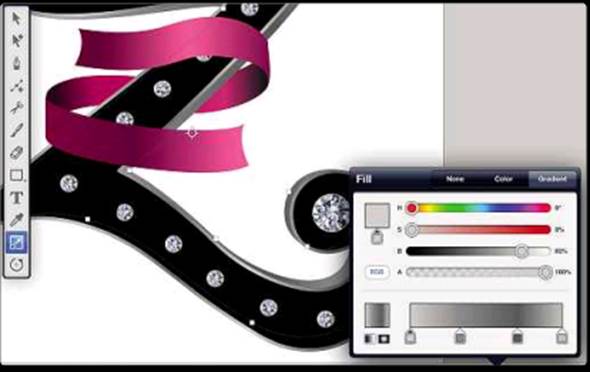
The ribbon reflection
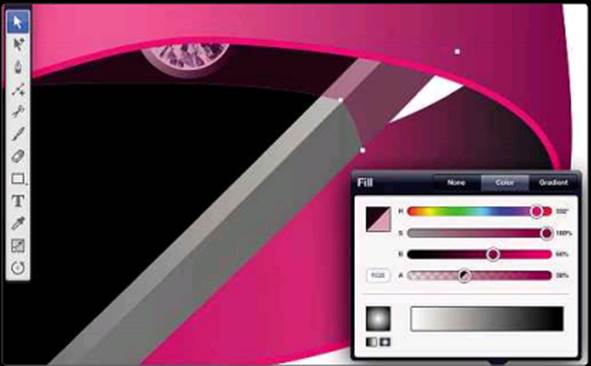
Make a new layer beneath the ribbon and
above the diamond layer, and draw a shape in it to represent the reflection of
the ribbon in this layer. Fill the object with the same base colour as the
ribbon, but lower the opacity of the fill to make it translucent so you can see
the layers beneath it. This makes it look much more like a real reflection.
The ribbon edge

Copy the three pieces of ribbon to a new
layer, and delete all the points except for those that make the lower edge of
the bottom ribbon and the upper edge of the top one (and, alternately, the
upper and lower edges of the rear ribbon). Set these to a bright colour stroke
with no fill. The effect is to add crispness, definition ad thickness to the
ribbon.
Start the shadow
The ‘Z’ and the three pieces of ribbon all
have to cast a shadow on the background. If you add a shadow to each piece
individually, the shadows would multiply. Instead, copy and paste these objects
onto a new layer, and combine them into a single object using Path > Unite.
Check Isolate Active Layer to make the objects easier to work with.
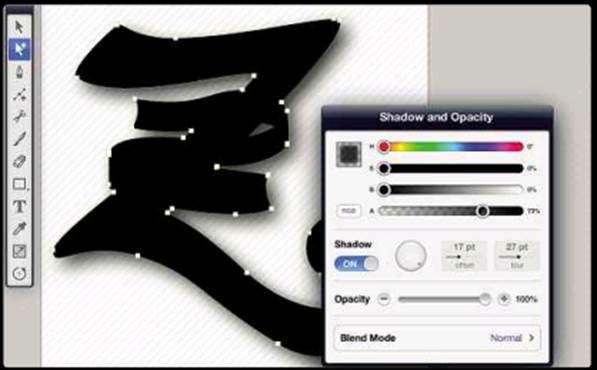
Complete the shadow
Once united, give the object a colour
(although this doesn’t really matter, as it won’t be seen). Using the Shadow
palette, add a drop shadow by specifying the offset distance and blur amount.
With the object selected, turn off Isolate Active Layer to reveal all the
layers in the document, making it easier to specify the shadow size required.
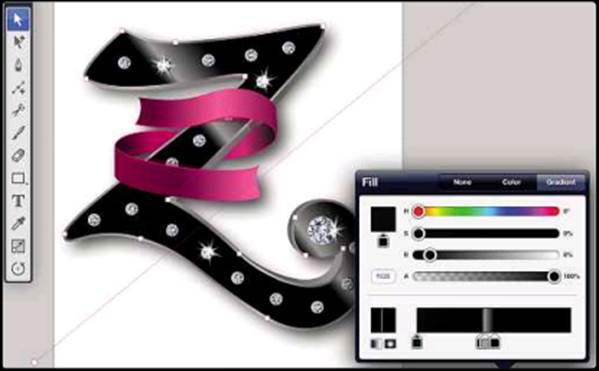
The final shine
Add a subtle gradient to the ‘Z’ to give it
that piano shine that’s entirely in tune with the jazz metaphor. By placing a
bright point very close to a dark one, and slightly further from another dark
one, you can create a hard, angular shine.
The finished artwork

With the image now complete, you can export
it as a PDF, PNG or SVG file - complete with transparent background - so that
it can be placed directly into a web page or edited further using desktop tools
(or, indeed, posted on Facebook or tweeted).


