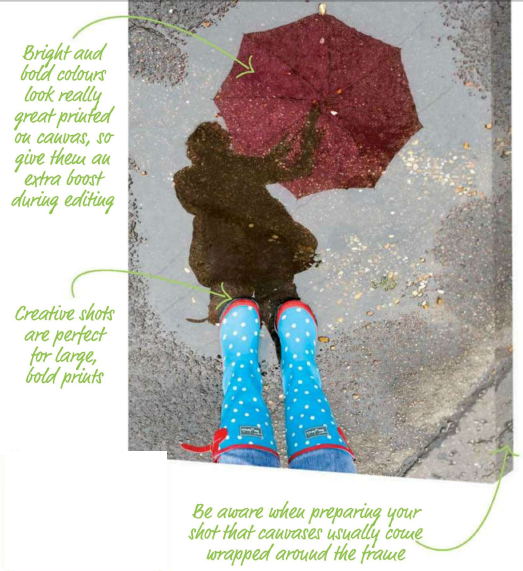
Get your puddle photo ready for printing
7.
Adjust the exposure
When shooting a reflection it is hard to
get the exposure right, with contrasting shadows and a bright sky behind. You
can tweak the exposure by opening up the Levels tool and bringing the arrows in
at the bottom to the line up with the graph.
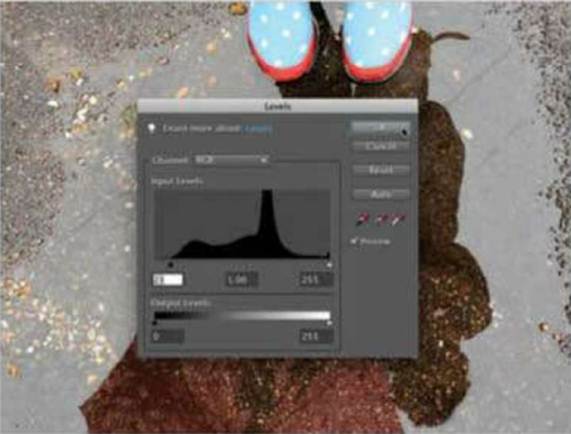
Adjust
the exposure
8.
Boost the contrast
Increasing the contrast will combat the
effect of glare as well as make the reflection more prominent in the photo.
Simply go to Enhance>Adjust Lighting>Brightness/Contrast and bring the
contrast the slider up until you’re happy with the results.
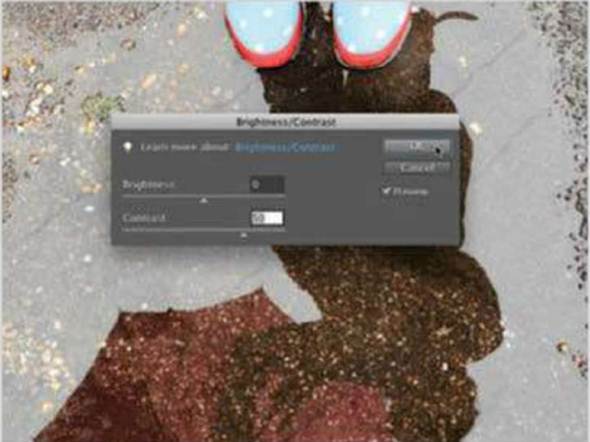
Boost
the contrast
9.
Adjust the colours
As well as the reflection, the bright and
bold colours are key parts of this shot. To enhance them enough to make them
pop and show up in the reflection, you need tweak the saturation. Simply go to
Enhance>Adjust Color>Hue/Saturation and drag the slider.

Adjust
the colours
10.
Blue and pinks
If you have one or two prominent colours,
enhance them separately for maximum effect. Within the Hue/Saturation
adjustment window it’s possible to select from a number of primary colours that
allow you to modify them one by one.
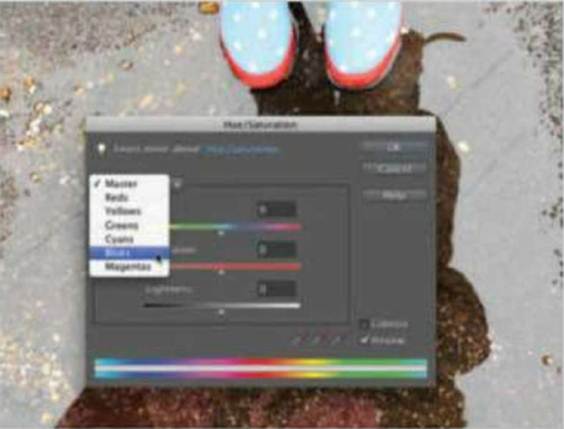
Blue
and pinks
11.
Burn the reflection
If you find that the reflection in your
shot is still a bit too washed out, you can manually biist the effect. Select
the Burn tool from the toolbar, choose Shadows and a low opacity and brush over
the reflection. This will darken it, making it stand out further.

Burn
the reflection
12.
Sharpen up
Photographing any sort of water can often
lead to unwanted movement, especially with a reflection shot. To combat this,
go to Enhance>Unsharp Mask and move the sliders to subtly sharpen the shot,
paying careful attention to your reflection subject.

Sharpen
up
Share!
Print your perfected reflection shot on a
canvas
13.
Choose your service
There are a range of different services,
both on and office, that offer a number of print options for your photos. For
our canvas we used Jessops. They have a huge selection available and it’s very
to use. Visit www.jessops.com for more
information.

Choose
your service
14.
Select your size
Jessops offer a range of shapes and sizes
for all types of photos and budgets. It’s a good idea to choose the size you
want before you start uploading your shot. Just be sure to check the
measurements, select your choice and click Apply.

Select
your size
15.
Upload your shots
Uploading your shot is done via the red
button on the left of the screen. Clicking this brings up the upload window,
which lets you browse your files and select your shot. Once the upload has
finished, simply drag and drop it onto your blank canvas.

Upload
your shots
16.
Make adjustments
By clicking anywhere on your virtual
canvas, you are taken through to the editing window. From here you can zoom in
and out of your shot, adjust its position and rotate it to fit. Once you’re
happy, simply hit Apply Change to go back.
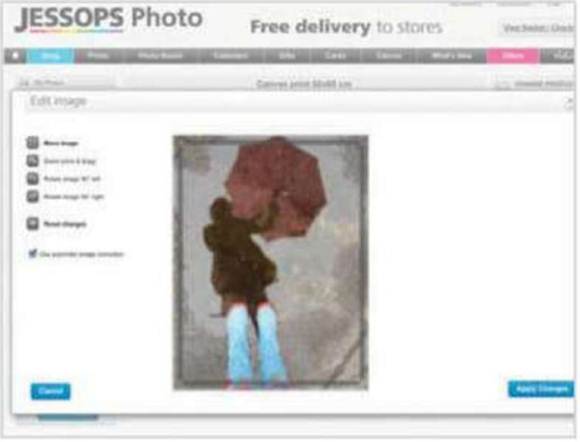
Make
adjustments
17.
Preview and finish
You will now be presented with the final
look of your canvas. If you like you can apply different effects and borders
using the options to the right of your photo. Alternatively you can simply
click Add to Basket to proceed with the ordering process.

Preview
and finish
Share
Technical tip
If your autofocus is struggling to focus on
your subject then try switching to manual. This way you can take control and
make sure your reflection is nice and sharp.
3 of the best…
Other ways to shoot reflections
Try
out mirror images
By using a calm stretch of water, it’s
possible to capture an accurate mirror image of your subject, giving a
completely new look to an otherwise basic photograph.
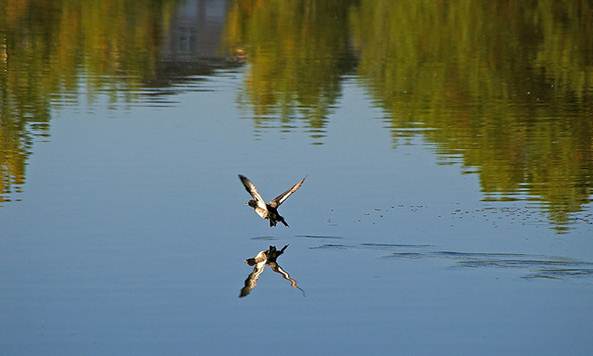
Try
out mirror images
Add
in natural frames
Try including a strong shadow in your shot
as a focal point of the scene. Try being creative and use any available
reflection as a natural frame for a unique take on any subject.

Add
in natural frames
Add
interest to your composition
Using a reflection you can add a whole new
subject or even just add things like a bright a colourful sky to enhance your
shot.
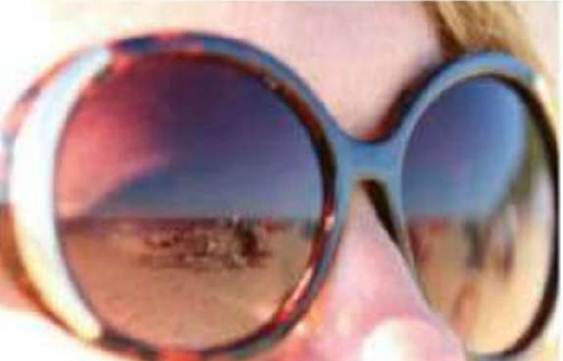
Add
interest to your composition
Positioning
Adjust your subject’s position to make sure
you get the best-possible reflection
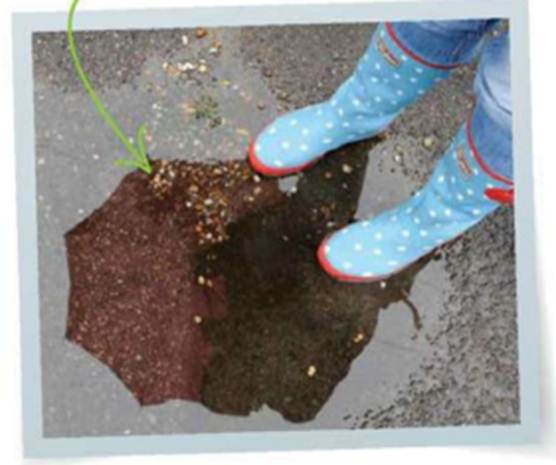
Positioning