We shows how easy it is to migrate to
an SSD
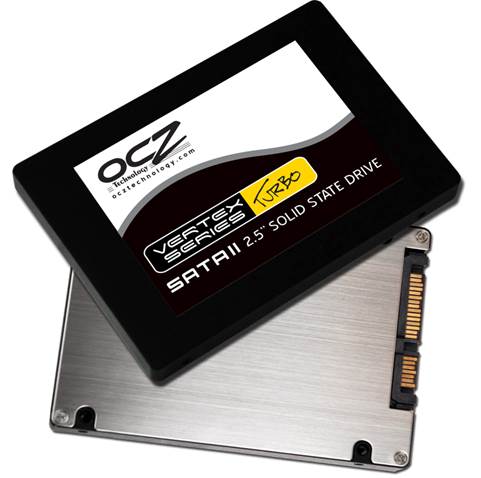
By Gandalf’s beard! Have you seen how cheap
it is to pick up an SSD today? If you’re not throwing solid-state boot drives
into all of your systems the either you’re not saving enough of your
hard-earned pennies, or you’re just terrified at the prospect of reinstalling
Windows.

Have
you seen how cheap it is to pick up an SSD today?
Well, be terrified no more. Follow our
step-by-step guide and we’ll show you the foolproof way to clone your existing
boot drive to a fresh new drive for free.
This will work with almost anything from
your desktop to your laptop, and includes going from HDD to SSD or the other
way around.
The main issue is that the new drive has to
be large enough to contain all the data on the existing boot partition. Is that
obvious? Even better is if the new drive is the same or larger than the old
one, but this isn’t essential, it just makes life easier.
You should also remember that your system
will be out of commission for some time and this isn’t a quick process – if
you’re lucky, and it all runs without a hitch, it can take less than an hour,
but if there are issues or errors this can quickly extend to five hours or
more, so it’s not something to try when you’re in a rush.
Step-by-step: Migrating to a new boot SSD
Squeeze your old Windows onto a new drive
in easy steps
1.
Recovery discs We
usually find that the newly cloned drive still needs to have its bootloader
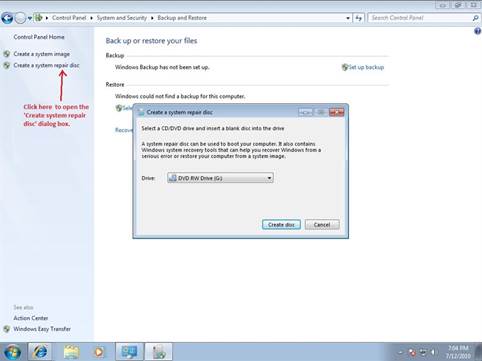
rebuilt. To do this we recommend creating a Windows emergency recovery disc (in
Windows 8 it’s called a Recovery Drive). Open the Start Menu, type ‘Create a
System Repair Disc’ and select it. You’ll need a spare blank CD or DVD to which
you can burn this.

We
usually find that the newly cloned drive still needs to have its bootloader
rebuilt
2.
Remove everything unwanted Lucky people
will have a larger new drive, but if your SSD is a squeeze remove any
unnecessary programs to make space. You can also remove the large hibernation
file: open the Start Menu, type ‘Command’, right-click ‘Command Prompt’, select
‘Run as Administrator’, type ‘powercfg –h off’ and press [Return].
3.
Resize partitions
Resizing the existing boot drive is possible, to do this right-click
‘computer’, select ‘Manage > Disk management’. Right-click on the boot
partition that you’re going to clone and select ‘Shrink Volume…’ It’ll
calculate the amount of space that can be removed. If system files are causing
issues see step four.
4.
Partition sizing
If you’re having issues freeing up enough space and shrinking the partition
down due to system files, then you can try the EaseUS partition software. This
will physically shift the data to shrink the partition and it’s pretty
bulletproof, but it will require a reboot into its exclusive mode.
5.
Connect the drive
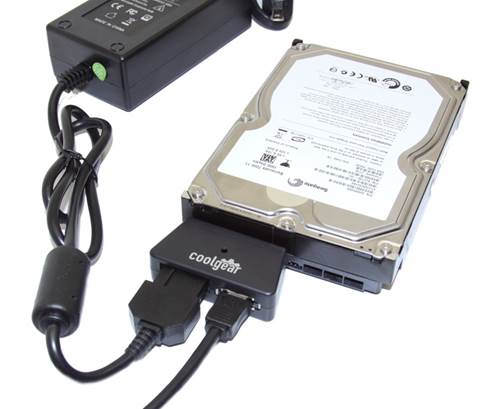
We’re getting close to the copy session, so hook up the new drive on a spare
SATA or eSATA connection. Easy on a desktop, for a laptop you’ll need to use a
spare desktop to handle the copying or else use an external caddy. Ideally
running over eSATA for speed reasons plus it’ll initiate the drive’s driver.

We’re
getting close to the copy session, so hook up the new drive on a spare SATA or
eSATA connection
6.
Select and copy
We prefer Macrium Reflect as our favorite drive copy solution. Largely as it
has a pretty interface and we’re easily distracted, but also it plays very
nicely with windows. Simply select the boot drive and click ‘Clone this drive’
link that appears, select the destination drive and it’ll do the rest.
7.
Recover it Once
complete, power down, disconnect the old boot drive, permanently install the
new one and boot. Whenever we’ve run the clone process we’ve always been
tripped up by something. Usually Windows will get confused and want the
bootloader to be rebuilt. So boot the recovery disc and let it run.
8.
And reboot Any
‘recovery’ can be completed by the automatic system and should only take a
minute to finish. When it’s done, the new boot drive will be ready to run. You
shouldn’t see any change, as it should run as an identical system, although you’ll
discover it’s way faster if you’re upgrading to an SSD.