Painting your case
is a fantastic way to make it stand out. Antony Leather shows how to achieve the perfect finish, and even add
custom details
Even if you've never used a spray can
before, painting your case isn't as daunting as it seems. With a little
practice and planning, you'll be able to paint your case any colour you like.
The end result can be spectacular, but it's also very easy to end up with a
case that looks far worse than when you started. If you want to avoid this,
then our start-to-finish guide looks at all the steps you should be taking.
Whatever your case's size, you can achieve
a great paintjob as long as you have enough space. We'll also discuss the best
ways to spray specific case parts, and what to do if you prefer to have someone
else do this job. Whether you're looking to add some pizzazz, or want your case
to have a specific colour scheme, this guide will show you how to do it.
1.
Choose your colours

It’s worth experimenting with your chosen
colour first using small spray cans before investing in full-sized cans. You’ll
also need some spare test material to see how the colour will look when it
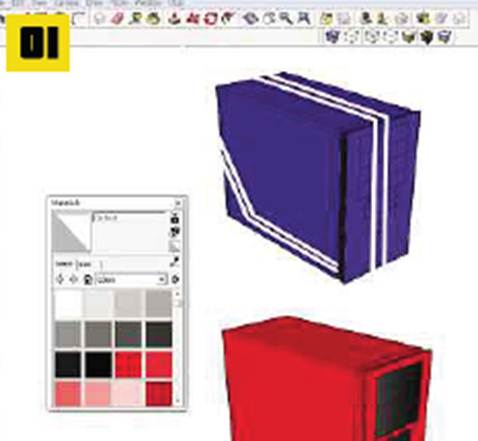
dries. Alternatively, you can use Google SketchUp (http://sketchup.google.com)
to render your case and apply different colours - check
http://scc.jezmckean.com to see if your case has already been rendered.
2.
Prepare your work area

You won’t be popular if overspray ends up
on someone’s plant pots, so if you’re spraying outside, use a dust sheet with
room on either side to catch stray paint-it also helps to tape the sheet
against a wall and secure it to the ground. Your spraying area’s location is
key to obtaining a good finish too; avoid grassy areas, as these harbor insects
and loose particles that can become trapped in the paint work. Good ventilation
is also important, as is a face mask.
3. Make a spray booth

If you’re limited for space, you could buy
or even make your own spray booth. Cardboard makes an excellent booth material,
and a booth can be constructed using old boxes and duct tape. This could even
be equipped with an extractor fan to remove fumes and excess paint if you have
no option but to spray indoors. A booth is a great way of dealing with over
spray, while also protecting your items from dust and insects.
4. Select your paints

You’ll need three types of spray paint.
Primer acts as an undercoat – using a white primer will make lighter colours
such as red or yellow appear punchier, while a darker primer is better for dark
blues and blacks. Use gloss paint for a shiny finish, or satin or matt paint
for a muted shine. Finally, the lacquer adds a layer of protection to your
paint and enhances the shine. You should apply all the coloured coats before
the lacquer.
5.
Dismantle your case

If you don’t want to paint some parts, such
as grilles and buttons, remove these prior to painting. You could mask them,
but it’s far easier to remove them, as you’ll end up with much easier surfaces
to spray. Power and reset buttons, as well as ports and switches, can be tricky
to mask properly, but they’re usually removable. You may need to detach your
case’s front fascia first, however.
6.
Remove the rivets

If you plan to spray your case’s insides
then dismantle it completely, as it’s otherwise tricky to avoid the paint
running in the corners. You’ll need to drill out the rivets that hold the
various sections together, enabling you to lay them out for easy spraying.
You’ll then need to purchase a rivet gun and new rivets to put the case back
together. Look out for a full guide on how to do this next month.
7.
Wash the case

You’ll need to wash your case before you
start, especially if it isn’t new. Anything that’s stuck to it – tea or coffee
stains, dust or unseen grime – can have a negative effect on your paint work,
and even sanding it might not get rid of all the dirt. First, remove any
electronic equipment, such as PCBs, and then use a sponge and washing-up liquid
with plenty of water to clean every part of the case that needs to be painted.
8.
Sand the case

Sanding your case before painting provides a
smooth base for the paint, and removes grease or silicon left behind from the
manufacturing process or cleaning products. These can cause horrible finishes,
as the paint won’t settle properly. You’ll need fine- grit wet and dry sand
paper, and lots of water. The higher the grit number, the less coarse the
paper; you’ll need between 1,000 and 1,600-grit for a smooth finish.