You can open Notification Center by
clicking its icon in the menu bar. But here are three other ways to display it:
1. Swipe with two fingers from the right edge of your trackpad to the
left. (This works fine on a laptop, but less well with a MagicTrackPad, as your
fingers can’t slide from the surface next to the trackpad.)
2. Use a hot corner: Go to either the Desktop & Screensaver pane or
the Mission Control pane in System Preference, and click the Hot Corners
button. Choose Notification Center from the drop-down menu for the corner you
want to use. You can now open Notification Center by moving your cursor there;
you close it by clicking elsewhere on screen or moving your cursor back to the
corner.
3. Set a keyboard shortcut: In the Keyboard preference pane, click the
Keyboard Shortcut tab, and then click Mission Control. Notification Center is
listed in that section; select its checkbox to add a shortcut, and type the
shortcut in the field that appears. Pressing that shortcut toggles the display
of Notification Center on and off.
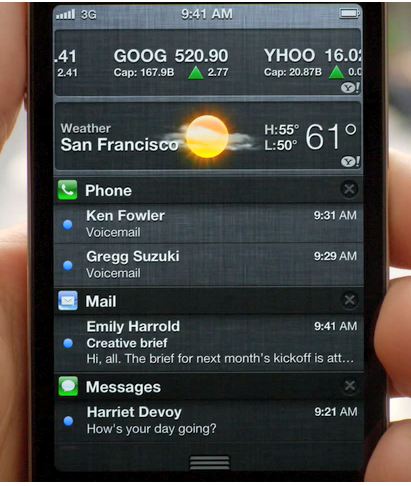
You
can open Notification Center by clicking its icon in the menu bar
Temporarily Hide Alerts and Notifications
If you’re overwhelmed with notifications,
you can pause Notification Center with one click. Press Option while clicking
the Notification Center icon at the right end of the menu bar. This pauses the
display of notifications until the next day. Alternatively, if you scroll down
when Notification Center is visible, you’ll see a Show Alerts And Banners
switch that you can toggle off. To reactivate Notification Center, Option-click
the same icon again or toggle the Show Alerts And Banner switch on.
Pinch to Zoon in Quick Look
In Mountain Lion, you can use two-finger
pinch and spread gestures to change the way the files you’re previewing are
displayed. When you use Quick Look to view PDFs and Web archives, spreading two
fingers apart zooms in; pinching them together zooms out. (Oddly, these
gestures don’t work with graphics files.) With other files types, those
gestures behave as they did in OS X Lion: Spreading switches you to full-screen
view, and pinching returns you to a regular window. To switch to full-screen
mode when using Quick Look with a PDF or Web archive in Mountain Lion, move the
cursor to the title bar and spread your fingers. However, you can’t pinch to
exit full-screen mode with these types of files.
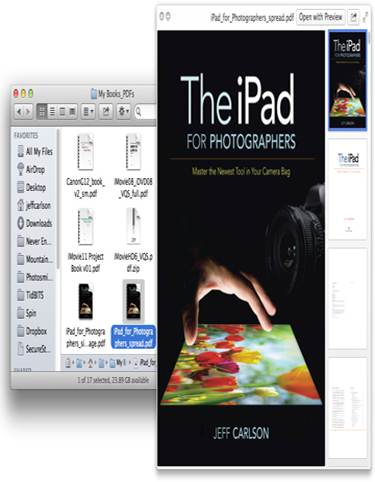
To
switch to full-screen mode when using Quick Look with a PDF or Web archive in
Mountain Lion, move the cursor to the title bar and spread your fingers
Restore RSS Visualizer Screensaver
Mountain Lion no longer includes the RSS
Visualizer screensaver, but you can copy it from a Mac running Lion. On that
other Mac, go to /System/Library/Screen Savers and find the file RSS
Visualizer.qtz. copy it to yourserfolder/Library/Screen Savers on the Mac
running Mountain Lion. (Create that folder if necessary.) You can now select
this screensaver from the Desktop & Screen Saver pane in System
Preferences.
Keep Your Mac Awake
With Mountain Lion, you may find that your
Mac goes to sleep when you don’t want it to (when you’re delivering a
presentation, perhaps, or watching a video). Say you’ve configured your Energy
Saver preferences to put your Mac to sleep after 15 minutes of inactivity. You
may notice that even when there’s an active process, such as a download, your
Mac still goes to sleep after 15 minutes. Some users have even reported this
happening when they change the sleep setting to Never.
There is a solution to sleepy Macs, in the
form of a new command, caffeinate. To implement it, type the following command
in terminal: caffeinate –u –t 3600. The 3600 there indicates the number of
seconds before the system’s sleep settings go into effect; in this case, the 15-minute
countdown to sleep won’t begin until 3600 seconds have passed. You can also run
the command without the time switch; it that case, your Mac will stay awake
until you stop the command by pressing Control-C in Terminal.
Select AirPlay Device from Menu Bar
The standard way to play your Mac’s audio
over an AirPlay device (such as an Apple TV or an AirPort Express) is to open
System Preferences, click on the Sound pane’s Output tab, and select the
device. There’s a quicker way: if you have the Volume menu visible in the menu
bar, hold down the Option key while you click on its icon. That will enable you
to select audio inputs and outputs – including nearby AirPlay devices.
Unfortunately, this menu displays only the last selected AirPlay device. If you
don’t want to use that one, you’ll still need to revisit the Sound preference
pane.
Find Apps fast with LaunchPad
When Apple introduced LaunchPad in OS X
Lion, it seemed suited only for Mac beginners. But with Mountain Lion,
LaunchPad has become much more capable as an application launcher.
To activate LaunchPad, you can either
launch it from the Dock or the Applications folder; move the cursor to a hot
corner you’ve specified in either the Desktop & Screensaver or Mission
Control system preference; or press a keyboard combination configured in your
Keyboard preferences. You’ll then see a search field at the top of the window.
You can use this field to quickly find any application: Just type the first few
letters of its name. LaunchPad searches by the name’s initial letters: pre will
find preview (as well as System Preferences), but rev won’t. Also, the search
feature gives special weight to capital letters in an app’s name, so qt returns
QuickTime Player, sp returns System Preferences, and p returns iPhoto, for example.
Use Multiple Drives with Time Machine
Mountain Lion lets you specify more than
one hard disk for Time Machine backups. Go to the Time Machine pane in System
Preference and click on Select Disk. If you already specified a backup disk set
and then you select a second one, you’ll see a dialog box asking if you want to
replace the current disk or use both disks for backups. You are then told that
if you use both disks, Time Machine will take turns backing up to each disk.
This last option is especially useful if you have a laptop and want to back up
your files to one hard disk at home and another at work.
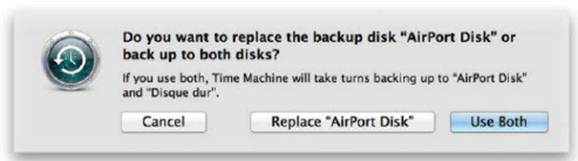
Use
Multiple Drives with Time Machine
Send Tweets from Share Panels with Keyboard Shortcut
If you want to tweet something by clicking
a Share button or by using the Tweet field in Notification Center, there’s a
quick way to send it: Instead of clicking on Send, just press Shift-D. You can
also use this shortcut to send an email that you’ve composed.
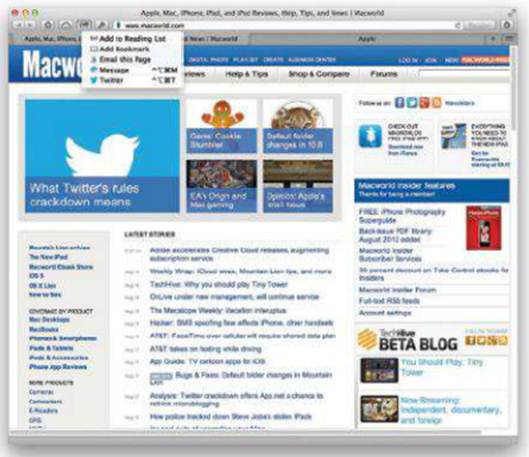
Send
Tweets from Share Panels with Keyboard Shortcut