Build Your Own Mini-ITX Marvel (Part 1)
With your components chosen, it’s
time to get building
Right, so you have a whole bunch of
options when it comes to putting together your own mini PC, including letting
someone else do all the hard work for you. But the sense of satisfaction isn’t
the only reason to build your own machine; it also allows you to have complete
control over what exactly you want to put in your rig without being limited on
component choice or preferences of particular system builders. While bespoke
rigs can be unique to you and your needs, they all start out the same way: in
bits. Luckily, the process for putting your machine together is pretty much
uniform across any component combination you choose. For the example build
across the following pages, we’re using a larger Corsair mini-ITX chassis to
demonstrate how you go all the way and include a discrete graphics card in your
build.
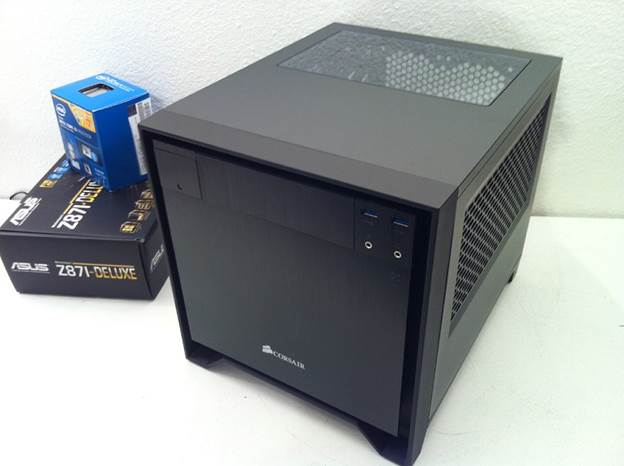
Corsair mini-ITX chassis
The actual process will differ slightly
with your own build and is mostly dependent on your choice of PC case.
Nonetheless, the order in which you assemble your machine should remain the
same. The most important thing is not to rush anything. Taking your time
ensures that you won’t have to open up your chassis again to attach that wire
you forgot about because you were too eager to get the machine up and running.
yes, we appreciate you want to see Valve’s Big Picture bubbling up on your
living room television as soon as possible, but cutting corners is likely only
to push that glorious moment further back.
1. Inside out
Whether you’ve bought the components fresh
from your favourite e-tailer, or are using some spare parts, you need to make
sure everything is functioning correctly before you start throwing anything
into a chassis. Like we said, take your time. Put the case aside for the
moment, rest the motherboard on top of the packaging and the anti-static bag in
which it came. Drop in the processor, memory and GPU if you’re going discrete.
2. Grease-up
Before you attach the CPU cooler to the
board, remember to dab on a blob of thermal grease. This will ensure that there
is consistent contact between chip and cooling plate, filling any small
scratches and bumps on either surface with thermally conductive goo. A blob
roughly the size of a couple of grains of rice will suffice. Don’t worry about
spreading it; simply attaching the cooler will ensure that it squidges out in a
nice even layer.
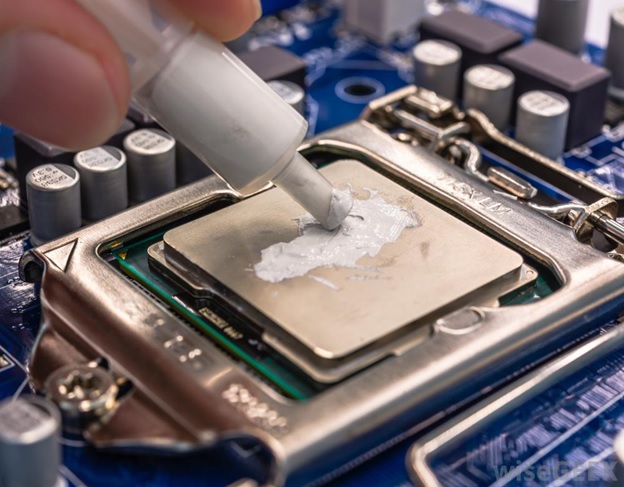
Remember to dab on a blob of thermal
grease
3. Power play
With the CPU cooler attached to chip and board,
you’re ready to attach the cables for the power supply. Do this without the PSU
attached to the mains just so you can ensure that everything is plugged in
first. You will need to make sure the wide motherboard cable is attached, as
well as the 4/8-pin CPU power cable. If you’re following us and using a
discrete GPU, you’ll need to attach the 6/8-pin PCIe connectors to the card
too.
4. Naked boot
Don’t worry about attaching any separate
storage drives at this point; even if the drive is a bust you can get the rest
of the physical build completed without it. Plug your screen into the GPU and
attach a keyboard. Power up the PSU and start up the barebones machine – if
there’s no button on the board itself you can short the pins on the front panel
connectors with a screwdriver. Check the manual for the PWRBTN location on the
mobo.
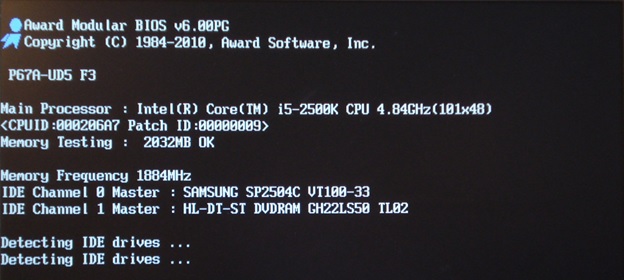
Check the BIOS screen
5. Bios
What we’re checking for here is that the
machine starts up, its fans spin, it gets to the POST screen and it allows you
into the BIOS. When it reaches the motherboard logo screen, hit [Delete] and
the open-air rig should enter the BIOS screen. Make sure that the motherboard
is reporting the correct CPU and the right amount of memory. We can sort out
the right RAM speeds later – chances are it’ll be starting out at 1,333MHz.