Build Your Own Mini-ITX Marvel (Part 2)
With your components chosen, it’s
time to get building
6. Start again…
Hurrah, everything is working as it should
so far! Now shut down the machine, unplug the PSU from the mains and discharge
the residual power by either pressing the power button or shorting the relevant
pins again. Disconnect the power cables from the motherboard and remove the
graphics card. Depending on your chosen chassis, you can probably leave the
RAM, CPU and cooler in place as you drop it into your waiting case.

Start again…
7. Steady supply
Before you go ahead and drop the heart of
your rig into the new chassis, you’re probably better off getting the PSU
safely ensconced first. The Cthulhu’s maw of tentacles sprouting from the power
supply is much more difficult to manage when the other components are already
in place. Orientate the PSU so the intake fan is situated to suck in air from
the outside – there will be an appropriate vent in the chassis itself.
8. Board meeting
Now it’s time to get the good stuff in, so
attach the mobo backplate into the chassis. Pulling the mass of cables out of
the way – you don’t want to accidentally trap any leads – screw the mobo risers
into the chassis and drop the board in place. You should be able to do this
with the cooler in situ. If you can’t, make sure there’s an access hole in the
chassis to connect it later and secure the board using the proper screws.
9. Drive time
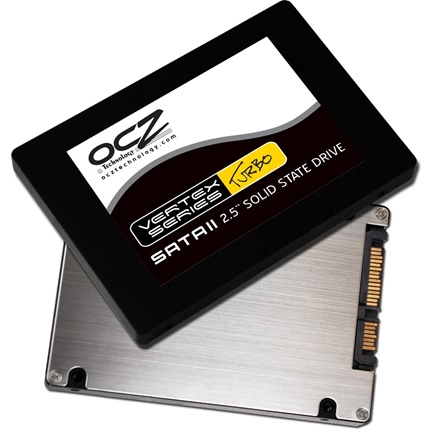
If you’re going with a standard SATA
SSD/HDD then now’s the time to secure that to your case. Manufacturers of small
form factor chassis often devise innovative ways to attach your drive, though
they may not necessarily be particularly easy to fit. Consult your chassis
manual (don’t worry, we’re not going to deduct any man points for manual usage)
and fit it in the appropriate place. Attach the SATA cable and you’re ready to
move on.

SATA SSD/HDD
10. Be discrete
As we’re looking at a larger build, it is
now the time to attach the discrete GPU. If you’re just running with integrated
graphics this is a step to skip and you’re one move closer to living room
gaming! Ensuring you’re not trapping any errant wires, drop the graphics card
into the primary PCIe slot and screw the bracket into the chassis to keep it
safe and secure. It’s also worth making sure nothing’s obstructing the GPU’s
cooling fan(s).
11.
Panel power
Now things are going to get a bit fiddly.
We need to connect the chassis front panel to the relevant motherboard
connectors. Again, it’s worth consulting your mobo’s manual to locate the
connector for the front panel audio and USB headers. You’ll already know where
the power button is – the reset switch, storage and power lights will be in the
same place. Attach all the cables securely – they’ll probably be labelled to
make your life easier.
12.
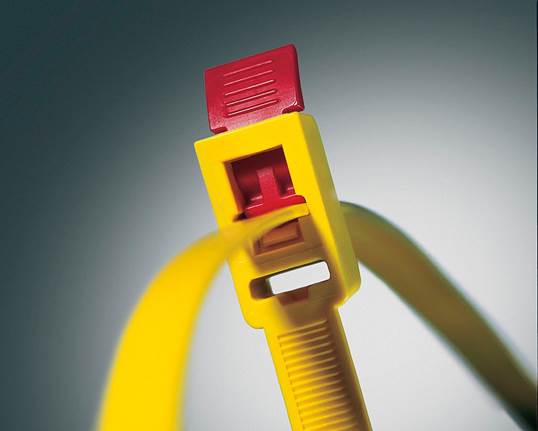
Cable ties
While you have been building, the power
cables will probably have been getting in the way and flapping about all over
the place. Now’s the opportunity to get them plugged in and correctly stowed.
If there’s room you’ll be able to route the cabling so it doesn’t obstruct the
airflow throughout the chassis. Plug in the long motherboard power cable, as
well as the CPU, GPU and storage power connectors, and make sure the fans are
powered too.

Plug in the long motherboard power cable
13. Clear air
That’s all the essentials taken care of,
so now you’re ready to attach the monitor, keyboard and mouse. We recommend
leaving the side off the case when you boot up for the first time so you can
ensure all the fans are spinning properly and there’s nothing getting in their
way. Press the power button and hopefully your tiny build will spring into life
again. Once it does, give the [Delete] key a quick tap because we need to hit
the BIOS again.