Make sure all your data is up to
date, whichever device you’re using it on
Because there are so many different Android
devices out there, it’s not possible to sync them in the same way you can iOS
devices. Instead there are a number of different ways to share information
across multiple devices.
Share
and sync data between your devices
You’ll find during the course of this
tutorial that your Google account is your best friend, so if you get a new
Android device, make sure you sign up to it using the same Google account as
you signed up to your old ones. This way you can share information and app data
without having to install apps other than the Google ones that are already
present on your devices.
There are better ways to sync rooted
devices, and more ways to make sure that devices from the same manufacturer are
in sync, but this tutorial is going to assume your tablet and phone aren’t
rooted, and that they’re running slightly different versions of Android, which
is more than likely the case. Make sure you’ve got both devices to hand and
we’ll get them singing from the same hymn sheet.
1.
Check your settings
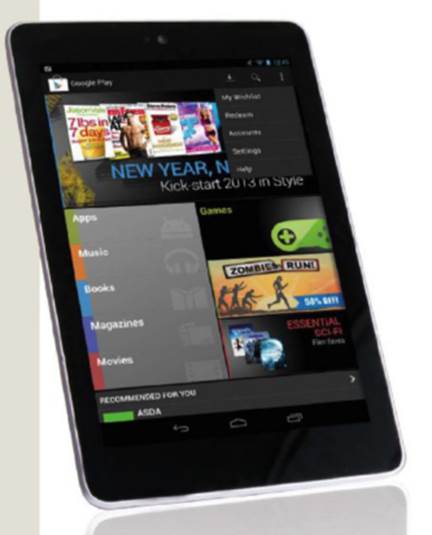
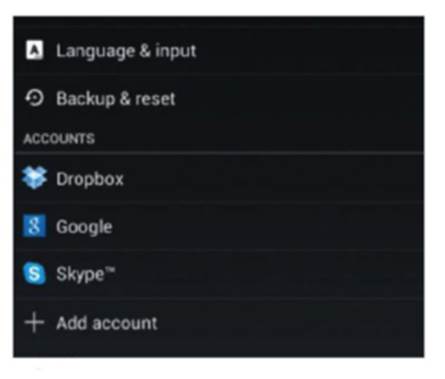
First up we need to make sure that your
Account settings are all set up correctly. Pick one of your devices, and from
your home screen tap the menu button, then scroll down to the Accounts section
and tap on your Google account
Check
your settings
2.
Select account
On the Accounts page you should see the
Google account that’s linked to that device. Make sure it’s the same one that’s
linked to the other device, then tap on it. If you use multiple accounts,
choose the one that’s linked to both devices
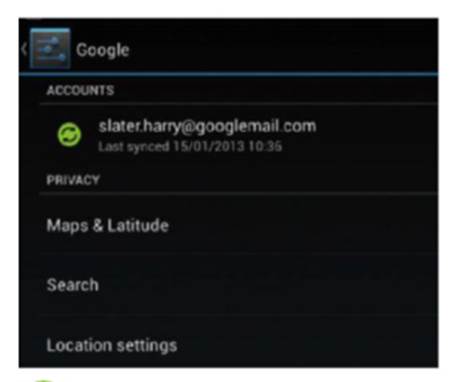
Select
account
3.
Set to sync
Here you’ll find a list of different items
you can sync. Run down the checklist and tick every box, then repeat the steps
on your other device. Everything in your Google account, including Google Play
purchases, should now sync.

Set
to sync
4.
Did it work?
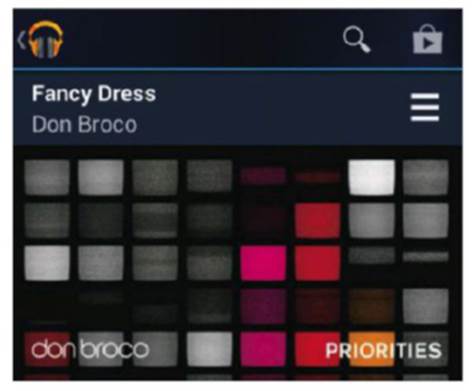
An easy way to find out if the sync is
working is to head to the Google Play store on one device and download the free
song of the week from the Google Music section. Confirm your purchase then swap
to your other device.
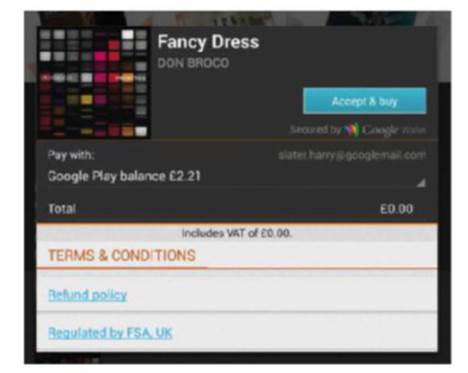
Did
it work?
5.
Look at your notifications
If everything has worked, you should get a
download notification on your second device. Slide down the notifications bar,
and make sure that the download is the song that you just purchased. If it is,
tap on it and you’ll be taken to the music player.

Look
at your notifications
6.
Synced for starters
If everything has worked out, you should
now be listening to a track you downloaded on a different device. That’s the
first part of the tutorial over, but there’s more to come. It’s time to head
back to the Settings menu.
Synced
for starters
7.
Set your backup
In the Settings menu, you need to set up
your backup utility so that it remembers app data and reinstalls it when you
reinstall the app. Check the two boxes and then head back out to the Google
Play store.

Set
your backup
8.
Find your apps
From the front page of the Google Play
store you should be able to find all the apps you’ve ever downloaded and
installed using your Google account. Just tap on the button at the top that
looks like a downloading symbol.

Find your apps
9.
Check the list
You can now go through the apps that you’ve
bought or downloaded and install them on a different device. If you’ve turned
the backup on, you should get the same data installed on the new device as well
as the old device

Check
the list
10.
Sync your browsing
Finally you can use Google Chrome to sync
your web browsing across multiple devices as well. If you haven’t got it
installed already, grab it for free from the Google Play store and get it
installed on both of the devices.

Sync
your browsing
11.
Find your devices
Once Chrome is installed, bring up the menu
and find the section marked Other devices. Tap on that and you should be taken
to a tab of the browser that will let you sync your devices to share bookmarks
and other browsing information.
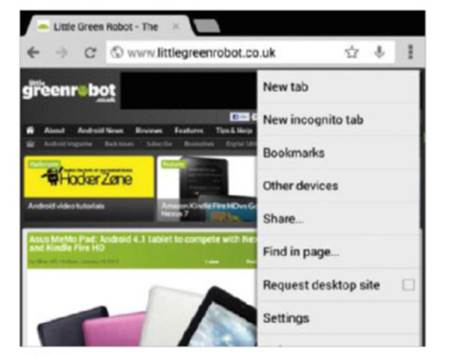
Find
your devices
12.
Sync devices
Simply tap on the screen where it says
Enable sync. This will not only sync your two devices, but any other devices
you use Chrome signed in to your Google account, such as a PC or an iOS-powered
device.

Sync
devices
13.
Bookmarks and pages
Not only can you now share bookmarks, but
pick up reading a webpage where you left off on your tablet on your phone.
After these steps, your information, entertainment content and apps are shared
seamlessly across your Android devices.

Bookmarks
and pages