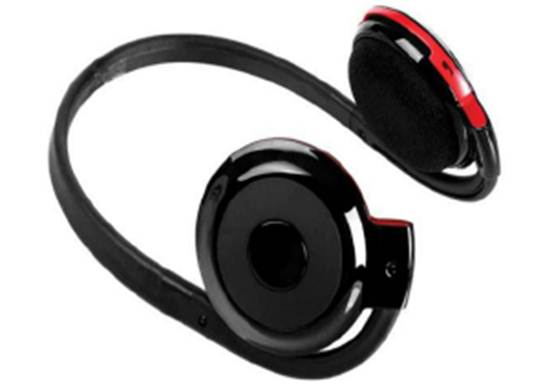
Convert your old Bluetooth headphones into a
multipurpose Bluetooth audio module for various purposes, be it home or car
use, or carry it along anywhere.
A colleague in cur office recently
approached us to fix an old pair of Bluetooth headphones with a slightly broken
and tarnished shell, and badly worn out ear pads. Fortunately, the headset was
working perfectly with all functionalities in place. However, we told him that
the neither the shell could be repaired nor could the ear pads be replaced, and
that he would rather opt for a new one than having these fixed. But our
colleague said he could not afford a new pair of Bluetooth headphones and the
inexpensive ones available in the market would not provide good audio quality.
That was when an idea struck us - why not convert the headset into an audio
module that can be used with any stereo earphones or headphones of his choice?
The Bluetooth module would also have multiple uses thereafter. For instance, he
could use them with another pair of regular headphones, connect it to his home
theatre and have a wireless Bluetooth audio speaker system, connect it to a car
stereo auxiliary input and have a BT hands-free for the car, use it to stream
audio from a PC or laptop to an external speaker set, and much more. Hacking
into the unit and modifying the circuit was a bit of a task and we needed a few
hours to figure out how we could simplify the process. This is what we did, and
you can implement a similar idea to transform your BT headset if you have a
damaged one lying around.
Bluetooth
Headset Mods
Firstly, to get to know the whole
circuitry, internal parts and its connections, we had to get inside the
headset. We started by carefully studying the headset and separating the ear
units from the head loop. We had to destroy the ear-pad foam cushions because
the screws to the shell were underneath it. Once opened, we started separating
the shell from the circuitry. Here is what we found - the right earphone had
the main BT module circuit board along with the control panel buttons over it.
Below the circuit board was the right speaker or driver. Four wires were
carried along the head loop to the other side, which connects to the left
speaker, with the main battery enclosed inside. Since the speakers would not be
required any more, we cut-off the wires and separated the battery from the left
side. We disconnected the head loop completely and also the right speaker. Now
we were left with the shell, the button pads, the battery and the main circuit.
We had to retain the shell as it helped mount and keep the control panel
buttons in place. This part of the shell (the right ear side) was ideal to fit
everything inside it. If the shell was completely damaged, we would have to
hunt for a similar-sized shell or plastic box to mount the whole circuit
inside, which would make it more complicated and the final product would look
awful, too.

Convert
your old Bluetooth headphones into a multipurpose Bluetooth audio module for
various purposes, be it home or car use, or carry it along anywhere.
Here's what we planned for the next step:
the battery could be placed comfortably where the speaker was initially
housed—this took care of the power section. Next, we needed to hunt for some
space to mount the 3.5mm female audio jack. This was tricky as we modify
bluetooth headset would need to drill and sand a few areas. So we thought—why
not get rid of the power socket and use a USB connector? This way, the charger
could be eliminated completely, and the BT module could now be charged from any
USB port or USB wall charger. We found some space for the USB connector at the
edge where the right ear unit was joined to the head loop. We used a USB
connector hacked from a dead pen drive. Next, the power jack was removed and
the audio jack took its place. This area needed a little cutting and sanding to
accommodate the connector comfortably. Now that the shell was finally
redesigned, we had to tackle the circuit board.
While carefully checking out the circuit
board, we found the necessary connections neatly marked. We de-soldered the
existing wires and used some thin flexible wires obtained from an unused IDE
HDD cable. We cropped out the necessary wire lengths and kept them ready. Next,
we soldered all the essential components—the audio jack, USB power connector
and battery. A test confirmed everything was connected properly and working
fine. Before we finally mounted the circuit into the now modified shell, we had
to disconnect the battery, pass the wires through the shell and then glue the
battery Dn the other side. We used hot glue as it is non-conductive and hardens
within a few seconds. Next, the audio jack and the USB connector were glued
down carefully. Since the built-in microphone was not touched, we did not
modify anything in this section. Finally, after all the connectors were glued
down and everything was in place, we glued the wires to some blank areas on the
circuit board. This prevented the wires from getting loose and possibly
breaking, as the solder joints were pretty feeble. Finally, with everything in
place, we put the shell together, inserted the screws and applied some more hot
glue to secure the shell and the USB port. That's it! Our Bluetooth module was
ready for use.
If you intend to make one for yourself, you
can simply pair it with your Bluetooth-enabled phone, tablet or PC and stream
your audio. Connect any pair of standard stereo headphones and enjoy your
music. You can also connect it to your home stereo and make it Bluetooth-
enabled or to your car stereo and have a BT hands-free kit.
Note
While disconnecting any wires and replacing
the respective ones, note down the polarity and double check before
re-soldering them to avoid damage and other hazards. Use of the soldering iron
and the hot glue gun should be done with extreme care. If you do not have any
idea about handling circuits and/or soldering, we recommend you get help from a
friend or electronics engineer. This workshop is for educational purposes only
and we are not responsible for any damage caused while attempting the same. Do
this at your own risk.
Requirements
A stereo 3.5mm female audio jack, (we
hacked this from some old non-working MP3 player)
A USB Type 'A' male connector, (we managed
to get this from a dead pen drive)
Some really thin flexible wires, (we used
an old unwanted IDE hard drive cable)
Tools: soldering iron and solder wire,
knife, glue gun and screw driver