Photos and slides
The easiest method for digitizing photos is
to use a scanner. You can sue a multifunction printer, which may already offer
the ability to scan prints at fairly decent quality. Alternative you can buy
cheap flatbed scanners, such as the Canon Cano Scan LiDE 110 for as little as
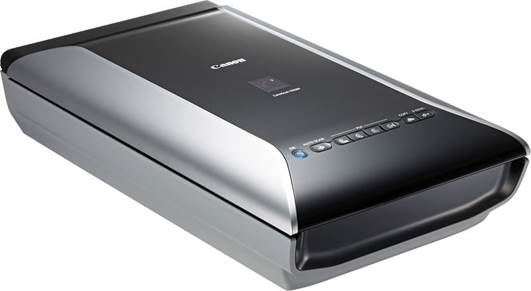
$75. Some photo scanners, such as Canon’s new Cano Scan 9000F Mark II ($285);
can scan at very high resolutions up to 4,800 dpi for prints and 9,600dpi for
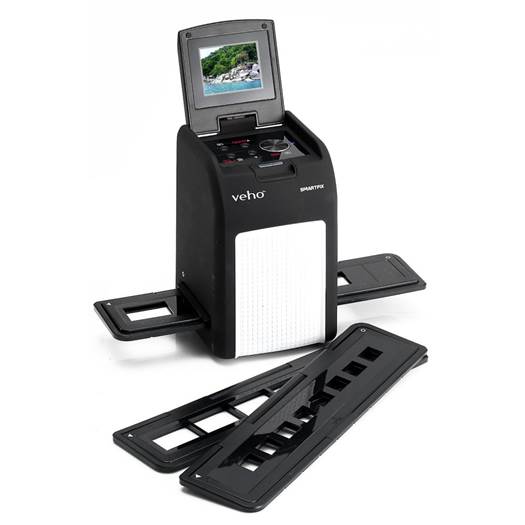
film. Other devices, such as Veho’s VFS-008 Smartfix (around $90) are designed
to capture only from negatives and transparencies.

The
$90 Veho VFS-008 Smartfix is a dedicated device for scanning film negatives and
slides
The ease and cost of digitizing photos
depends on what you want to do with the digital copies. If you want to make
your own prints, or archive and protect old photos, slides and negatives, you
should buy a high-quality photo and film scanner, such as the Epson Perfection
V700 Photo ($675), which scans at very high resolutions (up to 4,800dpi for
prints and 6,400dpi for film). In this case, we also suggest using cotton
gloves ($6) to avoid finger marks, and a photographic emulsion cleaner, such as
PEC 12 ($24) to remove dirt form prints, slides and negatives before scanning.
If you don’t want to buy a scanner, you can
digitize photos free by re-photographing the original. Any digital or
smartphone camera can be used for this and, while results will be nowhere near
as good as those form a scanner, it’s a quick way to make a digital copy for,
say, a DVD slideshow or digital photo frame. Stick the photo to a wall with
Blu-Tack, preferably somewhere with a bright, diffused light source. Make sure
the print is well-lit and look out for shadows and reflections on eth surface.
Also check that the photo is in focus (you may need to use your camera’s macro
mode) and that the camera and the photo are lined up as squarely as possible.
Avoid using a flash and use a tripod to keep your shot steady. If you’re handy
with manual controls, set the camera for a long exposure.

Some
scanners, such as this Canon model, scan at very high resolutions
The good news is that there are plenty of
free photo tools available, from Gimp (www.gimp.org),
which offers high-end image-manipulation tools to rival Adobe Photoshop, and to
Picasa, which lets you organize and share photos, and make minor improvements
to scans.
Video and cine film
Over the years, equipment manufacturers have
favored a wide variety of home-movie formats, form 16mm cine film and Super8 to
Video8, VHS-C, S-VHS and MiniDV. To convert these you’ll need to find something
that will play your old recordings. For film, a working projector is needed.
For analogue video tapes, the only real solution is to dig out the camcorder.
If you’ve sold this hardware, or it’s been lost or is broken, read the box
below. If you still own a working camcorder or projector, we recommend using
extreme caution; old home film and videotape equipment is finicky, while
running a reel of Super8 through a dodgy projector could ruin it forever. For
anyone willing to take the risk, it’s possible to re-film Super8 and 16mm cine film
as it is projected, using a similar method to our earlier re-photographing
technique. You’ll need a darkened room, a clean white projection surface and a
tripod for a modern digital camcorder or smartphone. Place the recording device
as close as possible to the projector’s lens and zoom into the screen slightly
to compensate for a wide-angle lens. Make sure the screen is lined up and in
focus, and then if possible, disable the autofocus and other automated settings
so that the camcorder or smartphone doesn’t try to make further adjustments
automatically.
If you have an old camcorder you’ll need to
connect it to your computer. MiniDV offers a digital connection via Firewire.
While virtually all MiniDV camcorders have a Firewire output, as do many Apple
Macs, it’s rare for PCs to feature Firewire input. If your computer does have a
Fireware socket, you simply need a Firewire socket; you simply need a Firewire
cable ($4.5). For computers without Firewire and for all other analogue
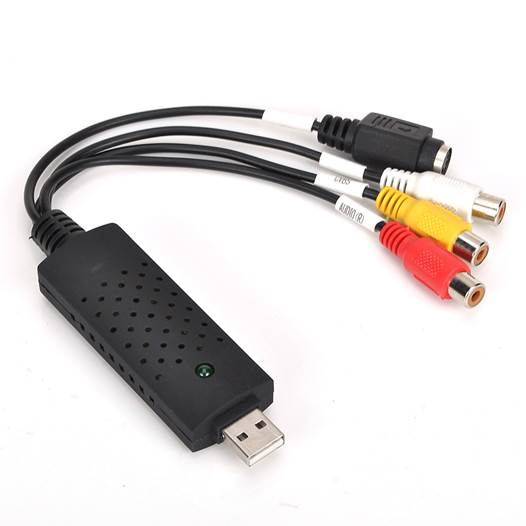
camcorders, buy a video-capture device. This is an adapter with input sockets
for the camcorder’s analogue video (yellow) and stereo audio (red and white) at
one end and a USB connection for the computer at the other. Thankfully,
products of this type are often cheap – the EasyCap USB 2.0 Video Capture
Adapter costs around $15.

If
your computer lacks Firewire, this $15 analogue adapter from EasyCap will help
In all cases, the transfer process involves
playing back the original (source) video while re-recording it digitally,
meaning that converting lots of footage can be a lengthy process. Software is
needed to capture and edit videos, too. Most capture devices come with suitable
software, but there are several free options, such as Microsoft’s basic but
easy-to-use Windows Movie Maker. It’s relatively simple to burn footage to DVD,
using either Windows DVD Maker (included with Windows 7) or a free alternative,
such as DVD Flick.