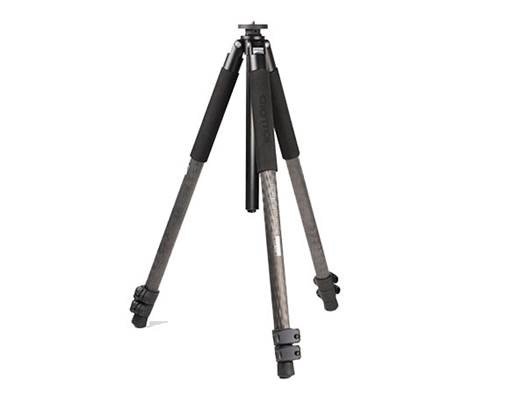
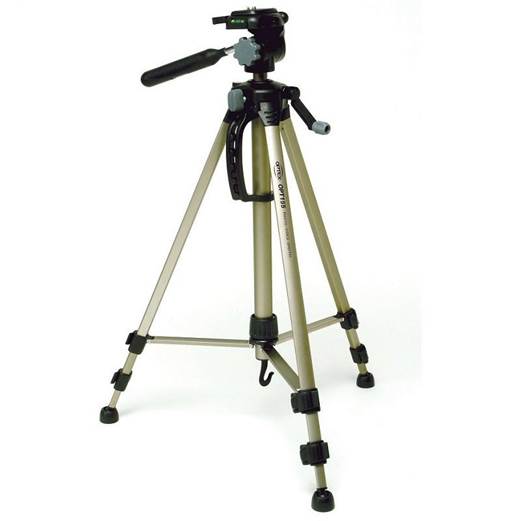
Premium tripods start at around $225,
where a whole range of top-quality options await. There’s a bit of everything
here, from ultra-light to giant size, but which will make the grade? Let’s find
out…
SOME FOLKS THINK they can get by without a tripod. Who needs one when you’ve got
super-fast lenses, image stabilization and six million ISO, right? Well, it’s
very likely, you do.
If you’ve never owned a tripod, or been put
off after struggling with a cheapie, you’re missing out. There’s not need to
break the bank, but at the lowest end they’re flimsy, a total pain to use and
get wrecked at the slightest bump. A good tripod is a pleasure to use, easy to
carry and will last years.

You
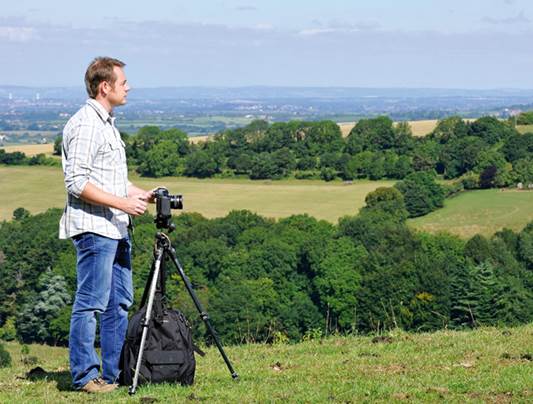
need a tripod to simply hold the camera precisely in position, in the studio or
waiting for the right light in a landscape
There’s so much happening when the light
gets low and kind of handholding. Not to mention deliberately slowing things
down for creative techniques like light painting, that wonderful milky water
look with dark ND filters, streaking car lights or fireworks. And just as
often, you need a tripod to simply hold the camera precisely in position, in
the studio or waiting for the right light in a landscape.
There’s saying about tripods: low cost,
sturdy build or light weight – you can have any two out of three. Good tripods
usually start around the $150 mark, but spending a bit more, like $225-300,
brings carbon-fiber in place of aluminum strength goes up and weight comes
down.
There are a few basic design types. The
familiar and popular classic style, like most here, in a wide range of sizes.
Then some that do clever things with the center column, allowing it to swing
down horizontally for close-up work. And there’s the cunning ‘folding traveler’
style where the legs pivot right up and back on themselves, resulting in a much
smaller closed length for transport. They’re all represented here.
Last, but certainly not least, don’t forget
the head. In some ways, it’s more important than the tripod itself as it’s the
head that actually moves the camera and is the part you work with. Heads that
come in a kit with the tripod are sometimes not the best, but they all have a
universal screw mount so you can buy and fit separately.
How to choose a tripod
Most tripods look similar, and you can’t
tell much about quality from the specifications, apart from obvious things like
height and weight. Some reviews measure stability by loading the legs to see
how much they bend, or by hanging weights off the head to see what it can take,
but that doesn’t reflect real use. More important is what they’re like with a
normal load. Putting up a tripod should be fast and easy, making a firm and
stable platform. Adjustments must be smooth and locks positive. You can’t put
numbers on these things, so it’s best to try a quick test.

Most
tripods look similar, and you can’t tell much about quality from the
specifications, apart from obvious things like height and weight
1. Set the tripod at full height and hold two of the legs around the
top section joint. Apply gentle weight and push one led while pulling the
other. The legs will flex and there may be some movement around the platform
pivots at the top. Note how much the joints flex.
2. Some movement and flex is normal, but do this with two or three
tripods side by side and you’ll soon get a feel for which are better designed
and more robust. Then take each joint and slide 3-4cm of the lower section back
into the upper. Try the same flex test, and you should find the legs stiffen –
handy when setting up for maximum stability.
3. Adjust the height, see how different tripods and leg locks compare.
Pull up the center column and check it in different positions. Take the tripod
down and close it completely. Repeat a few times, see how different models
compare for ease and speed.
4. To check the head, you need a camera, preferable with a long lens.
Frame up a few dummy shots and lock it in a position. Reposition it slightly
and relock it. Everything should be accurate, smooth and positive.
5. Test ball heads for nay positioning shift on lock-down. Close-ups
are good for this, especially in LiveView. Line up a subject and adjust the
friction so that the camera is only just held in position, then lock it down
firmly and see if the framing has moved. Do this a few times and see how easily
and accurately you can frame a shot exactly.
6. Drop the head over to put the camera in portrait position and check
that the quick-release plate doesn’t twist on the base of the camera. If you
have a heavier lens, use that as the extra weight will be more testing.
Features to look out for…
Look out for these features that can turn
an average tripod into a versatile and reliable three-legged friend.
Height For a
good working position, the camera should be between chest and shoulder height,
so you can view comfortably and also see the controls on top. Remember that
with a head fitted, the viewfinder will be raised about 15-20cm above the top
of the tripod platform.
Leg Sections
Three or four leg sections are popular. You get more height with four sections,
and they close down shorter, but most of the flex is often in the joints so
they can actually be less stable.
Leg Locks
Lever locks or twist-collar locks both have their pros and cons. Levers are
faster, and it’s easy to see if they’re properly closed or not. Twist-collars
are much more robust, self-adjusting for wear and less likely to catch on
things.

Lever
locks or twist-collar locks both have their pros and cons
Center Column The center column is a key component, greatly extending the height.
Use with care, though, as pushing it up too far reduces stability a lot. Center
columns are usually reversible to get right down to ground level. Sometimes
they can be tilted or swung down.
Ballast Hook
Look for a hook on the bottom of the center column to attach a bag or weight
for extra stability.
Monopod Option Sometimes one leg can unscrewed, bolted to the removable center
column and used as a monopod. Very useful.
Aluminum Vs. Carbon-Fiber It’s a simple choice between less weight and more cost. In theory,
carbon-fiber is better at dampening vibrations.
Minimum Height Extra leg-angle positions allow the legs to be spread wider,
getting the tripod right down low, or they can be used to level the tripod on a
slope. Sometimes the center column can also be split in two, to get even lower.
Feet Usually
the feet on a tripod are rubber, good for most purposes, or sometimes they can
be changes for spikes, ideal for grass but not on hard surfaces and will wreck
carpets! Best of both is a rubber foot attached to an adjustable screw that
turns to reveal a spike underneath. Neat.
Spirit Level
A spirit level, and sometime a compass, is always handy, but a spirit level on
the head is more useful feature.
Buy Well, Buy Once Cheap tripods are false economy. They wobble, can be frustrating to
use and damage easily. One dent in the legs can render them useless. You’d be
shelling out again in next to no time.
Get A Good Head The head is very important, it’s the main user-interface, the bit
that holds and moves the camera. Heads that come complete with the tripod are
often built down to price rather than up to a standard.