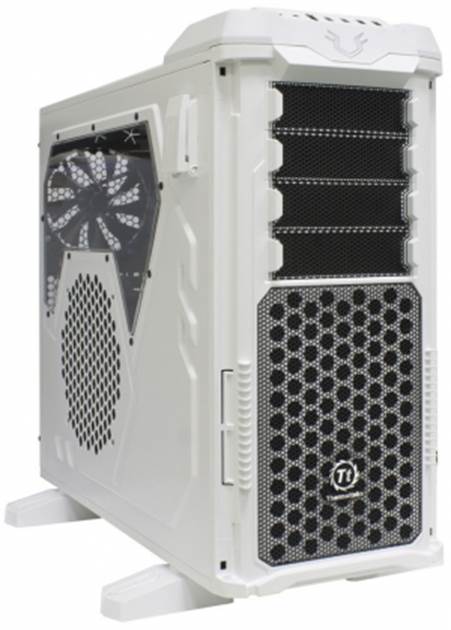
Thermaltake Armor Revo
This computer case show up in order to
replace the once best-selling Armor case of Thermaltake. Appearing with a new
name, we’re about to make a circle of researching for some kinds. Let’s see if Thermaltake
can be able to make us surprised.

Product
image
The aluminum wings on the sides of the
front panel are also a distinguished feature of the old Armor model. Their
value of feature is still questionable; however, it’s an aesthetic factor.
The tone values suitable for the exterior
devices are not only in white or black but also very harmonious with the silver
front cover thanks to its wings. Alternatively, these wings are not suitable
for the rest of the case, which is a questionable solution, especially when the
old Armor models (and the black versions of Armor Revo) have the wings coated
in the same color with the body. The white-painted aluminum doesn’t make
impression, but why don’t they choose silver rather than white for the color of
the entire computer case?
The wings are easy to remove. Each is fixed
by a couple of plastic clips.

The
case when removing the wings
Though, the exterior design doesn’t seem
much perfect without them.
The sides are sculptured with the image of
the mounting plates of the motherboard helps to improve the appearance as well
as the durability of the chassis but Armor Revo will still be solid enough despite
not having such design because it’s made from thick metal plates.

The
image viewing the bottom side shows the huge stands of the case and a large
dust filter.
These stands can be rotated around their
axis and fixed at a position of 45 degree tilt. They’re incredibly solid and
can’t be able to absorb the vibrations but follow the classic style of Armor.
The filter for the PSU slot is a mesh,
which doesn’t weaken the air flow much (compared to other dust filter) and adds
an optional 120mm fan below.

The
buttons and connectors
The I/O buttons and connectors sit on the
protrusion on the top of the case, so you can only approach them easily when Armor
Revo stands on the floor. Compared to Level 10 GTS which we have discussed
above, there’s one more position for the 2.5-inch and 3.5-inch disks, an eSATA port
and some buttons (to adjust the speed and highlights the fans).
The power indicator is designed as a
prominent icon on the front panel while the drive indicator is placed between
the Power and Reset buttons, so it can hardly read all if the case is placed on
the desk.
So, one more time, the buttons and the
connectors show that Armor Revo seems to be out of the users’ purposes.

Accompanying
accessories
The accompanying accessories looks amazing,
including the screws, user manual, cable belt (separate use as well as can be
reused), a computer speaker, a vibration-absorbing silicone for the PSU slots,
an adaptor from exterior 5.25-inch slot into 3.5-inch slot, and a connecting
wire for the power cable of CPU.
Each kind of screws is contained in
separate pack, so you don’t need to waste your time identifying each screw you
need and take them out from a pile of screws.
We have to admit that we can install the PSU
with the silicone pads. It doesn’t fit the slots.

The
front panel
It’s pretty easy to remove the front of the
case because its screws have different shapes from the ones on Level 10 GTS. They
are secured by a couple of screws at each position, so you can find a
replacement if they’re broken (though, the manufacturer may have included some
backup screws in the box).

Dust
filter
Removing the front panel regularly is
necessary. Though the dust filter of the front fan is not fixed at removable
side, as in Level 10 GTS, but it’s installed on the front that is opposite to
the fan, we can’t approach it without removing the front cover.