Shake to undo
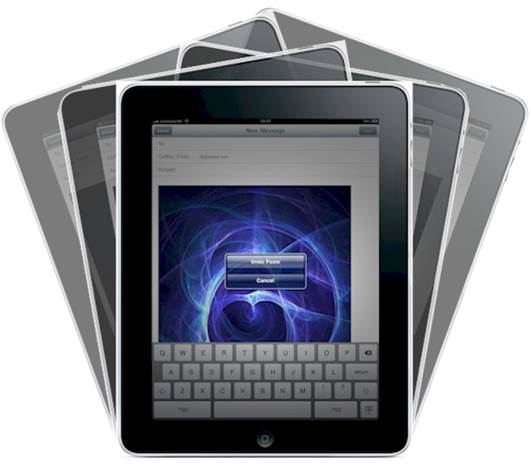
Made a typo? Simply shake the iPad
vigorously from left to right to bring up a button you can tap to undo any
recent typing. However, beware that this isn't quite the same as undoing typing
on a computer by hitting Ctrl+ Z (or Command+ Z on a Mac). If you undo typing
on iPhone, you'll likely lose the entire last sentence you typed rather than
the last word or letter. However, you can restore the text by again shaking the
iPhone and this time selecting Redo Typing!
Note that there's also an Undo button on
the numbers keyboard, which can be accessed by pressing the bottom left key on
the on-screen keyboard. It's surprising how many people don't know this is there
despite seeing it every day.

Simply
shake the iPad vigorously from left to right to bring up a button you can tap
to undo any recent typing.
Easily select paragraphs, sentences and
lines
Selecting text for copying or cutting
within iPad apps is never easy, but it can be straightforward if all you want
to do is select a line, sentence or paragraph. Just tap it with two fingers.
This can be a difficult technique to get right, particularly when selecting
single lines - the two fingers must be side-by-side and perhaps even pinched
together. However, once mastered it's a technique that can save a lot of time
and effort.
Use two-factor security
This is must for anybody who values the
data on their iPad. Apple recently came under fire for poor security procedures
that led, in one case, to hackers remotely wiping all the Apple equipment owned
by a journalist. They did this by changing his password via a glitch in Apple's
security procedures, then abusing a feature of Find My iPhone that lets users
wipe stolen devices.
Apple responded (eventually) with a
two-factor security system. This means that it's not possible to change your
Apple ID password or set up a new device without first entering a numeric
passcode that will be sent to one of your devices (or a specified mobile phone
number).
You can set up two-factor security at
appleid.apple.com. Do it now.
Access photo stream on windows
Believe it not, users of Microsoft Windows
computers have an advantage over Mac users because they don't need to buy extra
software to sync Photo Stream pictures on their computers. All they need to do
is download the free iCloud Control Panel application, which can be found at
support.apple.com/kb/DL1455.
Once installed, start the iCloud
application then ensure the Photo Stream option is checked and click the Apply
button to start syncing. You'll find a new favorites entry in Windows Explorer
that'll take you straight to the folder showing your main Photo Stream along
with any ones that are shared by you or with you.

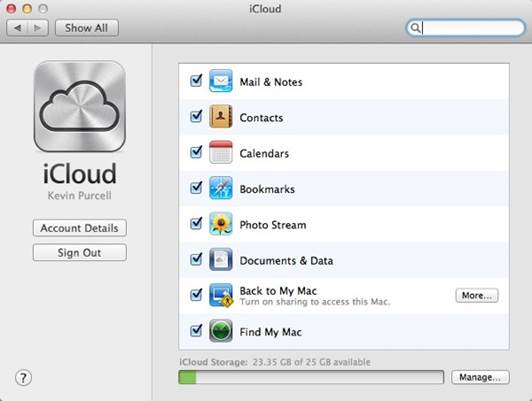
You
can access Photo Stream images taken on your Apple devices using the free
iCloud app for Windows
Perhaps strangely, any photos you manually
add to this folder aren't synced with your account's main Photo Stream.
However, you can add photos to shared photo streams by right-clicking any photo
anywhere within the file system and selecting 'Add to a Photo Stream', then
choosing a shared Photo Stream (you can set up a new shared Photo Stream if one
doesn't exist). To delete the photo from a shared Photo Stream, select the stream
within Windows Explorer and delete in the usual way
Zoom in further to pictures
If you open an image in the Photos app and
use the pinch-to-expand gesture, you'll see that there's a limit on how much
you can zoom in. If you absolutely need to zoom in beyond this range, a rather
odd if slightly elaborate trick can be used. Open the image in Photos, then
click the Share button and select to add it to a new Messages conversation.
Then send it to yourself (that is, type your own email address or phone number
in the recipient field). Switch to the Messages app and the photo will be
waiting for you as if you've just received it from somebody else, but if you
tap to view it full-screen, you will find that you're able to zoom into it via
the pinch-to-expand gesture much more than you can within the Photos app.
Strange but true!
Create fancy signatures
The default email signature is 'Sent from
my iPad', which can be changed, if you haven't already, by opening the Settings
app, tapping the Mail, Contacts, Calendars icon and tapping 'Signature'. Then
tap the text and edit it, or simply delete it if you don't want anything to
appear.
A little-known fact is that email
signatures can include text formatting such as bold and italics. To do so, type
some text, then highlight it by double-tapping and select the BIU icon from the
pop-up menu that appears (you may need to click the right arrow on the popup
menu to see this).
Signatures can also include hyperlinks, but
there's no way to type them when creating an email signature. Instead, you must
use a desktop computer to send an email to your own email address containing
the hyperlink and then copy this from an email (double-tap to select, then
select copy) and paste it into the signatures field in the Settings app (tap anywhere
in a blank spot and select paste).
Ask for a refund for an app
Sometimes you might buy an app in error or
buy an app that isn't as described. Sometimes apps are just poor quality.
According to Apple's terms of business, all purchases made through the App
Store are final, but you can put in a request for a refund if you have a valid
explanation. Usually these are honored.
Start by uninstalling the app on any device
you own. If you've been using the app, then clearly your claim that you don't
need it will be somewhat eroded. Open iTunes on your computer, then visit the
iTunes store by clicking the button at the top right of the program window.

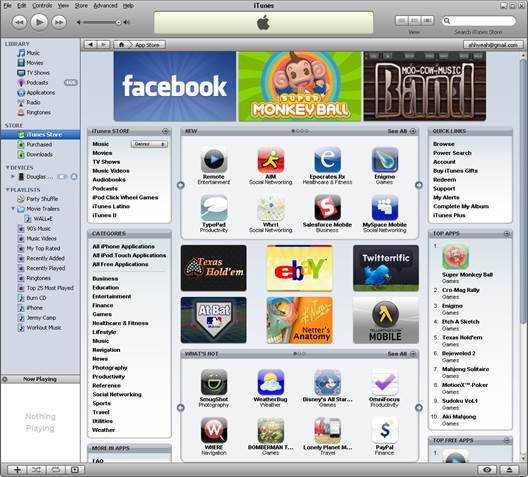
Apple
App Store swells to 250,000 apps
Click and hold the button showing your
iTunes username or Apple ID at the top left of the window, then select the
Account entry in the menu that appears. Scroll down to the Purchase History
heading, then click the See All button to the right of it.
If you've just made the purchase, click the
Report a Problem button. If the purchase was made a few days ago, look for the
date when you purchased it in the list and click the small arrow icon to the
left of the date (note that the app itself might not be listed). Then, in the
list that appears, click the Report a Problem button.
Regardless of where you click the Report a
Problem button, doing so will add a new link alongside the app within the list:
Report a Problem. Click this and a form will appear. Click the entry from the
Problem drop-down heading that relates best to your issue. Then describe why
you want a refund - keep it polite, and remember that saying an app is poor
quality is perfectly reasonable. Click 'Submit' when done.