To be able to perform shooting backlit, place
behind the objects a light source and instead of metering the subjects as
normal, metering in light areas of the image.
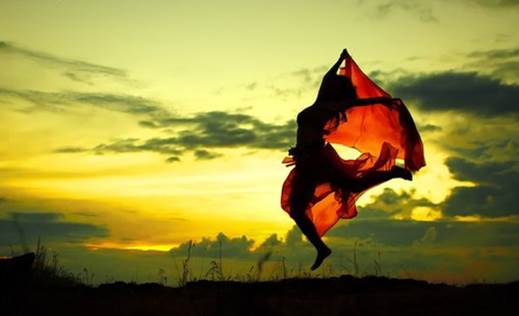
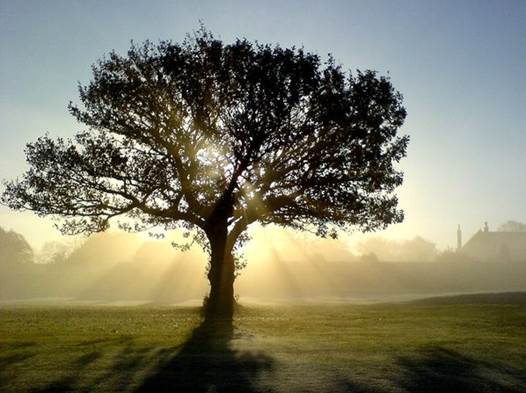
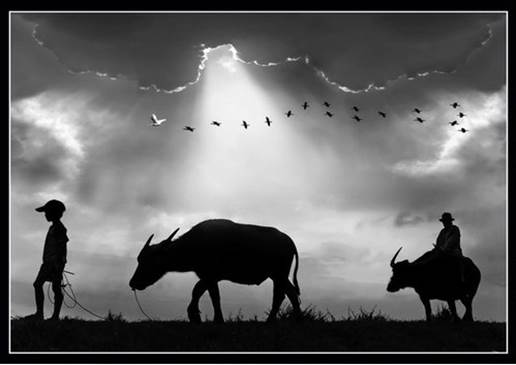
Backlit photos (silhouette) are the pictures
created by dark cubes that stand out from the light background. Specifically, in
a backlit photo, the subject of the picture will look like a black cube that was
removed details to create a strong contrast with the bright frame.

Backlit
sample photo
To be able to perform backlit techniques,
you simply need to place your subject so that the light comes from the rear
side of the subject; and instead of metering the subject as usual, you will
have to measure bright areas of the picture. This will make the subject to be
underexposed and became a black cube stands out from the frame.
Down below are some basic techniques for
shooting backlit, which have been compiled from a number of websites and
prestigious photography forums:
Background light for subjects
In backlit images, the easiest way to
create background light is to put the subject so that the sunlight comes from the
rear side of the subject. Note, the more perpendicular is the sun with the
sample, the more easily you create a backlit photo with strong contrast.

Sample
picture
Similar to other shooting techniques, the
best time to take the shot of this genre is at dawn or when the sun begins to
set. Of course, it can also be easy to create a backlit photo right in your own
home by placing a light source behind the subject; or you can use the natural
light from the windows.
The subject for backlit photos
Any object can be used as a subject in
backlit photos. However, to get the beautiful shot that impressed the viewers,
you should choose objects that are cube-shaped or objects that have clear
contour - as once get on the image, all internal details or colors would be
completely eliminated.
Background Metering
For a backlit photo, select to meter one of
the bright areas of the background instead of metering directly into the
subject. To do this, you just need to simply point the lens into the light and
contrast areas, then press the shooting button so that the camera can meter automatically
and give corresponding aperture / speed specifications. Once you have these
apertures and speed values, remember them to set them correctly back in the Manual
mode then. If you already have a little experience in photographing and love full
manual mode, you can measure the background brightness and then press the lock
button and then re-layout the frame.
Capture automatically or manually customize
Most modern cameras are equipped with
automatic exposure system with high precision to ensure that the subject of the
photo is bright enough. However, because of being so "smart", users
will face a little trouble when the camera automatically brighten the subject -
in stark contrast to make the subject overexposed in silhouette shooting
 .
.
Sample
picture
Therefore, if you use the Auto mode or
Semi-Auto mode, you must press the shutter button lightly and keep on holding
the button while trying to re-layout the picture, and then press the button
heavily to take the shot. With most modern cameras, you can take backlit photo
in this way. However, the photos are sometimes not really sharp if using
autofocus mode.
With full manual mode, the simplest way is
to use the aperture parameters and speed that the camera calculated when
metering the background in Auto mode. If the subject was not really dark as
desired, continue to clock 1 or 2 aperture; or you can also use the
"bracketing" feature so that the camera can capture automatically in
several different exposure levels.
Turn the flash off

Remember
to turn the Flash off if you want to take backlit photo
Light from the flash integrated on the camera
will light up the subject and ruin your backlit photo. So, always remember to
turn off the flash, especially when you use the auto mode.
Layout
A beautiful backlit photo should also have
a good layout. The harmony between subject and background helps your photo looks
more interesting and far more attractive. Photographers can take advantage of
the surroundings such as window frames, roof or canopy to make the photo looks
more vivid, closer to viewers.
Focusing

Sample
picture
In photography, to get a nice photo, in
addition to the layout, the sharpness is also a very important factor. If you
use the autofocus mode when shooting backlit, you will inevitably encounter
difficulties as the subject does not have a good contrast ratio; or when
metering the background and using the auto mode.
To solve this problem, you can switch to use
the manual focus mode (MF) to focus on the subject before metering the
background. Conversely, if you are not confident in your manual focus ability,
use a large depth (set at about f/16 aperture) to ensure that the whole scene
is always sharp.