Dynamics – transient pleasures
Compression, gating and anything else
(including all types of distortion) that affects the level – or perceived
loudness – of a sound fits the definition of a dynamics processor. Compression attracts
obsessive connoisseurs in the same numbers as distortion – vintage gear is
prized for the way it colors the sound, which is why plugin developers the
world over strive for perfect emulations of classics like the LA-2A.
Despite this once advanced technique being
more or less common knowledge these days, compression can often still seem like
a bit of a black art to the humble novice, so with that in mind, let’s take a
moment to run through the basics. A compressor is a device that simple controls
the volume of a signal, and it does this primarily using four parameters:
threshold, ratio, attack and release. A detector circuit measures the level of
the input signal, and if it catches wind of anything exceeding the threshold,
it turns down the volume. The ratio parameter dictates how much the signal is
turned down, while the attack and release times respectively control how fast
that reduction in volume happens and how quickly the signal returns to its
uncompressed level afterwards. It really is as simple as that!
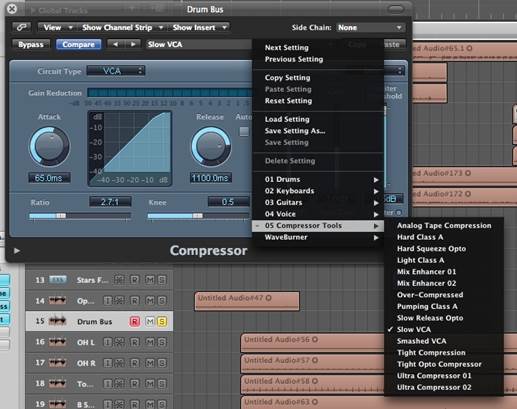
A
compressor is a device that simple controls the volume of a signal, and it does
this primarily using four parameters: threshold, ratio, attack and release
Pushing compressors to their limits creates
wonderful noises that can sound great in their own right, but more often are
best combined with the unprocessed – or ‘dry’ – original signal. This is called
parallel processing, and it’s now so ubiquitous that software and hardware
compressor manufacturers generally include a wet/dry mix control in their
compressor designs to give one-knob access to it.
The other massive (and, arguably, rather
tired) current trend is sidechain compression, where a separate sound is sent
to the detector and used to lower the volume of (‘duck’) the input signal. This
often takes the form of the kick drum ducking everything else (for that pumping
house sound), but there’s more to sidechain compression than that.
Here we’ll see how introducing some extreme
compression can give our kick and snare the welly they need to thump through
the mix, and also how sidechaining, sidechain filters and sidechained gates can
help clean up the bottom end and stop sounds fighting each other. In the
process, we’ll demonstrate the use of different flavors of straight-up,
parallel and sidechain compression, including deploying SPL’s Transient
Designer, and six UAD 1176s!
Step by step: Kick and snare drum
compression
- Before starting with the compression,
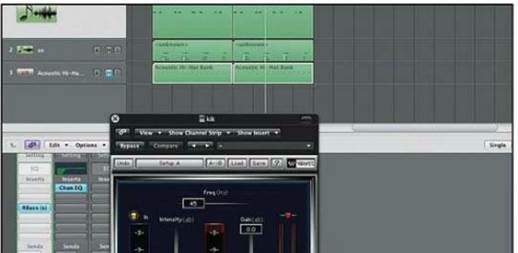
we’re going to need a bit more oomph from our kick drum. The RBass plugin,
from Waves, synthesizes sub-harmonics (ie, creates sub-bass), but also
creates some useful distortion when you internally clip it. There’s a fair
amount of sub on the kick already, so it soon distorts nicely.
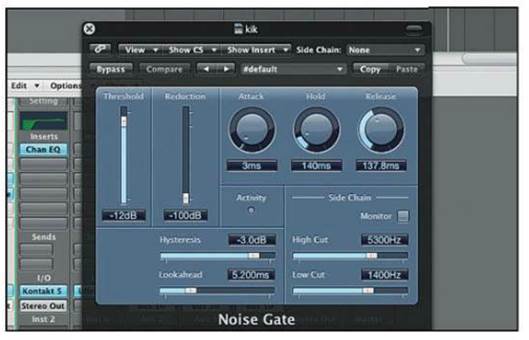
- The kick drum is long, and may prevent
the snare from really kicking ass. To shorten the kick we use a Noise
Gate. Setting the sidechain filter to only ‘hear’ the upper mids and the Lookahead
to 5ms allows the full attack transient from the kick through, then
cuts the long, rumbly sub-bass tail just before the snare hits.
- After EQing out a little sub and adding
some top to the snare channel, SPL’s Transient Designer is inserted to
emphasize the attack transients. Lowering the Sustain control
reduces the level of the snare’s decay a little. We then insert SPL TwinTube
and crank the Harmonics control – this adds upper harmonics, giving
the snare a brighter ‘crack’.

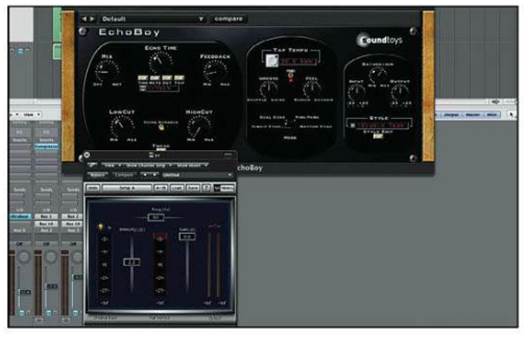
- SoundToys Echoboy is inserted, set to a
short 16th-note delay and a few repeats to lengthen the snare sound.
Another RBass plugin is then put at the end of the chain to create a new
set of sub-bass frequencies, resulting in a longer, deeper and heavier
snare. (Kicksnare_before_plugins.mp3, Kicksnare_after_plugins.mp3)
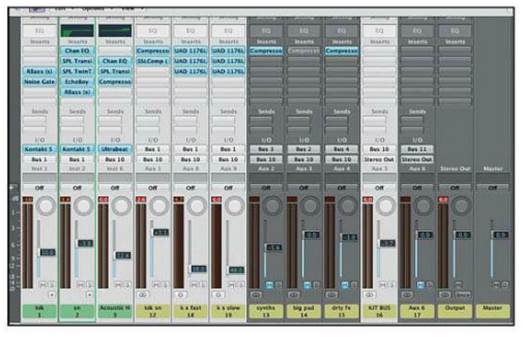
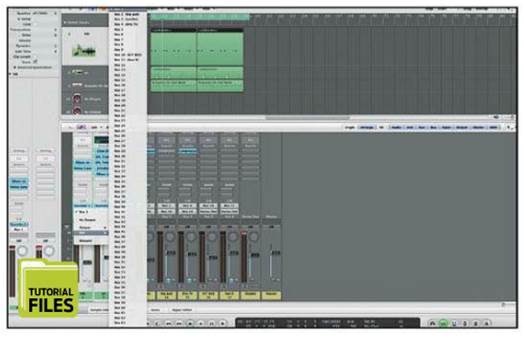
- Now we need to route the kick and snare
channels to a shared buss. In Logic, select both the channels and choose Bus
1 from either track’s Output menu. A new auxiliary buss will
appear in the mixer, which we’ll name kik sn. Now we can process
both drums simultaneously (and also use Bus 1 as a sidechain source).
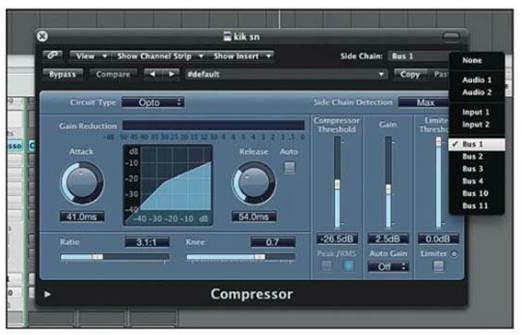
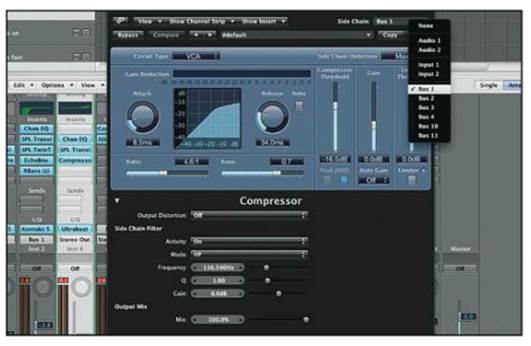
- Insert a compressor over kik sn.
This will be the first of two buss compressors for the group, and it
sounds good but could be snappier. Here’s how to make it respond to the
kick/snare transients and ignore the sub-bassy bit. Once you’ve got the
compressor set up as shown above, choose Bus 1 from the Side
Chain menu.
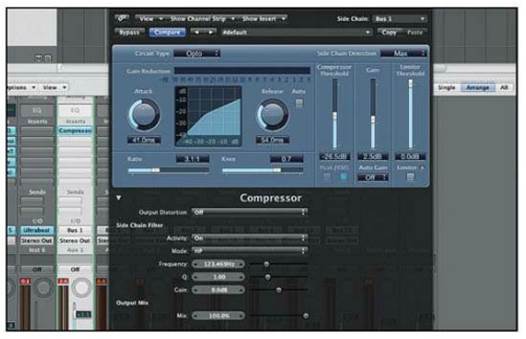
- Clicking the little triangle at the
bottom right opens a hidden control panel. In the Side Chain Filter
section, set Activity to On, and use the high-pass filter to
remove everything below 123Hz from the detector signal. We’re now using
the kik sn signal minus sub-bass to trigger the compressor over the
kik sn buss, resulting in a snappier sound. (Kicksnare_bus_sidechain_compressor.mp3)
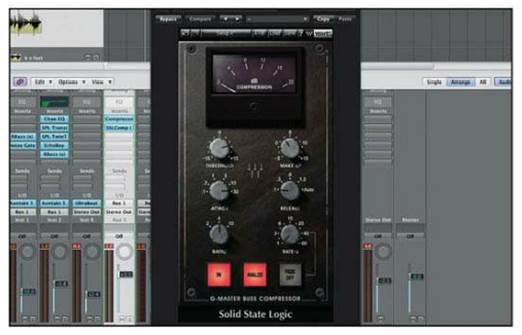
- Different types of compressor work well
together. In this case, we insert a Waves SSL Bus Compressor next in the
chain, with a long Attack and a fast Release. This allows a
good whack of transient through but has the overall effect of making kik
sn quieter, so use the Make Up control to add 3dB of
level. (Kicksnare_bus.mp3)
- Our hi-hat part needs a little brush-up,
so after adding some high frequencies using a broad shelving EQ, we insert
another Transient Designer to mess with the way the hi-hats are
‘speaking’. This time a little bit of Attack is used, but it’s the
healthy dollop of Sustain that brings out the real action in the
second.

- Now we’re going to duck the hats with the
kik sn signal. Insert a compressor, select Bus 1 from the Side
Chain menu and open the bottom panel to filter the signal going to the
detector, as before Messing with the filter, Threshold, Ratio
and Release will make the hi-hats sit in with kik sn in a
groovier way. (Kicksnare_bus_sidechain_hats.mp3)
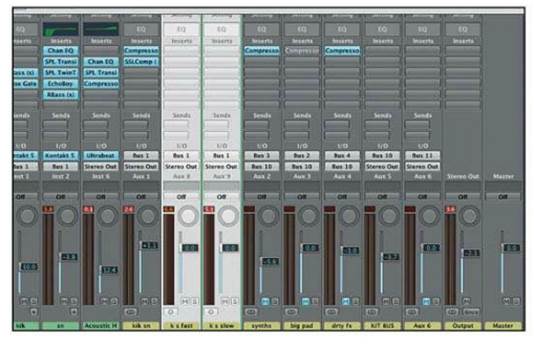
- Now we’ll prepare the way for some
parallel compression – that is, running the compressed signal alongside
the original. Create two new auxiliary channels in the mixer and set them
both up with Bus 1 as their input source. Label one k s fast and
the other k s slow. Now we have three drum busses all routed to the
main stereo output.
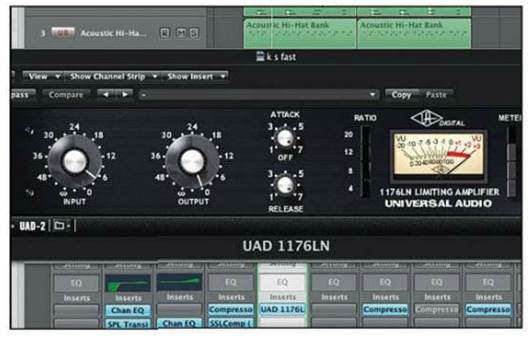
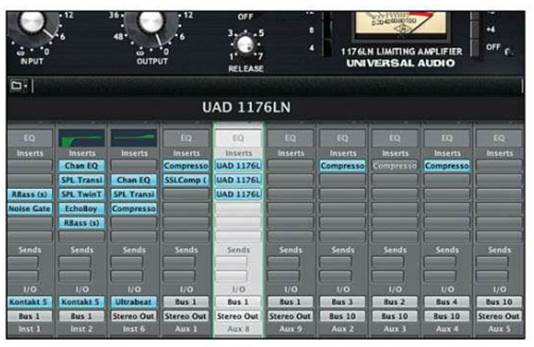
- We insert a UAD 1176 compressor in slot 1
of the k s fast buss. In the spirit of extremeness, we’re going to
‘dime’ it (turn everything up to full). Attack and Release
times are set to maximum, all the buttons are pushed in, and the input and
output are maxed. And yes, it is distorting!
- Next, we add another two identically set
compressors in the following slots. The result is a terrifying mess, but
if we turn down the k s fast buss we can hear that we have a very
long, flattened-out, driven and harmonically rich version of our kick and
snare. (Fast_compression_stack_only.mp3)
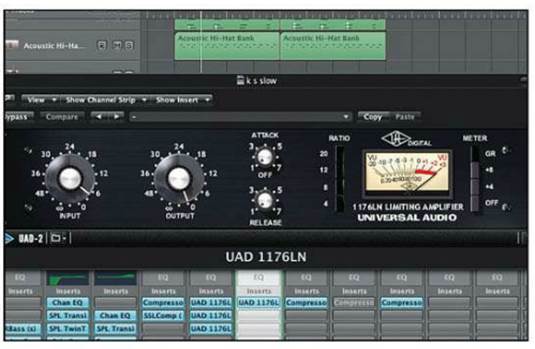
- Next, we sort of repeat the process with
the k s slow buss, but this time we set the Attack and Release
times to as slow as possible. We’re still driving the hell out of the
compressor, but the results will be a bit different.
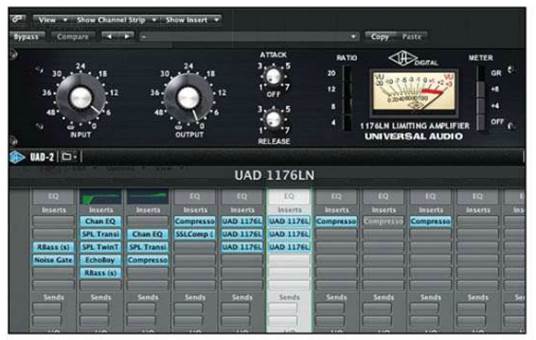
- Once again, we add another three
duplicate compressors to the chain. The point of all this is to show you
ways of bringing out qualities that you may not otherwise be able to get
at in your sounds. Stacking compressors, or even gentle tape or analogue
mixing console emulators, can help you create depth that wasn’t there
originally. (Slow_compression_stack_only.mp3)
- Now we take our original kik sn
buss and our k s fast and k s slow parallel busses, and
route them all to a new master drum buss called KIT BUS. We can
rebalance the original and the extreme busses to create a much punchier
and more exciting sound than we started with. (All_drum_compression.mp3)
