Got something to say but need more
time to say it? Halt the action with Final Cut’s new Freeze Frame tool
Difficulty:
Intermediate
Time needed:
15 minute
Do you remember playing a game called
‘Freeze Frame’ at school? The idea was to get into groups, create a scene or a
pose, and when the teacher shouted ‘freeze’, you would freeze on the spot. No?
Just us then. Freeze frames are used in films and television to highlight a
specific event, action or reaction. They can also be used to provide more
information – news bulletins will freeze a frame of action and put text over
the top of it, which will detail additional facts about that news item.
Whatever your reason for freezing the
action, the Freeze Frame tool is a new addition to Final Cut Pro X and enables
you to create a freeze frame from any of your project clips in just a couple of
clicks. All you need to do is file through this straightforward nine-step tutorial
and annotation and you’ll be adding another professional finish to your Final
Cut repertoire. So without further ado, fire up Final Cut Pro X and get ready
to put a stop to the action.
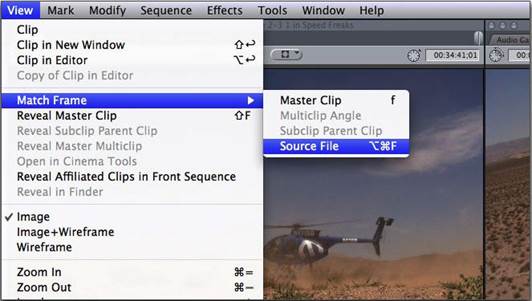
Freeze
frames are used in films and television to highlight a specific event, action
or reaction.
Everybody freeze!
Add another dimension to your
projects
Event Browser view
If you’re creating a freeze frame from the
Event Browser, use the View buttons to adjust the way the clips look. This will
give you more space to find the right clip frame to freeze
Knowledge base - Freeze frames explained
Freeze frames are just like any other clip
in your project. They can be treated the same as other clips. They can be moved
anywhere within your project or be used as a connecting clip or within a
connecting storyline. You can also apply effects and transitions to your freeze
frames – in exactly the same way that you would with other clips
Event Browser spotlight
Looking to freeze something specific? If
you know the name of the clip that you want to find in the Event Browser, type
its name in the search box to quickly and easily locate it
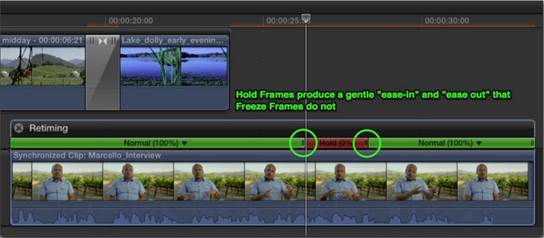
Freeze
frames are just like any other clip in your project.
Video Skimming
For more accurate frame finding, turn off
Video Skimming so you can view each second of the clip when dragging the
Playhead over the Timeline. Single-click the illuminated Skimming icon to turn
it off
Zoom slider
Drag the Zoom slider left or right to
increase or decrease the number of frames you can see on the Timeline. This can
help you find the frame you’d like to freeze quickly and efficiently
Step-by-step: Final Cut Pro X Get to grips with Freeze
Frame
1.
Get started
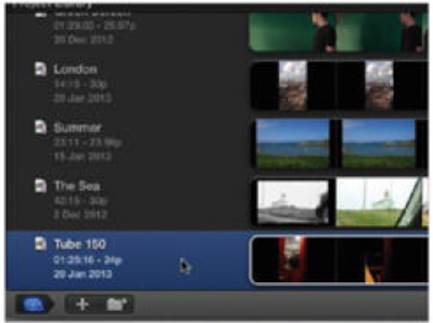
Navigate to the Project Library and open
your project in the Timeline. Can’t see the Project Library? Click the Window
menu and Show Project Library.
2.
Find a frame
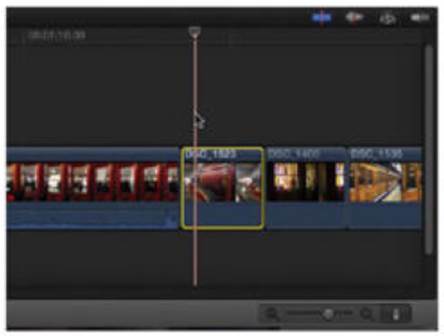
Click the Playhead and drag it along the
Timeline to locate the frame that you’d like to freeze. Use the Viewer as a
guide to finding the right clip.
3.
Freeze the frame
Select the Edit menu and choose Add Freeze
Frame from the drop-down. The freeze frame will be made and placed on the
Timeline, next to the Playhead.
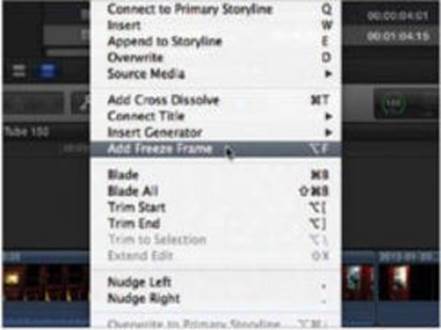
The
freeze frame will be made and placed on the Timeline, next to the Playhead.
4.
Choose the length
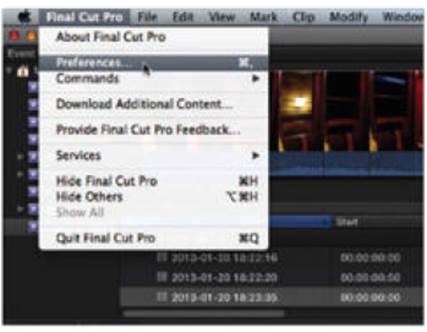
By default, the length of the freeze is
four seconds. To change this, click Final Cut Pro X and choose Preferences.
Click the Editing icon.
5.
Change the time
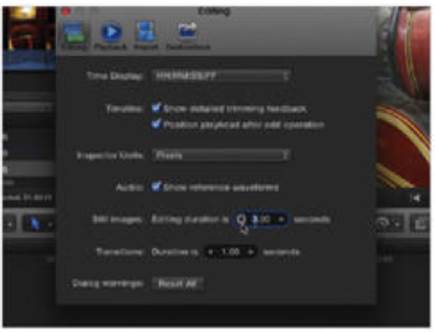
Next to Still Images, click on the up and
down arrows to increase or decrease the default length of time for your freeze
frame. Close the Preferences window.
6.
Freeze an event
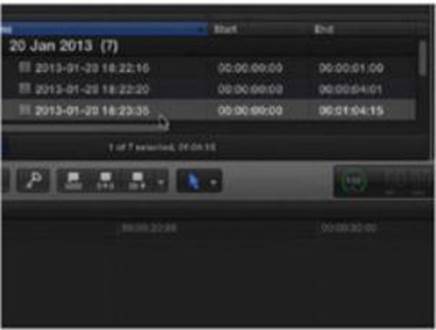
You can create a freeze frame using a clip
which isn’t in your project. To do this, navigate to the Event Browser and find
the clip you’d like to use.
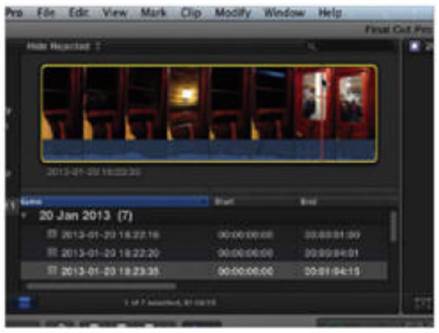
7.
Find another frame
Move the Playhead to the part of the clip
that you’d like to freeze frame. Use the Viewer to guide you. Once you’ve found
it, single-click to mark the place.
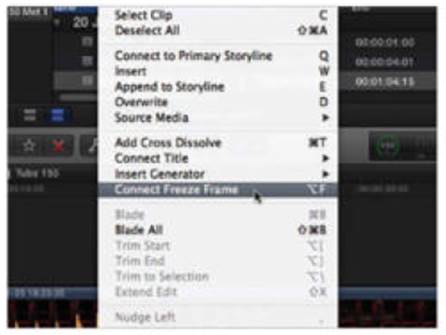
8.
Stop the action
Next, choose the Edit menu and select
Connect Freeze Frame. This will create the freeze frame, but as a connected
clip above the main storyline of clips.
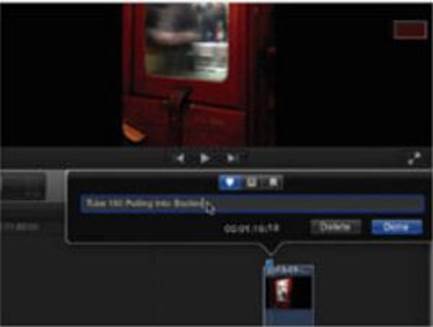
9.
Add to Event Browser
To add the freeze frame to the Event
Browser, add a Marker by selecting the frame and pressing the ‘M’ key.
Double-click the Marker and add a label.
Add
to Event Browser