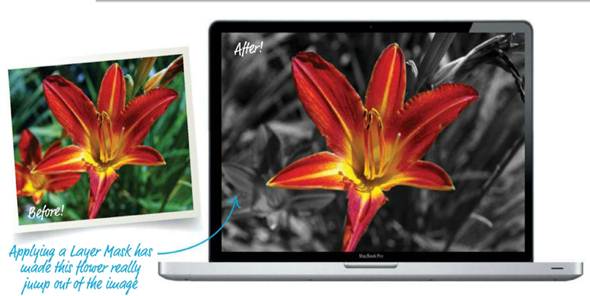
Masks away areas to make other elements pop
from the page

Selective
colouring with Masks
1. Set up the basics
Make sure your image is in RGB format
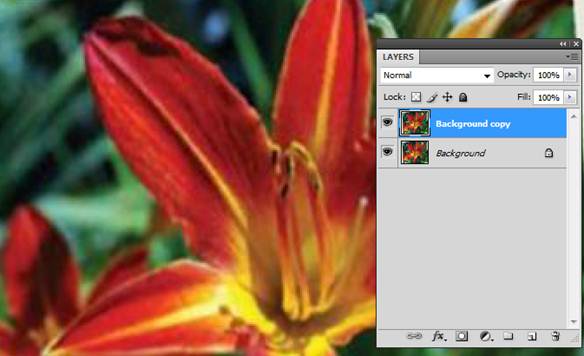
(Image>Mode>RGB). Next, make a copy of the Background layer
(Layer>Duplicate Layer). Click the bottom layer in the Layers palette and
ensure the Adjustment Layer palette is visible via Window>Adjustments.

Set
up the basics
2.
Get ready to isolate
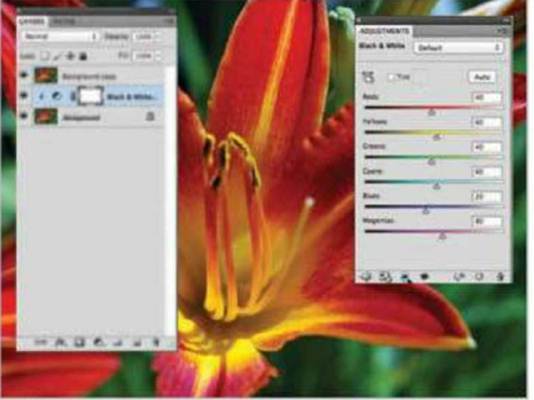
Press the Black and White Adjustment button,
then at the base of this palette press the black and white circle icon to clip
the effect, meaning it will only apply to the layer below. Click the top layer
in the Layers palette and zoom in to the flower.

Get
ready to isolate
3.
Trace your shape
Select the Magnetic Lasso tool from the
sidebar and trace the edge of the flower. Always end the path closed, an active
selection will appear. Press the Mask icon at the base of the Layers palette.

Trace
your shape
4.
Mask and feather
Adding the Mask will leave only the flower
section coloured. If this isn’t the case and the wrong part of the Mask is
showing, press Cmd/Ctrl+l to invert. Go to feather to soften the Mask edges.

Mask
and feather
3 of the best…
Alternative uses for Layer Masks
Selective
editing
If you want to target a specific area of an
image then it’s easy with Masks. We have sharpened our model’s eyes, so first
our background layer was duplicated, the top layer was sharpened, then the
unwanted area is masked away leaving behind only the tweaked eye area.

Selective
editing
Image
swap
It’s common to want to swap out one sky for
a more suitable one and once more, Masks can help. Add a Mask to your layer,
paint away the unwanted sky then drag and drop in the new layer, placing at the
bottom of the layer stack.

Image
swap
Create
text
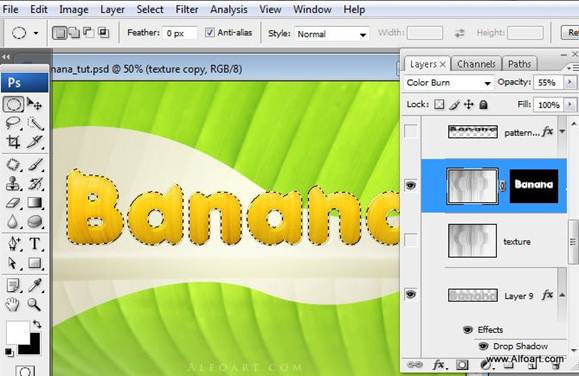
Adding texture to your text is easy! With
your chosen texture open, use the Type tool to write what you want.
Cmd/Ctrl+click onto the text layer to male an active selection then click onto
the editable texture layer and add a Mask.

Create
text