Once you’ve mastered this helpful Photoshop
tool you won’t ever be able to live without it
What you’ll need…
·
Editing software with the Layer Masks
·
Staring photos
We used…
·
Photoshop CS5
You could try…
·
GIMP
·
Elements 10
What you’ll learn…
·
To make non-destructive edits
Foreground/Background
·
These always need to be black or white – black
erases and white reveals. Press D to reset to black and white then press X to
switch.
Tool options
·
You can make use of tools such as the Marquee
and Pen tools – as long as you can create an active selection you can Mask away
quickly and easily.
Brush tool
·
In the Layers palette, set the blend mode to
Normal and set the Opacity depending on the effect you’re after. For precise
work use a hard-edged brush.
Multiple Masks
·
You can have multiple Masks in one piece of art
and on the same Layer, just make sure you’re always clicked onto the Mask
thumbnail and not the photo.
Extra controls
·
Click the Refine Edge button in the Masks palette and discover even more ways to tweak your
photo, even tidying up any messy edges by shrinking the Mask!
Add a Mask
Add a Mask by pressing the icon at the base
of the Layers palette. Also open the Mask palettr via Window>Masks, where
you can adjust settings.

Use
Layer Mask for safe photo editing
Layer Mask allow you to edit specific parts
of an image leaving the remaining areas untouched and unaffected by any changes
applied. It’s such a useful feature that we use them in nearly every project we
do and it’s available in all versions of Photoshop and Photoshop Elements.
Using a Mask when editing your shots means
you can always revisit it and make areas visible once more by just switching
the foreground and background colours. Or simply drag the Masks thumbnail over
the Trash icon to delete and start all over again.
The most important things to remember when
working on a Mask is that painting with the Brush tool set to black will hide
areas, whereas painting with white will make items visible. If at any time you
find your Mask isn’t working, just check these colours are correct in the side
tool bar and press X on the keyboard to switch them if necessary.
Use the Brush tool as you normally would
varying the size and opacity to get the effect you’re after. With practice
you’ll quickly learn what type of brush tip best suits your project. A softer
brush is best to blend two layers together, whereas a hard-edged brush or even
the Pen or Marquee tool will be better for cutting out objects more precisely.
So, before starting off, read through our
easy-to-follow guide to Masks and then pick out your photos to get started.
Technical tip
If the Mask thumbnail appears black not
white, invert the Mask properties by pressing Cmd/Ctrl+l, or swap
foreground/background colours using the shortcut ‘X’.
“Using a Mask when editing means you can
always revisit it and make areas visible once more”
Introduction to Layer Masks
Learn to set up the tool correctly for the
best performance

Introduction
to Layer Masks
1.
Location
Layer Masks can be found at the base of the
Layers palette – it’s the small grey square with a white circle in its centre.
It is only visible if you have made your Background Layer editable. To do this,
simply double-click on it, which gets rid of the padlock icon.
Location
2.
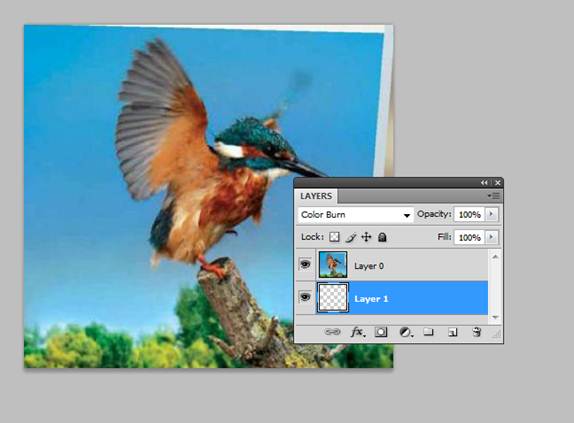
Add the Mask
Click and highlight the Layer you wish to
add the Mask to. Press the Mask icon and you will see a thumbnail appear next
to your Layer. Click onto this new thumbnail to make sure you apply your edits
to this part of the layer only and not the photo.

Add
the Mask
3.
Brush settings
Select the brush tool from the sidebar. In
the top options bar make sure the brush is set to a normal Blend mode. Ensure
the foreground. Background coloured squares in the side toolbar are set to
black/white so that you can erase sections of the image.

Brush
settings
4.
Hide and reveal
Paint over your canvas and wee areas
disappear. To make the areas visible again, switch the foreground/background
colours to white/black – black erases and white fills in. you can invert the
areas that are masked and visible using Cmd/Ctrl+l.

Hide
and reveal