Another hardware button can be found on the
mainboard's PCB. It enables the MemOK! feature to re-boot your system in case
of memory-related problems. The P8Z77-I DELUXE also carries traditional Asus
TPU switch for automatic CPU overclocking but lacks Power and Reset buttons
typical of DELUXE products. That was good because compact mainboards are not
normally used as testbed components.

The
P8Z77-I DELUXE also carries traditional Asus TPU switch
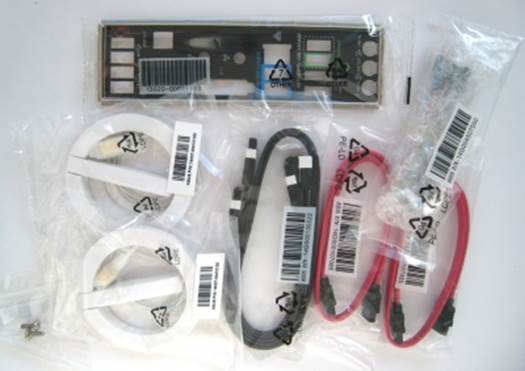
The accessories aren’t particularly
numerous. Besides four SATA cables and an I / O Shield, there are two antennas,
a handy splitter to connect buttons and indicatosr of the system's case, and
two long screws. The latter have to be used instead of standard screws
because two mounting holes in the mainboard’s PCB are combined with thick
fasteners of the VRM daughter card.
The
accessories aren’t particularly numerous
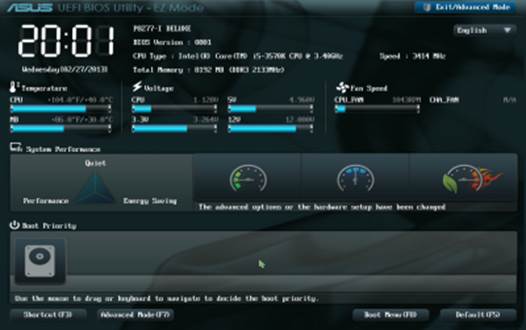
The P8Z77-I DELUXE has a standard graphical
BIOS interface, you can see with all the modern Asus mainboards. The Mini-ITX
form-factor doesn’t seem to have limited the BIOS options, but the P8Z77-I
DELUXE still can’t match the setup flexibility of its full-size DELUXE
counterparts.
A
standard graphical BIOS interface
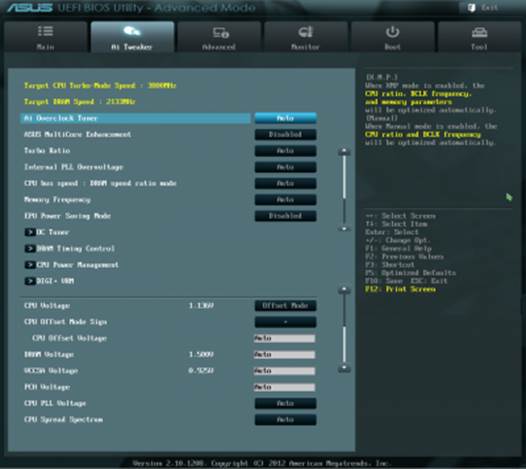
It can provide a set of CPU overclocking
options. You can adjust both the base clock rate and the CPU frequency
multiplier. The latter can be set to dynamically change depending on the number
of active CPU cores. CPU voltage can be set as an absolute or an offset value.
There are also settings to change memory and system agent voltages. Besides
increasing, you can also reduce the voltage, which can be handy for an economical
computer.
CPU
voltage can be set as an absolute or an offset value.
VRM setting can be found in a separate
sub-section. There are a few of them here, but they include an option of
multistep counteraction to voltage drop. You can choose from five Load-Line
Calibration modes.

VRM
setting can be found in a separate sub-section
Another section allows you to control the
CPU-related technologies.
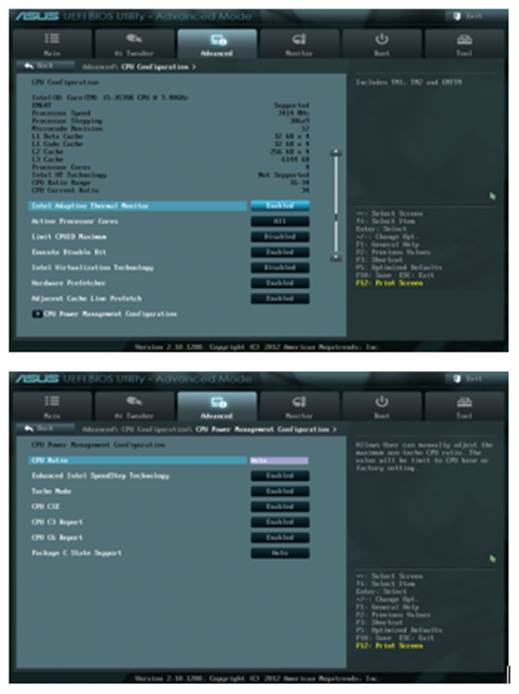
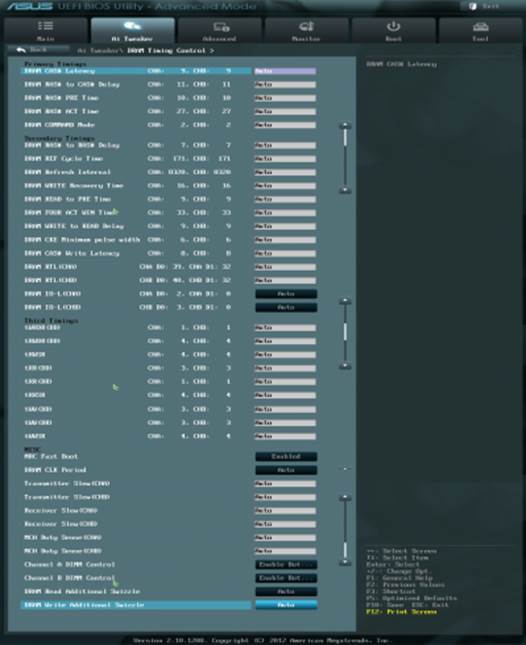
Memory
subsystem settings are abundant
Memory subsystem settings are abundant, but
fortunately, you do not have to manually configure them. The mainboard supports
automatic configuration as well as XMP profiles.
A
handy firmware update utility
The BIOS also provides a handy firmware
update utility, another utility to view the XMP profiles and tools to manage
profiles with settings. In other words, it has everything that an overclocker
need to experience.
And yet, our impressions about the ASUS
P8Z77-I DELUXE as an overclocker-friendly platform are not at all positive. It
only has one uncomfort issue. The CPU frequency multiplier gets stuck from time
to time, ceasing to react to the value you set in the BIOS. It is especially
annoying that the mainboard’s lack of reaction to your tweaking the CPU cannot
be spotted before the OS boots up because the boot screen of the mainboard
shows wrong CPU frequency information, as is typical of all asus products.
Unfortunately, the mentioned problem still exists in the newer BIOS version, so
it is quite a difficult task to find the optimal overclocking parameters,
especially because you have to regularly wake the mainboard up from its stupor
by pressing Clear CMOS.
The other inconvenience is that the Asus
P8Z77-I DELUXE is too smart. When you overclock, it begins to increase the base
voltage of the CPU without letting you know about it. So when you need to reach
a particular voltage, you have to do it by trial and error. Another method -
setting CPU voltage by entering an absolute value – is not desirable because
the mainboard stops to lower that voltage at low CPU loads. It is not good for
a mini-ITX platform to be uneconomica in terms of power lines.
|
ASUS P8Z77-I
DELUXE’s specs
·
Manufacturer: ASUS
·
Socket: Intel Socket 1155
·
Form Factor: Mini ITX
·
Chipset: Intel Z77
·
CPU onboard: None
·
Supported CPU: Intel Core i7; Intel Core i5;
Intel Core i3
·
Memory slots: 2
·
Maximum supported memory: (Gb)16
·
Type of Ram that being used: DDR3
·
OC: 2400MHz OC
·
Internal connectors: USB 2.0 ; SATA; 24-pin
ATX Power; 8-pin ATX 12V Power; system panel; speaker; S/P DIF input/output;
SATA 6Gb/s; USB 3.0
·
Rear connectors: External SATA port; LAN
(RJ45) port; USB 2.0/1.1 ports; PS/2 port; Audio I/O, VGA onboard (D-sub);
USB 3.0/2.0 ports
·
USB ans SATA ports: USB 2.0 x 8; USB 3.0 x 4;
SATA II 3Gb/s x 2; SATA III 6Gb/s x 2; eSATA x 2
·
Expansion slot: PCI Express x16 (x1)
·
Associated assessories: user manual; ASUS
Q-Shield; ASUS Q-Cable; cáp 2 x SATA 3Gb/s; 2 x SATA 6Gb/s; 2 x Wi-Fi Ring
Moving Antenna
|