Tracking calories can be a nightmare, but
Calorific makes it as easy as one, two, three
Anyone who’s ever tried to lose weight will
tell you that counting calories is the key to dropping pounds. It makes sense;
with fewer naughty high-carb and high-fat treats going in, your body begins to
deplete your fat reserves for energy. Unfortunately, calorie counting is a
nightmare of squinting at packaging, and many a diet has failed because it just
becomes too time-consuming.
Fortunately, Calorific makes the whole
thing a doddle. Rather than encouraging you to count calories, it instead
divides common foods into groups and lets you enter approximate quantities. Its
traffic-light system means that food foods such as fruit, vegetables and whole
grains are prioritized, and naughty things are admonished. It makes the process
of tracking food intake really easy and – more importantly – hugely rewarding.
1. Get Calorific
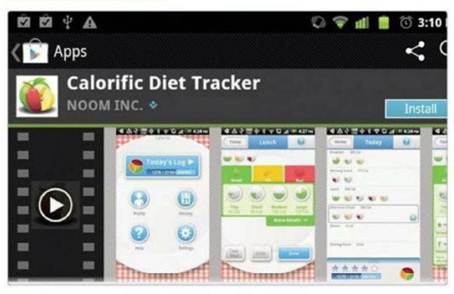
Get
Calorific
Search Android’s Play Shop for ‘Calorific’,
tap on the results and then tap again on ‘Install’. Be sure to accept the
conditions and then download it to your device. Once Calorific has been
installed, tap ‘Open’ to get started. If you want a brief overview of how
Calorific has been installed, tap ‘Open’ to get started. If you want a brief
overview of how Calorific works, simply tap to watch the explanatory YouTube
video.
2. Settings
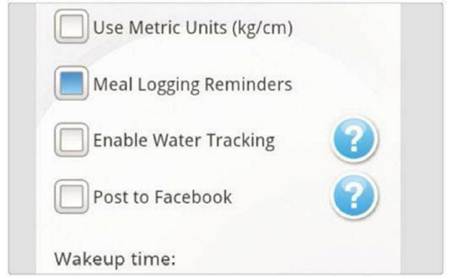
Settings
At Calorific’s main menu, tap ‘Settings’.
By selecting ‘Meal Logging Reminders’, you are prompted to enter your food
intake at meal times throughout the day. ‘Water Tracking’ is handy if you want
to keep hydrated or simply drink more water to stay healthy – tap it to set a
goal of a certain number of glasses a day.
3. Facebook and breakfast
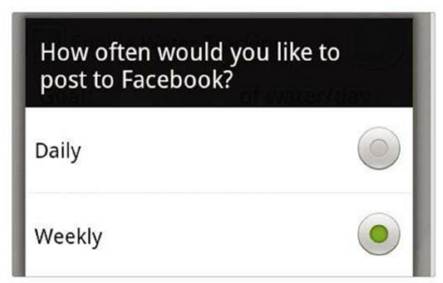
Facebook
and breakfast
If you want your friends to be informed of
your healthy eating habits, tap ‘Post to Facebook’ – this can be set to post
updates to the social networking site either weekly or daily. Calorific will
also remind you to start tracking calories as soon as you wake up, so avoid
that full English by setting your approximate wake-up time.
4. Profile
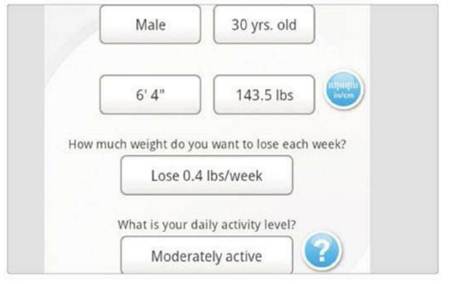
Profile
Tap ‘Home’ to return to the main menu. Now
tap ‘Profile’. Here you need to enter your gender, age, height and weight – you
can toggle between metric and imperial units using the blue button to the
right. Now input the amount of weight you want to lose each week, and finally
estimate your daily activity level.
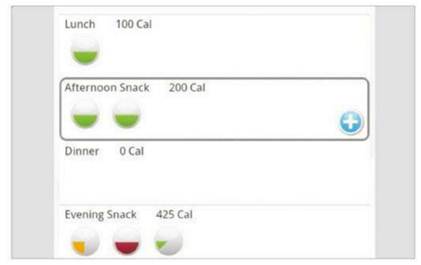
5. Log
Log
Choose ‘Today’s Log’ to begin the calorie
counting. You’ll see that the day is broken down into separate meal periods,
such as ‘Breakfast’ and ‘Afternoon Snack’. It doesn’t matter too much if you
input food in the wrong periods – it’s more important that you simply keep a
daily record of everything you’ve eaten throughout the 24-hour period.
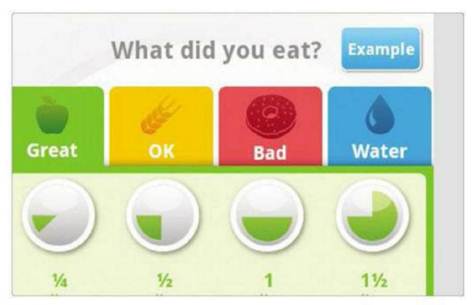
6. The counting
The
counting
Calorific divides food into great, OK and
bad. Tap ‘More details’ to view different foodstuffs, then tap specific items
to see portion options. The circles above each type of food indicate the size
of a portion. You can add complex items like sandwiches by choosing, for
example, two slices of wholegrain bread (good), a slice of ham (bad) and some
mustard (OK). Click ‘Today’ when done.
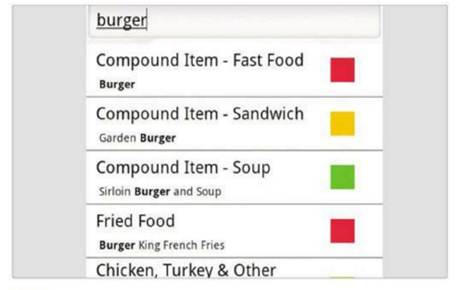
7. Search
Search
Sometimes it can be difficult to locate
specific things, because the app simply can’t list every single type of food.
Tap ‘Food search’ in the bottom-left to enter specific terms, such as ‘burger’
or ‘Doritos’. This will take you straight to the relevant part of Calorific,
where you can then enter the number of calories you’ve consumed.
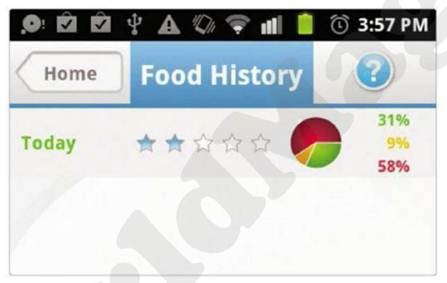
8. Keep it up
Keep
it up
Now you’re all set to use Calorific on a
daily basis, and entering your meal choices as you go through the day will soon
become second nature. From the main menu, you can tap on ‘History’ to see your
progress over time; you should try to hit Calorific’s recommendations to score
the full five stars every day!