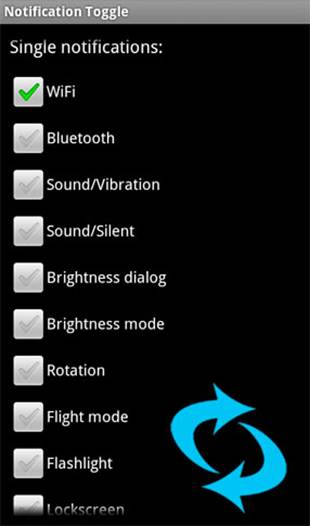
Power Toggles is a set of quick controls you
can use to toggle your device's settings
One of the best things about the Android
platform is the level of customising you can undertake to truly make the device
you are using your own. This can also be its downfall, however, and new users
may struggle to get to grips with the various amount of settings and menus you
need to get through to find some of the integral parts of your device. To make
things a little easier, and a whole lot quicker, apps like Power Toggles offer
no-fuss functionality to display a widget from which you can simply turn on and
off a variety of the most common settings on your device.

Power
Toggles
Not only are these widgets easy enough to
understand and activate, it also only takes up one bar of your home screen,
meaning it can be placed anywhere. In this tutorial we'll guide you through the
basics of Power Toggles, and show you how you can use it to save yourself some
time.
1.
Home screen

The homepage of the app is a rather simple
affair. The top-right of the app shows the current widgets you have displayed,
as well as a quick overview of what toggles you have in place. You first want
to press on the cog in the bottom-left of the app to access the app’s settings
menu.
2.
Set notifications

Most of the settings here are fairly basic,
however, the one setting you will want to alter is the Notification Priority.
If you leave this option at 5, you’ll receive a very high level of
notifications coming through regarding settings you’ve t Set this down to the
minimum and back out.
3.
Add your bar
Go back to the homepage and select the bar
option from the top-right of the app. This will now display the toggles you currently
have Installed in the widget accompanying the app. By pressing on a toggle you
can remove it, and long pressing it allows you to move it across the bar.
4.
Customise icons
To make each toggle stand out, you can
press on the colour options. Just make sure you know which colour represents
off and on. Just above the colour choice is a Notification Icon tab; you can
choose this option to change the Icon that's used to represent a certain
toggle.
5.
Confirm your selection

After you’ve chosen and edited the toggles
you want to include on your bar, press the Confirm button at the bottom of the
user interface. Your customised widget will now be available alongside the
Widgets menu in the app drawer. It should be instantly recognisable thanks to
your changes.
Add website shortcuts to your home screen

Get quick access to your favourite sites by
adding a direct link to your device's home screen
Mobile browsing has certainly evolved over
1 past year or so, and with more browsers available than ever before, users are
able to browse the internet from the comfort of their device. If you're an avid
user, then you might find the need to open up several tabs to look at different
websites a constant nuisance. Thankfully, with newer browsers, and in
particular the Firefox Beta browser, you can add shortcuts to your home
screens.
These shortcuts appear as icons, and offer
a direct link to the website it represents, saving you the time and effort of
searching for it manually. Here's three simple steps to get everything up and
running.
1.
Open the browser
For this tutorial we’re using the Firefox
Beta browser, but most newer browsers also include this feature. When your
browser Is open, go to the History section. This will show you a text list of
your previously opened websites. Scroll down the list until you find the site
you want to add.
2.
Add to home screen
Long press on the website In question until
a menu appears. From this menu press the Add to Home Screen option. After a few
seconds you’ll be taken back to the homepage of the app, and a new icon
representing the website will have been placed on your device.
3.
Find the icon
The Icons are the same size as any standard
app icon you add to your home screen. When a new webpage icon is added to your
home screens, you’ll find that It has filled the first gap It could find.
Pressing on this link will now take you directly to the website it represents.
Gesture-control your speakerphone

Avoid pesky
in-call buttons and control your speakerphone using gestures created by UpSoundDown
1. Download the UpSoundDown app from the Google Play store and install
It on your device. From the application’s home screen you’ll notice the sheer
variety of things you can alter with regards to your speakerphone. Select the
Mode Selection tab from the top of the app to proceed.
2. There are three different preset gestures you can select from.
Orientation automatically activates the speakerphone mid-call when you lay your
phone on the table. Proximity activates it when you move the phone away from
your head, and Shake Mode activates when you shake your device.
3. After selecting the gesture you want to use on your device, go back
to the home screen of the application and scroll down to the bottom of the user
interface. Select the Sensitivity feature. This will bring up a bar from which
you toggle the level of sensitivity that the gesture picks up on. Slide right
to Increase.
4. After confirming all your selections, head back to the loading
screen of the UpSoundDown app. You will now be able to change the off button to
on, and your gesture will be In full effect when you next take a call on your
device. You can change the gesture you use at any point too.