Step by step: Bouncing bass
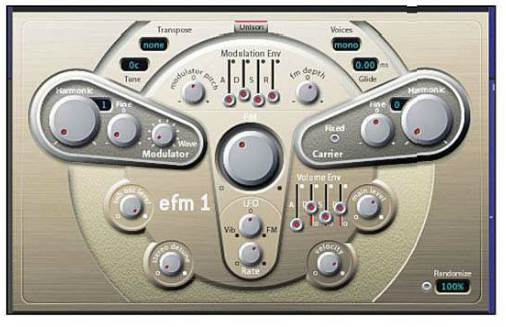
- For the bass sound, we head straight for
an FM-style synth. Here we have a pretty good preset – it has the right
kind of knocking attack and solid sound that we’re after, although there’s
some kind of modulation affecting the attack, and the sustain is a little
bit too long. (Bass1.mp3)
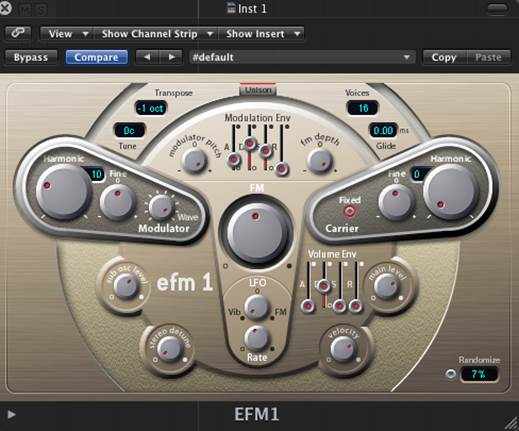
For
the bass sound, we head straight for an FM-style synth
- To get to the sound we want, first let’s look at the Modulation
Envelope. We tweak down the Decay and Release to flatten the
sound, then we reduce the Volume Envelope Sustain and Decay
and carefully adjust the Release time to get the bouncy
attack/release sound we’re after. (Bass2.mp3)
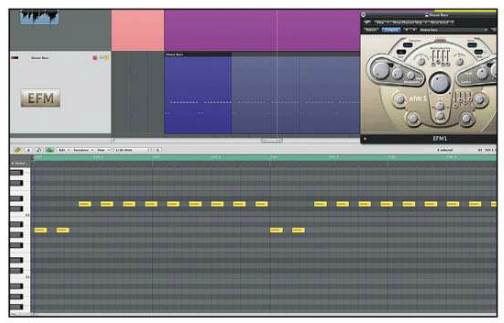
- The pattern itself is easy to program: it simply plays every
fourth 16th-note across two bars, then starts again. We’ve programmed this
straight, without any velocity differences and with consistent lengths for
all the notes. In fact, the note lengths aren’t that important as the
amplitude envelope is responsible for the decay. (Bass3.mp3)
- Finally, we can throw in some variations
just to add a bit of feel. Let’s try a little skippy move just on the
second beat, so that two consecutive 16th-notes play. Then let’s add a note
shift to the last note of the two-bar pattern. (Bass4.mp3)

Main rhythmic synth
As we’ve mentioned, the rhythmic synth part
is something of a driving force on this track. You’ll notice that as the part
comes in, it follows the same polyrhythmic pattern we’ve just discussed for the
bass: 4:3 across two bars. The sound itself includes some kind of harmonic
offset – this could simply be chords programmed into the MIDI part, but based
on our experience of club music, and given that there’s a fixed interval, we’re
making an educated guess that this is built into the sound itself using some
offset oscillators.
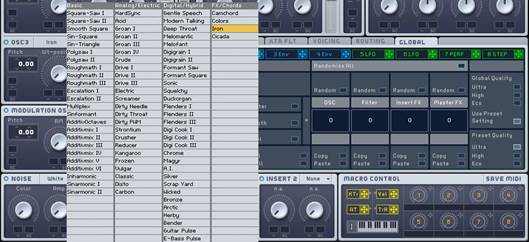
You
should definitely consider including an additive waveform as part of this synth
sound
Isolating the sound is slightly tricky
because it’s playing in unison with the bass. Taking the bass notes as the
root, we can hear both an octave fifth (19 semitones) and two octaves plus a
minor third (27 semitones) tones above the bass. So, by building a
three-oscillator sound, starting with unison with the bass for Oscillator 1, an
octave fifth for Oscillator 2 and two octaves plus a minor 3rd for
Oscillator 3, we’ve got the chord spread working.
The basic sound can be achieved with a
super saw waveform. There’s something bright and ringy in there, too, however,
so it may be worth trying an additive waveform for the highest oscillator.
There’s also a pumping nature to the sound
that’s reminiscent of a side chained compressor. In fact this is playing in
time with the polyrhythmic part (rather than being triggered by the 4/4 pulse
of the kick), so again, we suspect it’s built into the sound itself. With
closer listening, we can hear that this is influencing not just the attack of
the amplitude envelope but also the frequency (meaning that an envelope is
influencing the filter cutoff). If it sounds complicated, read on and we’ll
take you through it step by step…
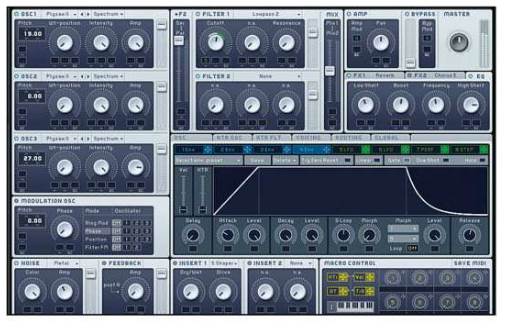
Step by step: Programming the synth part
- Start by copying over the MIDI part from
the bass. We’re going to use the same single-note pattern and build the
chords up within the synth by stacking the oscillators with offsets. We
need a synth with flexible and multiple oscillator options; here we’re
using a super saw, but you can try other shapes, too. (Synth1.mp3)
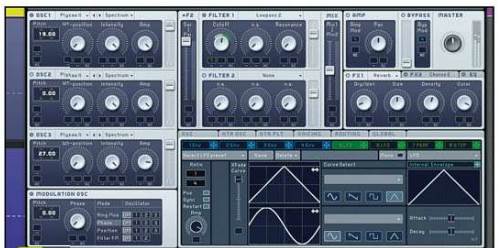
- We add in our first offset at +19 semitones, so that’s
an octave and a fifth (Synth2s.mp3). We’re using exactly the same
type of oscillator for this sound too, and we can begin to hear the offset
chord sound taking shape. Then we add in the second offset at +27
semitones. (Synth2b.mp3)
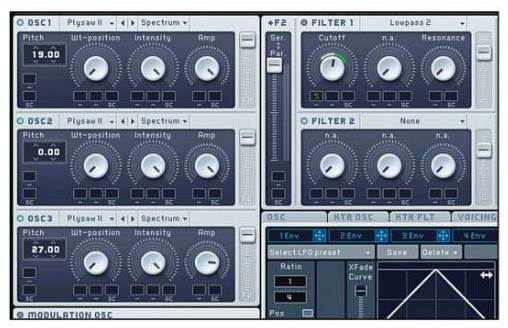
- Now we need to add a low-pass filter and modulate the attack so
that the sound swells in. We can do this by using the attack stage of an
envelope that’s synced to the track. By adjusting the attack stage of the
amplitude envelope (making it slower), we can fine-tune the swell. (Synth3.mp3)
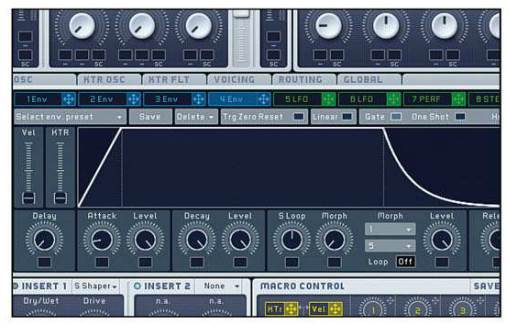
- We add in some noise generator, reverb
and EQ to brighten up the overall sound and reduce some of the low end (Synth4a.mp3).
Going back and adjusting the balance between the oscillator levels can
seriously influence the overall feel of the sound – here we’ve reduced the
level of the highest oscillator. (Synth4b.mp3)
