How to use the JOBO photoGPS to pinpoint
your pictures on a map
What you’ll need…
·
Geotagging gadget
·
Digital camera
We used…
·
JOBO photoGPS
·
Olympus PEN E-PL3
You could try…
·
Location apps
·
Geotagging software
What you’ll learn…
How to use a GPS device to tag shots
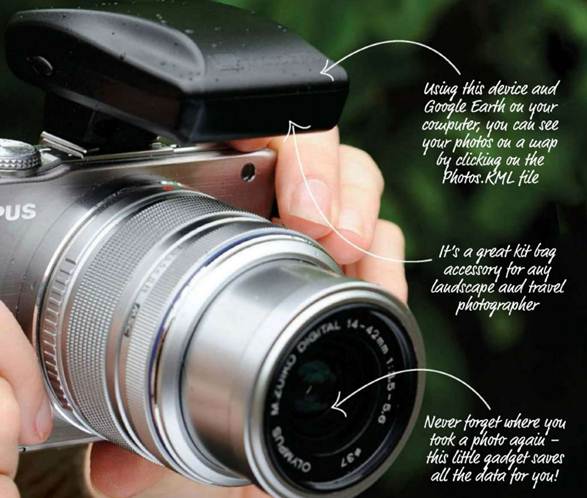
Tag
the location of your photographs
Geotagging devices are a must for any
travelling photographer’s kit bag. They solve the problem of wondering where in
the world you took a photo by tagging in image using GPS (Global Positioning
System). This means that as well as recording the time and date, you can also
note the latitude and longitude coordinates.
There are more laborious methods to do
this, such as using downloadable software or entering the information manually,
but the photoGPS from JOBO is a nifty little tool that does the job for you.
It’s a unit that you mount onto your camera’s hotshoe that captures the
geo-data of each picture when you press the shutter. Some cameras have GPS
built-in, but for those that don’t this gadget is a good investment. The
software included even places your images on a virtual map so you can plot your
travels.
3 of the best…
Geotagging apps for your iPhone
Geotag
Photos Pro
$3.99
This app works like a GPD data logger and
records your locations throughout your trip.

Geotag
Photos Pro
GeoCorder
$0.99
GeoCorder claims to be the only app that
combines a recorder, a tracker and a map in one multitasking package.

GeoCorder
GPS4Cam
$2.99
gps4cam cleverly allows you to tag your digital
camera photos by taking a shot of a barcade generated by the app.

GPS4Cam
Geotag your photos
Log locations with photoGPS
1.
Software installation
First you need to install the software CD
that is included in the box. Insert it into your computer and it will launch
your browser and open a webpage. Click the ‘Installer photoGPS’ button, follow
the instructions to begin installation and accept the terms.
Software
installation
2.
Connect the device
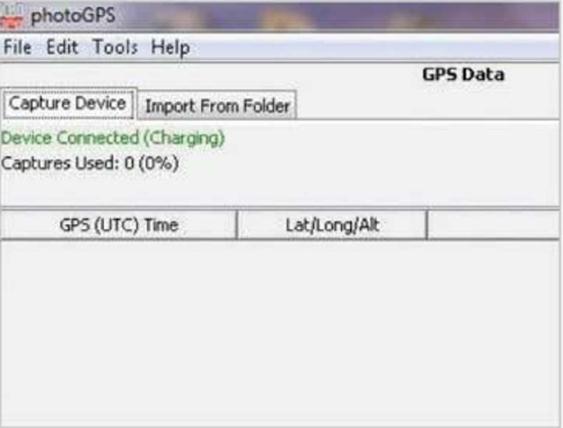
Make sure you are connected to the internet
and then connect the photoGPS to the computer using the USB cable. One
connected, the Capture Device Tab in the top left of the dialog box will change
from No Device Found to Device Connected.
Connect
the device
3.
Let it charge
The device has a rechargeable battery which
charge when connected to the USB port. The red LED light will turn to green
when completed. The clock must be set to the right time in order to work, so
check it’s set correctly by clicking Configure Device.
Let
it charge
4.
Test the device
Once the clock is set and the device is
charged, disconnect the photoGPS and slide it onto your camera’s hotshoe. Try
pressing the shutter button and look for the LED light to flash green once to
indicate it’s working (if not, see our troubleshooting guide).
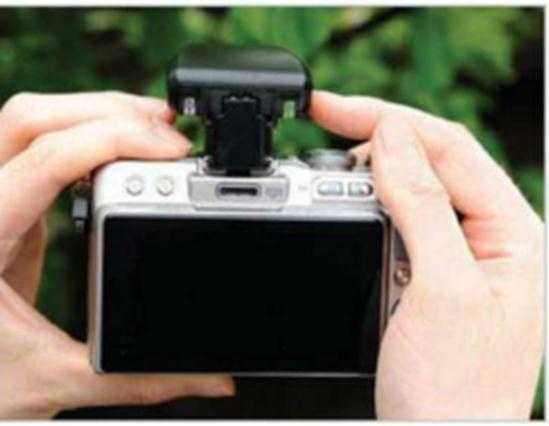
Test
the device
5.
Capture locations
You’re ready to start shooting, but bear in
mind that your photoGPS works by receiving signals transmitted by satellites,
so avoid walls and tall buildings that might interfere. Indoors, press the
GeoHint button to tag the images based on earlier positions.
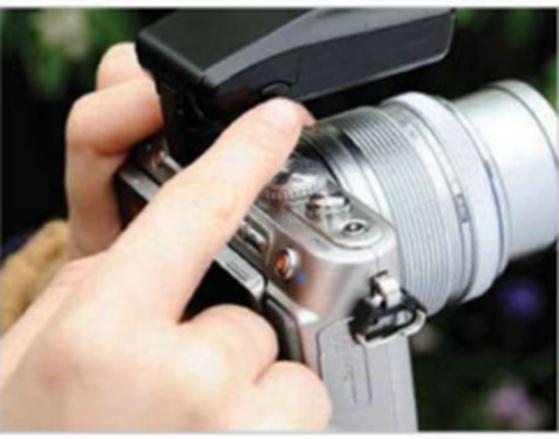
Capture
location
6.
Download your images
Download your photos, connect your photoGPS
via USB and run the software. Press Import GPS Captures to process the images.
When successful, the information will be displayed in green. Then, press Match
Photos to assign the location to your images.
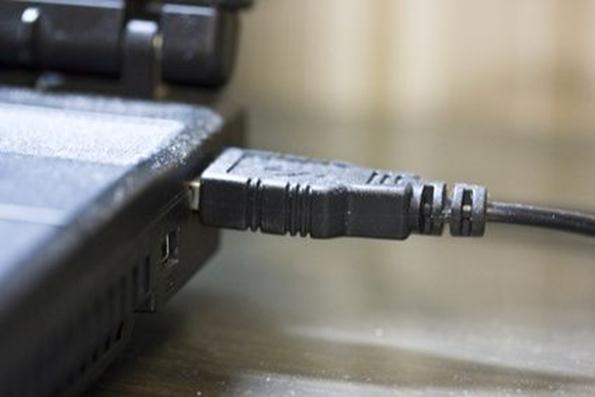
Download
your images
Troubleshooting problems
The photoGPS works by receiving a trigger
from the camera via the centre pin of the hotshoe. It’s a reliable gadget but
should the following problems arise, here is a quick guide on how to solve the
issue.
Problem
The device is on the hotshoe, but it’s not
activated.
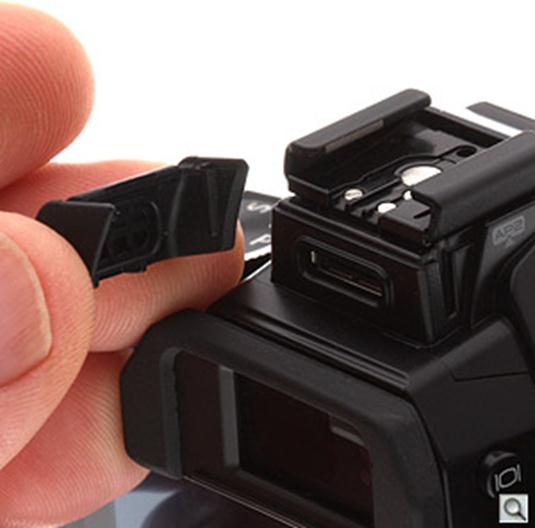
The
device is on the hotshoe, but it’s not activated.
Solution
The module is not connected properly if it
doesn’t produce a single green flash when taking photos; try removing and
replacing the device.
Problem
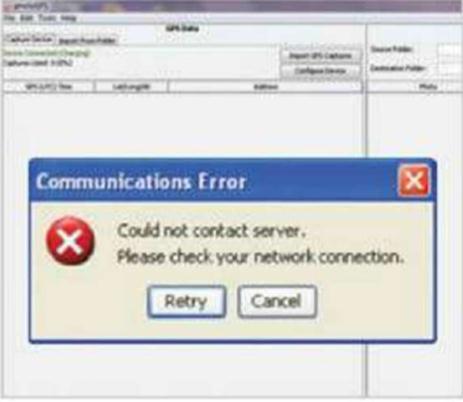
The software is showing a Communications
Error box.
Troubleshooting
problems
Solution
The software relies on an internet
connection to process the GPS captures and find the location, so check your
internet connection and then press Retry.
Problem
Photos are not displayed in Google Earth.
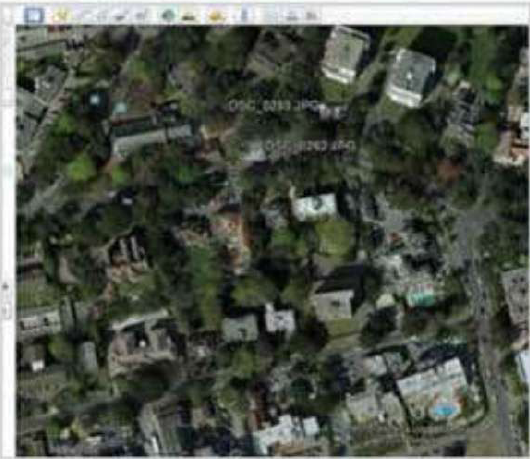
Photos
are not displayed in Google Earth.
Solution
Google Earth does not support RAW files co
if this is the format of your photos, you will still be able to see the
positions in Google Earth but not the photos