Take a CD or DVD and save it to your
Mac as a dmg file using its built-in software
Difficulty: Intermediate
Time needed: 15 minutes
Whether you’re moving to a new Mac without
an optical drive or simply want to clear out some discs that are cluttering up
your desk, converting CDs and DVDs to dmg files is a very smart move. A dmg
file on your desktop will behave just like a physical drive, for example, an
external hard drive, flash drive or disc. So, if you have a new MacBook Pro or
iMac you can carry on using your old discs even though you don’t have a drive
to insert them in.
Converting a disc to a dmg file is done via
the Disk Utility app which is built into OS X. It is a good way to get a disk’s
content permanently on your system. As mentioned it’s the best way of keeping
old discs on new machines without an optical drive, or for sharing programs
online that you may have developed yourself back in the day.
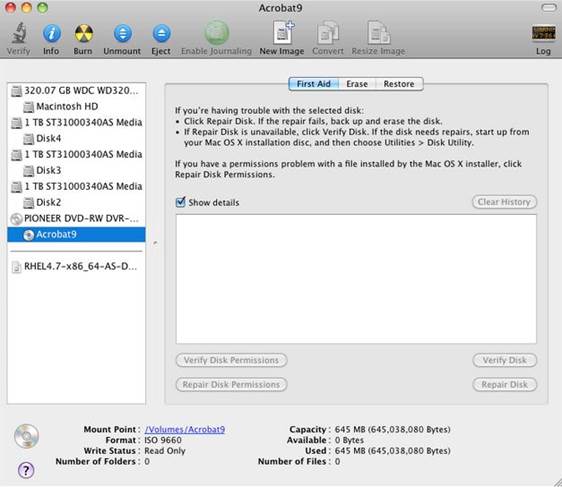
Converting
a disc to a dmg file is done via the Disk Utility app which is built into OS X.
It is a good way to get a disk’s content permanently on your system.
Create a dmg image
Looking at the options available to
you
Size: Go to File>New
Blank Image and you will see a host of options appear. They include the ability
to select a custom size and the drop-down will suggest different media sizes
Knowledge base – Backups: One good reason to create a dmg file from a CD is to back up the
program that is on it. This means if you ever lose the CD (or DVD), you needn’t
worry because you have it stored safely on your hard drive. Having up-to-date
backups is always essential, but do make sure you keep any product numbers to
hand just in case.
Encryption: It
is possible to encrypt your dmg file. A good one to try is 256-bit AES
encryption which may be slower than many others, but it is secure
Create: When
you tap Create, you will be prompted for a secure password and asked to verify
it. This way you will have a secure dmg image. The password is needed for
mounting it
Image format: If you want to be able to add and remove files on your disk, as we
will, then ensure that the image format is selected as a read/write disk image
Step-by-step: Disk Utility Create dmg files from CD/DVD
1.
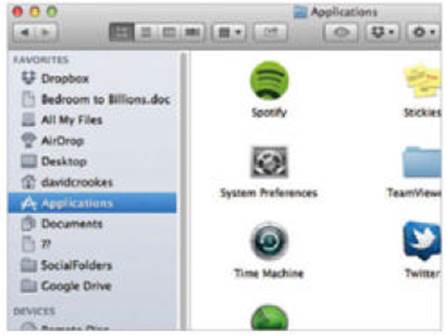
Open Finder
The first step is to launch the Disk
Utility application which you can find by opening Finder and then navigating to
your Applications folder.
2.
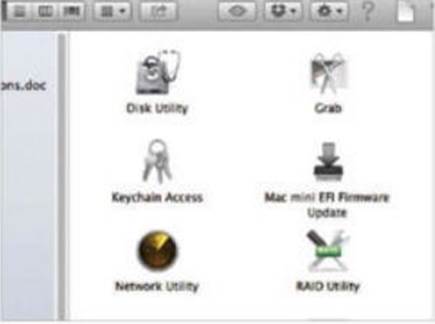
Launch Disk Utility
Find the Disk Utility app. Double-click
this icon and it will launch on your Mac. A new window will open and it will
contain lots of CD disk options.
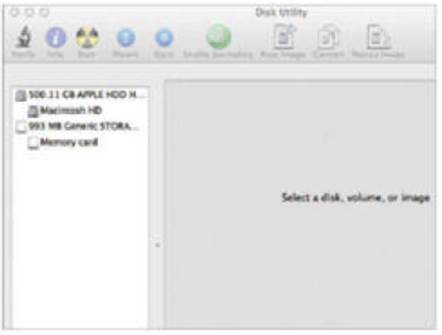
3.
Familiarize yourself
You will see the main interface. To the
left is a list of available disks and this includes the hard drive and any
memory cards. Icons run across the top.
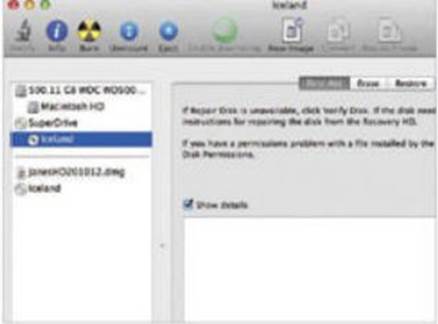
4.
Insert a disk
Grab a CD and place it in your Mac. This
will show up on the left and it will also call up a list of options in the main
window when you highlight it.
5.
New image
Now, with the CD highlighted, tap New Image
from the top and a pop-down menu will appear. Write a file name which best
identifies the content.

6.
Fill in options
You can decide whether or not you wish the
image format to be compressed and also whether you want to encrypt the dmg file
you’re creating.

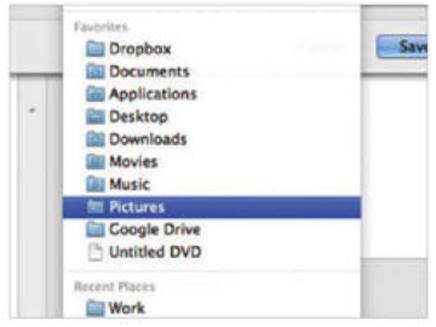
7.
Select, save, create
Now select where on your hard drive you
wish the dmg file to save and when you are ready, simply tap the Save button
and the file will be created for you.
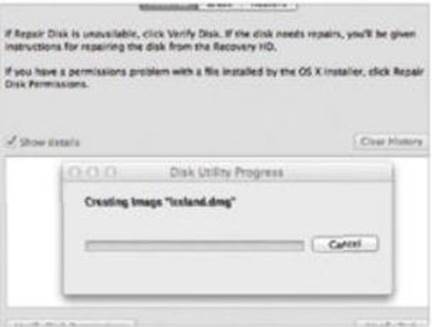
8.
Access the file
The file will take a few minutes to create.
If you wish to access the file in the future, you can open Disk Utility and
select the dmg file that you have created.
9.
Burn the file
If you want to burn the file to another
disk, then eject the original CD or DVD and insert a blank one. Then click
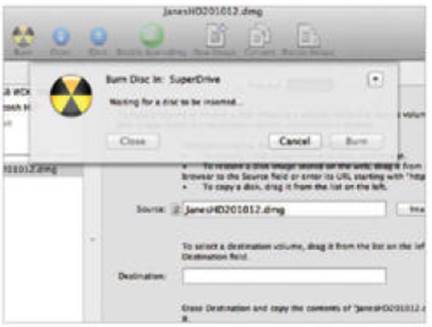
Burn, highlight the file and Burn again.
