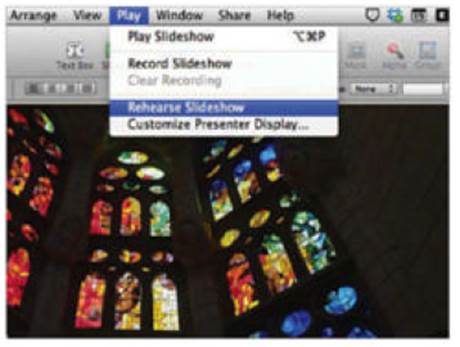
Make sure the polished and
well-designed project you spent ages creating is presented just how you
intended
Difficulty: Intermediate
Time needed: 15 minutes
Keynote offers a wealth of tools built
specifically for people who deliver presentations live. It’s all executed
through the app’s dual-screen mode, which shows your slideshow on an external
display simultaneously with a number of tools on your Mac.
These assists can be as simple as showing
you what’s on the next slide, or a readout for how much time has passed since
you started the presentation. It also includes an indicator for when the slide
animations have finished, which is incredibly useful for avoiding messy slide
transitions. The app’s Presenter tools really excel when you start customizing
them. This includes not just toggling certain assists on and off, but also
resizing and rearranging them on screen. Let’s get started.
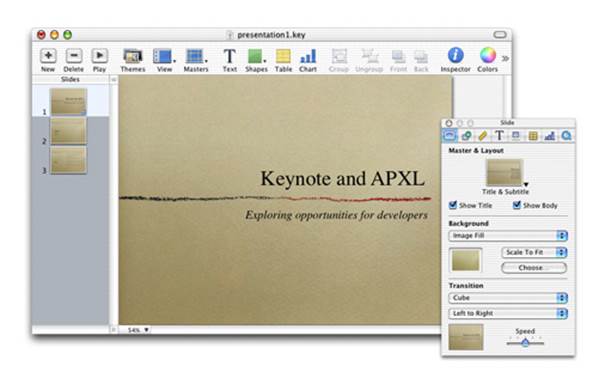
Design tools
Create even better slides
Guides: Keynote uses Smart Guides, which means that you’ll only see them
once an object is lined up with the center of the slide or the edge of another
object. Use it to straighten up your slides!
View:
The View button enables you to quickly change the appearance of Keynote while
you’re editing a presentation. Light Table is handy for seeing all of your
slides together, while Slide Only removes the left-hand thumbnails from view
Inspector: The Inspector button holds all of the formatting tools needed to
change the look and behavior of your presentation, such as slide transitions,
text alignment and even what happens when you open the file
Media: Here you can find any photos, videos
and audio files that you need to create your slideshow. GarageBand, iPhoto and
iMovie files are listed automatically, but you can also add custom folders for
easy reference
Knowledge base
Themes & masters: While it’s possible to design an entire slideshow from scratch,
Keynote offers more than 30 themes straight out of the gate. For each slide in
your deck, you can also choose an individual template in that theme, referred
to as a slide master. Moreover, you can highlight specific slides and choose a
new theme for a more diverse-looking presentation.
Step-by-step: Keynote Find and tweak the Presenter tools
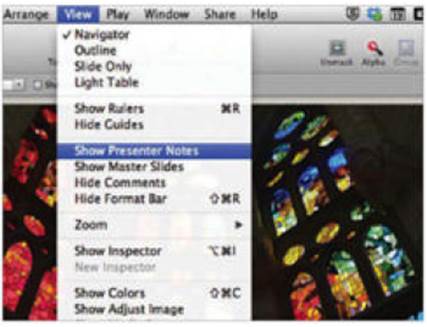
1.
Show notes
When you’re delivering the presentation
you’ll want some cue cards to prompt you. Start by clicking on the menu bar and
selecting Show Presenter Notes.
2.
Jot down
Using the text box at the bottom of the
screen, write down any notes that you think you’ll need. Repeat this for all
the slides in your deck.

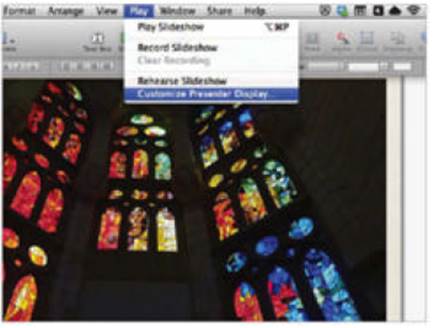
3.
Find your tools
Once done, it’s time to look at what you’ll
be seeing during the presentation. Click on Play in the menu bar, followed by
Customize Presenter Display.
4.
Toggle notes
You will be taken to a new screen that
shows the current layout of your Presenter tools. To see your notes for each
slide, tick the matching checkbox.
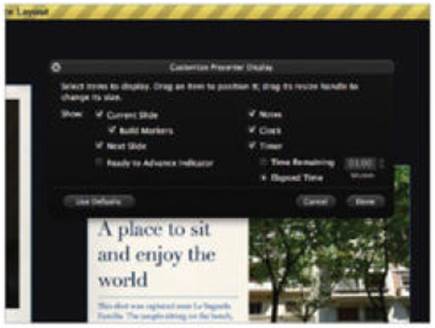
5.
Ready to advance
If you’re using animations to bring in
slide content, tick Ready to Advance Indicator to see a prompt at the top of
the screen when they’ve all finished.
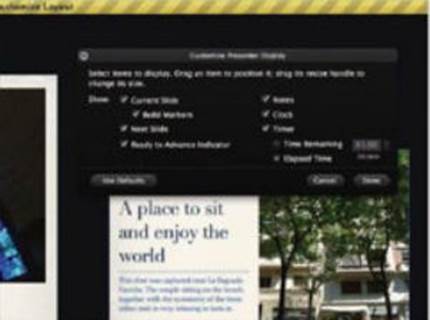
6.
Clock watching
By default, a digital clock will sit
underneath your current slide. It’s a simple, but crucial tool for keeping
track of time if you’ve started early or late.
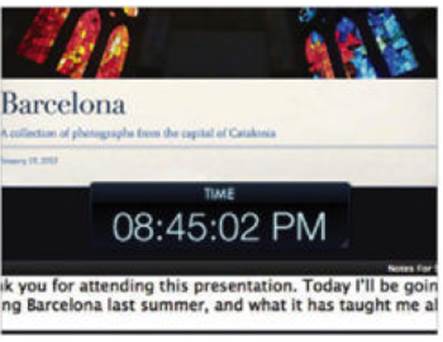
7.
Timekeeping
The other readout shows how much time has
passed since you started. Tick the second checkbox to show a countdown if
you’re prone to waffling on.

8.
Move around
Rearrange the Presenter tools as you see
fit, either by dragging them across the screen or using the arrow symbol in the
bottom-right corner to resize them.

9.
Rehearse
When you’re finished, hit Done to save
preferences. You can now practice with the tools by clicking Play in the menu
bar, followed by Rehearse Slideshow.
