Samyang 85mm f1.4’s corner quality with the Nikkor 85mm
f1.4G
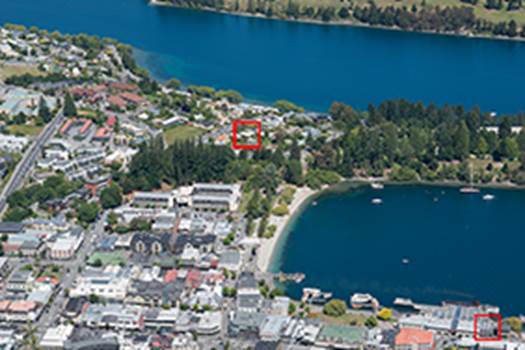
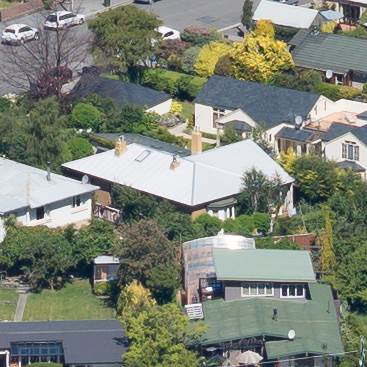
To compare the performance of the Samyang
85mm f1.4 with the Nikkor 85mm f1.4G, I took this landscape photo with all
aperture settings on both separate lenses, using a Nikon D800e on the rack.
Nikkor
85mm f1.4G
The D800e is installed with the basic ISO sensitivity
of 100 and the lens focuses on the center of the layout, using the Live View
exaggerated support.
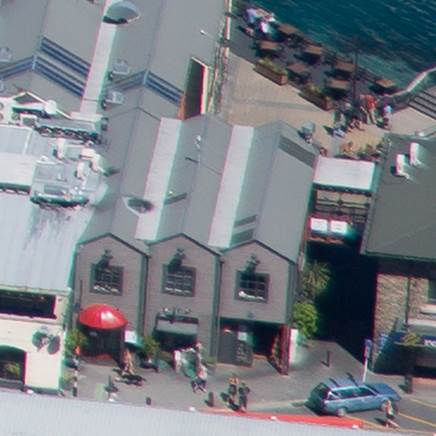
The first section compares the performance
of the FX corner from the lower right areas, marked by the red frame.
Marked
by the red frame
I shot the scene, using the D800e’s RAW
mode and processing the file in Adobe Camera RAW (ACR) through Photoshop using
the following settings: Sharpening at 70/0.5/36/10, both Luminance and Colour
Noise Reduction settings at 0, and Process to 2012 with Adobe Standard profile.
High level of focus with a small radius highlighted the most beautiful details
without causing unwanted artifacts. All lens adjustments are disabled, so there
was no additional software to compensate for vignette, optical distortion or chromatic
aberrations.
This is a fascinating comparison which certainly
is divided into two parts. The Samyang 85mm f1.4 has a very strong start, which
provides a more accurate result in a surprising way than the Nikkor 85mm f1.4G
in the corner areas, where both have wide aperture. This advantage continues at
f1.8 and f2, although Nikkor only just catches up with a 2.8.
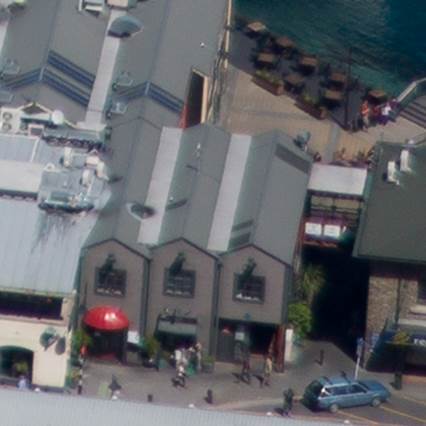
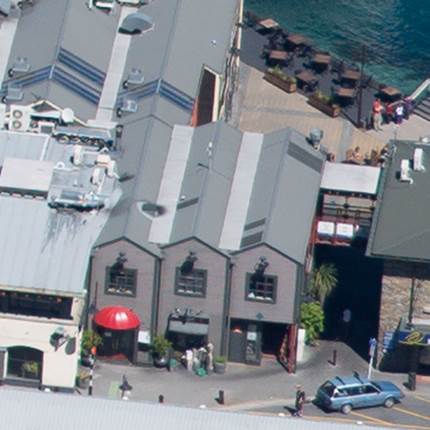
But then, at f4, the comparison table changed
when the Nikkor 85mm f1.4G surpassed Samyang, providing a sharper result. As
the aperture closed more tightly, Nikkor expressed just as expected, becoming
progressively sharper, although as we saw earlier, the performance of the
Samyang actually appeared exceeding f4. Therefore, at f5.6 Nikkor seemed much
better and at f8 there was a significant difference in quality.
Therefore, at f4 and smaller apertures,
Nikkor 85mm f1.4G is more expensive with the leading decisions you would expect
from the lenses which are much more expensive. It is also impressive to look at
and reminds you of the fact that they are processed without lens corrections.
Now let's scroll down to see two 85mm lensed
are compared with each other in the middle of the frame.
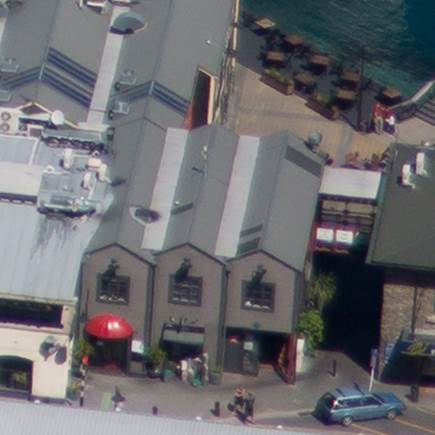
Samyang
85mm f1.4’s cutting edges at f1.4
Nikkor
85mm f1.4G’s cutting edges at f1.4
Samyang
85mm f1.4’s cutting edges at f4
Nikkor
85mm f1.4G’s cutting edges at f4
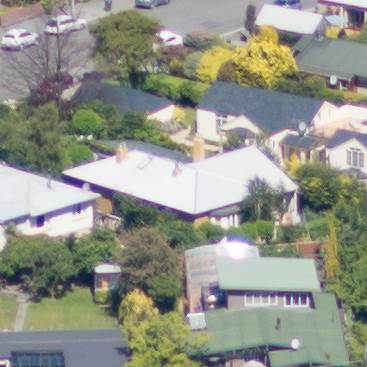
The center quality of the Samyang 85mm f1.4 and Nikkor
85mm f1.4G

Center
performance marked by the red square
To compare the actual performance of the
Samyang 85mm f1.4 and the Nikkor 85mm f1.4G, I took this landscape photo with
all aperture settings on both separate lenses, using a Nikon D800e placed on a
rack.
The D800e is set up with the basic ISO sensitivity
of 100 and the lens focused on the center of the layout, using the Live View
exaggerated support.
The following photos will compare the center
performance marked by the red square.
I shot the scene in the D800e’s RAW mode
and processed the files in Adobe Camera RAW (ACR) through Photoshop using the
following settings: Sharpening at 70/0.5/36/10, both Luminance and Color Noise
Reduction setting at 0, Process to 2012 and the Adobe Standard profile. High
level of focus with a small radius highlighted the most beautiful details
without causing unwanted artifacts. All lens adjustments are disabled, so there
is no additional software to compensate for vignette, optical distortion or chromatic
aberrations.
With both the lenses at f1.4 aperture,
image quality in the center of the frame is quite similar. Both lenses will be
reducing the contrast, sharpness and a little blurring, but Nikkor was more
accurate and showed less chromatic aberrations. But this was a quick look at the
resolution of 100%, and the good news is that both lenses are almost similar in
the center, which will make the portrait photographers satisfied with limited
budget.
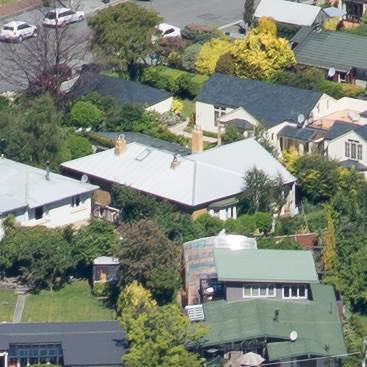
Both the lenses became sharper when their
aperture closed, but what was revealed here was how fast it happened when Nikkor
was compared to the Samyang. You have to close Samyang at about f8 before they
achieve maximum sharpness, while the Nikkor is said to reach a maximum at f2.8
and get a decisive advantage from this point onwards. You can actually see this
at the best detail, such as on the trees on the upper left corner of the cut.
Samyang achieves a good deal at f8, but Nikkor is still sharper even at this
point.
Samyang
85mm f1.4’s center cut at f1.4

Nikkor
85mm f1.4’s center cut at f1.4
Samyang
85mm f1.4’s center cut at f8
Nikkor
85mm f1.4’s center cut at f8