We have checked out the BIOS of Elitegroup
mainbooards for quite a time, particularly in our reviews on ECS P67H2-A and
P67H2-A2 mainboards. It did not leave the best impression. Even if we ignore
some of the specific issues that we discovered, the overall internal
organization was pretty messy, its interface was not very attractive and it is
clear that it lacked user-friendliness. So, the BIOS went through significant modifications
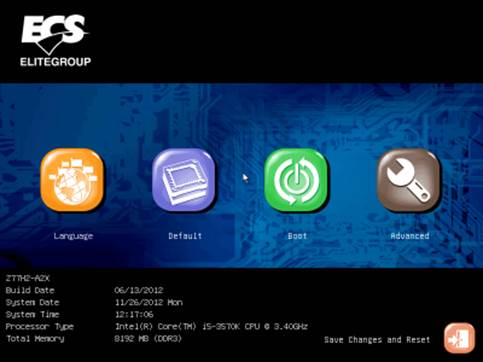
and has changed to become best in the most part. Now when you enter the BIOS,
you see a simpler EZ mode, where you can choose the interface language, load
the default settings and arrange the order of boot devices. Besides, you can view
brief information system at the bottom of the screen: model name, BIOS version,
date and time, processor model name and system memory size.
EZ
Mode
If the EZ Mode also allowed changing date
and time, it would be enough to load the basic settings and then start working
immediately, although I have to admit that its functions are pretty modest. So,
in any case, you will have to switch to “Advanced Mode” where you will
immediately get into the “Main” section, which will allow you to change not
only the interface language, but also the date and time.

The
advanced mode
The new BIOS looks very similar to its
predecessor, though the background color has become a little lighter and the
mouse pointer is now white and doesn’t get blended on the dark background of
the screen. The BIOS sections at the top have graphics icons, the selected
figures have become clearer, because they are highlighted green. These are all
the positive changes that for sure will give better user experience, as we have
mentioned above.
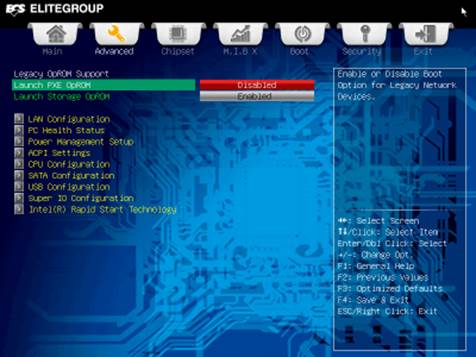
The list of sub-sections in the “Advanced”
section provides us with a great idea of its functionality. It is quite strange
that when looking at all unique technologies of the Intel Z77 Express chipset,
we can only see “Intel Rapid Start”, and “Intel Smart Connect” is completely absent.
They may have forgotten to add it, since their web-site does mention it at all.
Running
POE OpROM
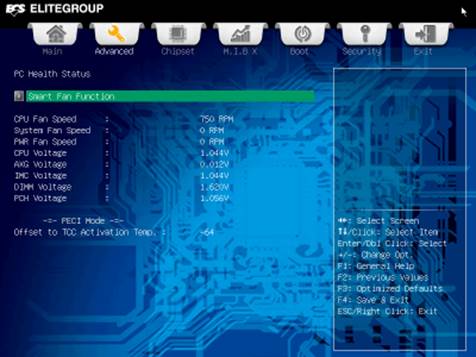
Now let us take a glance at the "PC
Health Status" sub-section, which entirely serves the purpose of providing
information and reporting the fan rotation speeds and some voltage.
Smart
Fan fuction
To adjust the rotation speeds of the
connected fans, you need to switch to “Smart Fan Function” page. The board is
capable of reporting the rotation speeds of all the three fans that can be
connected to it, but it is only capable of controlling two of them. Moreover,
there is only one onboard connector that can handle adjusting the rotation
speed of a three-pin system fan, and this will not work for the processor fan.
You can select one of the preset rotation speed modes – Normal, Quiet and
Silent, or you can set the desired speed manually.

CPU
Smart Fan Control
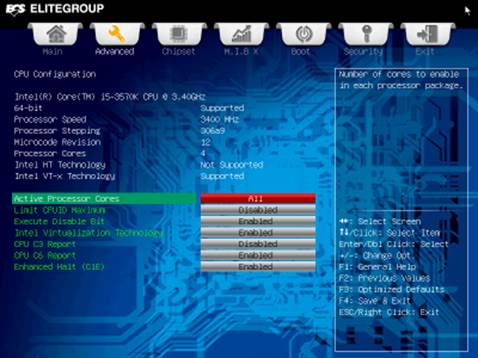
Another sub-section in the “Advanced”
section which is worth checking out is called “CPU Configuration”, where we get
the basic information about our processor and can configure some of the
processing technologies.
Activating
the cores
The next section in the list is
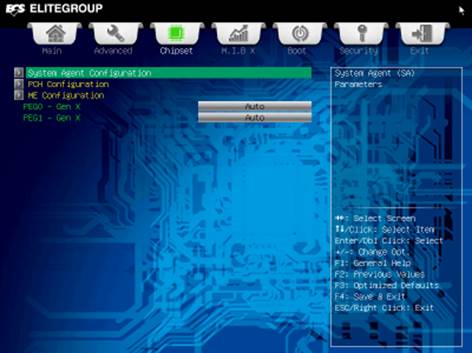
"Chipset". The sub-sections here allow arranging the boot order for
the graphics adapter, configuring the integrated graphics core and audio
system.
System
advanced configurations
The section with most of the settings
realated to overclocking is called “MIBX” (MB Intelligent BIOS X). There are
two sub-sections here that will allow configuring processor and memory
parameters, while the majority of settings in the main window will handle raising
the operational voltages. It is pretty convenient that we see the current
voltages at the bottom of the window, but it is just a real pity that we can’t decrease
the voltage settings. For example, you can recognize that the default memory
voltage is 1.62 V. This is a safe voltage, but then still too high for our
specific memory modules, but we can find no way to reduce it.

Configuring
CPU overclocking
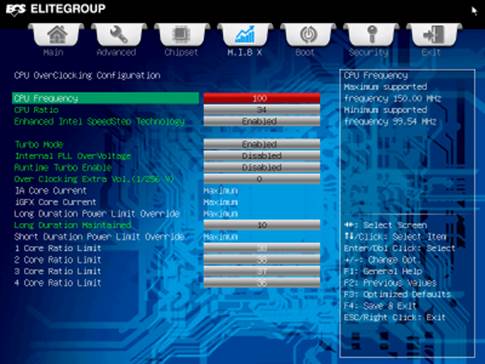
The “CPU Overclocking Configuration” page
will enable you to change the base clock, the processor clock frequency
multiplier and some other important parameters, which are highlighted green.
The settings in white are unavailable to us although this isn’t the case in the
BIOS of other manufacturers’ mainboards.
CPU
frequency
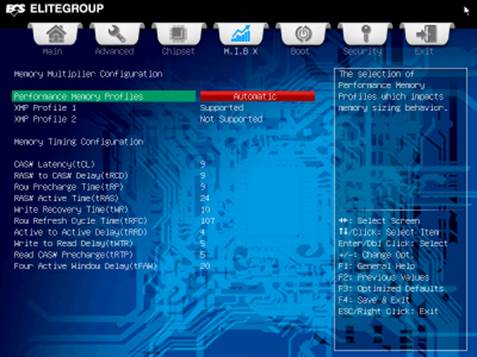
All the parameters in the "Chipset
Overclocking Configuration" page dealing with the system memory are set
automatically and cannot be altered. The board supports “XMP” profiles, but
even in this case we cannot manually modify any parameters.
Configuring
memory performance
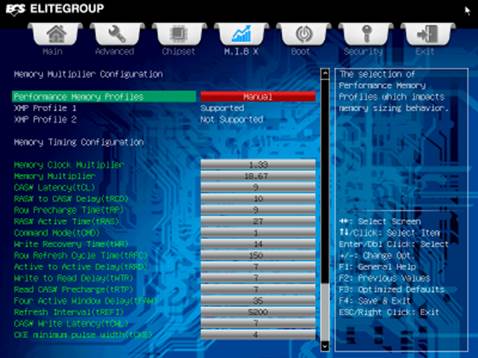
Even if we need to change only one setting,
all of them must be set manually, which we find kind of inconvenient. Moreover,
the notification doesn’t tell you the resulting memory frequency once all your
changes have been applied, so you will have to calculate it. However, this is
not a big problem, since the “Memory Clock Multiplier” parameter doesn’t work.
There is only one setting for it – 1.33, while in reality it is 1.0. Consequently,
while the majority of other mainboards in the systems with Ivy Bridge
processors offer us a wide range of frequencies to choose from, varying from
800 to 3,200 MHz, the ECS Z77H2-A2X (v1.0) supports only seven memory frequency
settings from 1,067 to 2,667 MHz.
Configuring
memory performance
The "Boot" section offers some to
configure the system operations during start-up process.
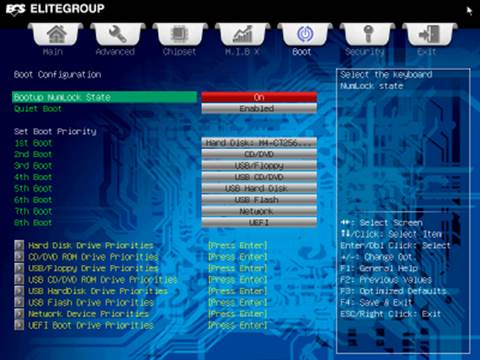
Bootup
state
You set user and administrator passwords in
the “Security” section.
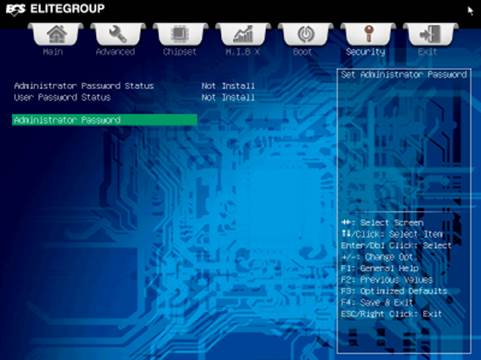
Admin
password
The "Exit" partwill help switch
back to the EZ mode, save configuration changes or cancel them, or load the
default settings.
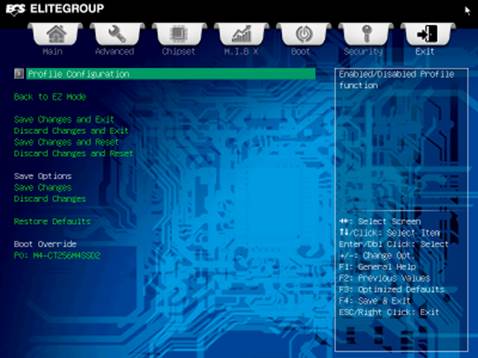
Configure
specifications
You can save up to eight BIOS configuration
settings in the "Profile Configuration" page. Each configuration will
be described by a single name. However, external storage media are not
supported here.

The
configuration input profile names
In conclusion I would like to repeat here
that the BIOS of Elitegroup mainboards has improved quite significantly.
However, there is still a lot for more positive changes which will bring it
closer to the best BIOS tools out there from other developers.