It’s fun taking retro-style pics with
your phone – here’s how to create old looking photos at a snap.
Although mobile phone cameras are getting
better, they’re notorious for being pretty appalling. Rather than trying to get
professional-quality snaps out of the underpowered image sensors, app
developers have embraced the poor image quality with retro camera apps, which
emulate ageing film cameras such as Polaroids and Lomos.
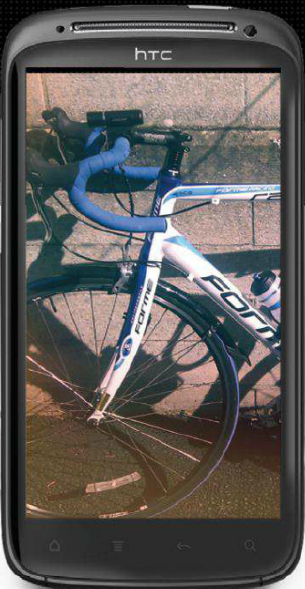
The result is images that look like they’ve
been found in a 30-year-old album. Thick borders surround the photos, and it
all looks scratched and under- or over-exposed. It may sound counter-intuitive,
but it’s put the fun back into photography, miles away from the oh-so-serious
world of DSLRs. We’re using Retro Camera, our favorite photography app thanks
to its ease-of-use and cool results.
1. Get Retro Camera

Open Android’s Play Stone and search for
‘Camera’. You’ll find lots of results, and Retro Camera should be among them.
Tap the entry, then tap ‘Open’ to start the app. You’ll be greeted with a brief
splash screen describing Retro Camera’s operation.
2. Settings

Before we start snapping, let’s familiarize
ourselves with Retro Camera’s setting. Press ‘Menu’ then ‘Settings’. If you’ve
got a dedicated camera button on your device, you can use this to take photos
by turning ’Alternative shutter’ on. You can also use the volume buttons to
trigger the shutter.
3. Sounding off

Switch ‘camera sounds’ off to mute the
camera. Tap ‘Modify’ next to ‘Self Timer’ to change the duration between
pressing the button and taking a photo – handy for taking self-portraits or
group shots. ‘High resolution’ results in better photos, but this can slow down
older Android devices.
4. You’ve been framed

Polaroid-style borders are automatically
added to Retro Camera’s pics for a vintage feel, but these can be turned off
here. Flash, focus and ISO affect your images – each is set to ‘auto’ by
default, but it’s worth playing around with them in dark or detailed
environments to get better results.
5. National Geographic

Geotagging adds location information to
your pics, and this can be turned on with ‘Store location’. ‘Native
acceleration’, ‘In-memory treatment’, ‘Viewfinder fix’ and ‘Legacy sharing’
aren’t worth changing unless you find you’re having major problems with Retro
Camera. Press the back key when you’ve finished altering the settings.
6. Snap happy
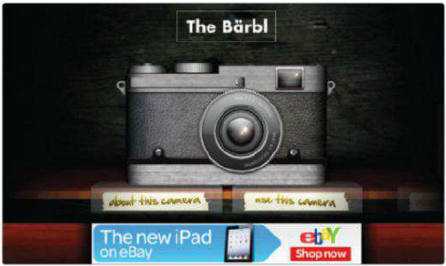
Retro Camera includes six cameras. Tap the
shutter button in the upper-right to take a photo, and long-press it to change
the self-timer settings. Tap the info button to see details and a sample snap.
The camera button to the lower-right lets you swipe between different cameras –
tap ‘Use this camera’ when you find the one you want.
7. Send me a postcard, baby

The gallery icon in the bottom-left takes
you to Retro Camera’s virtual dark room, where your photos ’develop’ on clothes
pegs. Swipe to find photographs, then tap on one to view it. Tap ‘share’ at the
bottom to send it via email, or to share it with your friends on Facebook or
Twitter.
8. Retro-fitted

The key to using Retro Camera is to
experiment with the various settings and built-in cameras. It’s great fun, and
now you’ve got used to the basics, you’ll be taking photos wherever you go.
Retro Camera can be used anywhere, but you’ll achieve the best results on sunny
days with primary-coloured subjects.