Drop no frames, lose no quality. We take
encoding up a level
Desktop PCs today are saturated with video.
It floods in from all ports, and the scary thing is, the machines seem to take
the punishment with ease. Where once we were thrilled to see a quarter-screen
VGA video streamed from a CD, we now tut and roll our eyes if YouTube can't
offer 1080p, leaving our eyeballs to endure mere 720p.
With all of this video pouring into your
PC, when it comes to storing something - be it a phone clip or a rip from a
disc - how do you ensure you get the best possible quality? You could use one
of the many one-click-style solutions like Media Espresso, which support
Intel's Quick Sync Video. We're even going to recommend a free one that does a
fabulous job of supporting almost any device - see the box on Freemake Video
Converter below.
You
could use one of the many one-click-style solutions like Media Espresso, which
support Intel's Quick Sync Video.
But we're not going to take that easy
route. We’re going to look at how serious HD video fiends encode their video.
It might not be fast, but it's very clever. Along the way we'll cover
downscaling for best effect and how to store high definition video in a small
package that retains all the perceivable detail of the original HD footage.
Contain
yourself
Before going into encoding in detail, it's
important to know your containers from your codecs. You can skip ahead if
you're up to speed, but here’s a quick rundown of the ones you'll encounter.
A container is a special file format that
combines multiple files into a single one. For video, this is usually a video
stream and audio stream, but it can include multiple audio, subtitles and other
types on top. The most common containers are MKV AVI, MP4, WMV and TS.
·
MKV: Matroska, widely used online and designed
to contain anything.
·
AVI: Audio Video Interleave, expanded to support
Divx/Xvid without subtitles
·
MP4: Official h264 container designed to handle
h264, MPEG-2 and Divx/Xvid.
·
WMV: Microsoft's container format only supports
WMV with WMA.
·
TS: Transport Stream, which is used by
broadcasters and usually uses h264 video.
The second part of the equation is codecs -
the system used to encode the audio and video streams. The terms used here can
get confusing, largely because a number of terms mean the same thing and so end
up being interchanged. We'll mention audio now, as there's old-school MP3,
Dolby Digital aka AC3, the rarer DTS and, finally, the best choice of AAC.
·
AAC: A more recent standard that looks similar
to AC3 on paper, but is superior at the same bit rates. There are a number of
lossless audio formats based on DTS and AC3, but we won't cover those here.
·
H.264: A high definition video standard that's
used by most broadcasters. x264 is identical but is the open source encoder, so
files produced with this typically take x264 as their format. AVC - also known
as MP4 Part 10, also known as MP4 AVC - is the same.
·
DivX: A closed source implementation of the MP4
standard. An open source compatible format called Xvid was developed. It's
similar to H.264.
·
MPEG-2: Used for DVD encoding and HD broadcasts
in the USA as part of a TS file.
·
VC-1: The video format used on the defunct HD
DVD format and also Microsoft WMV9.
Swiss
army editing
For this tutorial we're leaning heavily on
the amateur world of high definition video encoding -the type of everyday
genius-level guys who write the x264 encoder, ffdshow, Haali Media Splitter and
all the rest. The only problem is this involves using a lot of disparate
complex tools to generate professional encoding results.
To begin, follow the walkthrough below to
get the tools downloaded, installed and configured correctly. We'll then use
the second walkthrough to output a high-quality encode. Using this you should
be able to produce a pro-quality encode at any standard size you want. The
final element is adding the audio stream back into the encoded video, but for
technical reasons they have to be handled separately. The options for this are
to remix the original audio into the new file or take a re-encoded version,
which may or may not be ideal for you.
The oddest part of this process is the
initial graph creation and script writing. It's confusing, because it seems
unnecessary at first - and yes, it's true that you could just feed the original
files directly to MeGUI. The point of creating the graph is to ensure that
you're using the right codec to decode the video source - and so retain full
quality - rather than just any old codec that Windows chooses. If you drop the
video file into GraphStudio you'll see that it will pick a different codec. The
scripting element also seems overly complex but it's connected to using the
AviSynth tool, which processes the video and audio streams and is used to tie a
number of the encoding tools together.
One
click is enough
We fully understand if the complex array of
tools and settings we've gone through here is too much palaver. Sometimes you
just want to encode your file and go, without worrying whether you've built a
graph file correctly (whatever that is).
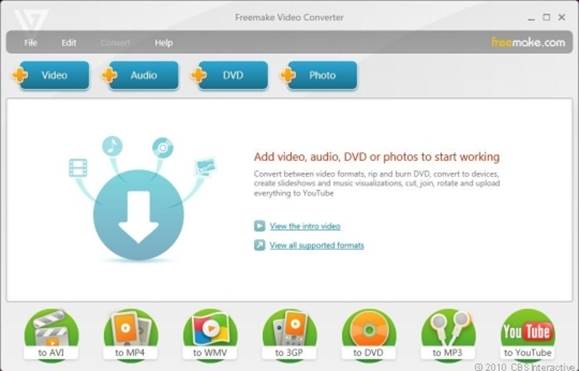
For these jobs, we highly recommend
Freemake Video Converter from www. freemake.com. When you're installing the
program, be careful to avoid all the junk - that's how the developer can offer
such a professional package for free.
For
these jobs, we highly recommend Freemake Video Converter from www.
freemake.com.
We've looked at Freemake in the past. With
support for GPGPU and the like, it offers advanced features you'd expect from
commercial software. It makes encoding incredibly fast, too.
It not only supports default file formats
for all your devices, it can also handle creating video for YouTube and
transferring to Blu-ray and DVDs with a long-play option of up to 40 hours.
It’s the best one-click video converting solution.
Filters, muxers and codecs
There never was so much downloading and
installing
1.
Video killed everyone
You may have heard of FFDShow and Haali
already. You might have them as part of the CCCP codec distribution, but you'll
need to get them again as standalone installs. Opt for 32-bit versions. FFDShow
is from http://bit. ly/RPbHG4, while Haali Media Splitter, also known as
Matroska Splitter, is available from www.haali.su/mkv. While you're at it, also
grab AviSynth from www.avisynth.org/mediawiki.
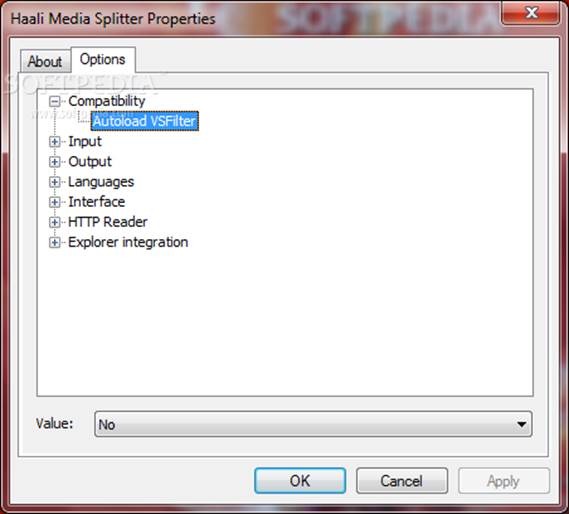
Haali
Media Splitter Properties
2.
Configure settings
FFDShow needs a couple of decoding settings
defining. Select 'Start > All Programs > ffdshow > Video Decoder
Settings'. Look under the Default Codec section and find 'MPEG-2'. Set Decoder
to Tibmpeg2' and VC-1 to 'libavcodec'. This ensures everything you might
encounter in this guide is covered. Finally, download AvsP from http://bit.ly/
P6eg85 and extract it. We'll need it later.
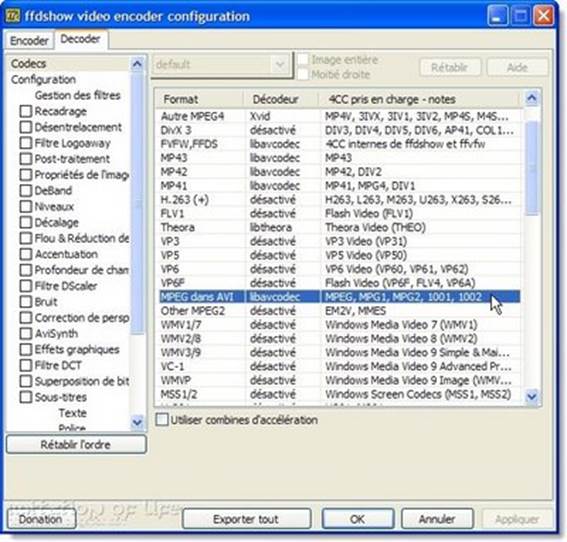
Select
'Start > All Programs > ffdshow > Video Decoder Settings'. Look under
the Default Codec section and find 'MPEG-2'.
3.
MeGUI updates
The de facto encoding tool at the moment is
MeGUI, which is based on a comprehensive encoding tool called Mencoder. You can
grab this from http://sourceforge. net/projects/megui. We suggest you extract
and run MeGUI.exe, as it'll need to update itself, which can take a little
while. The last piece of the puzzle is GraphStudio. Download it from
http://bit.ly/PGsbxp and extract it.
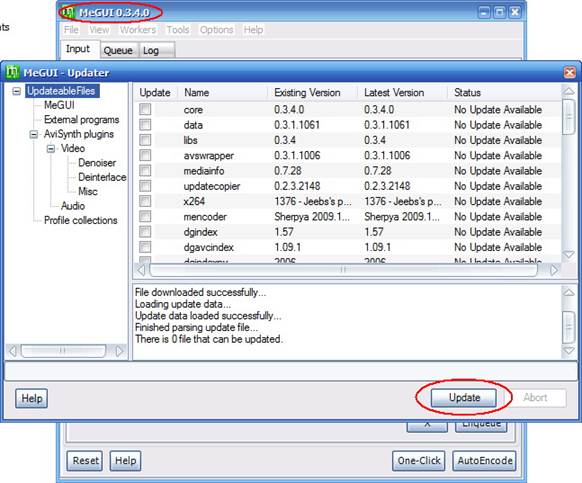
MeGUI
updates