Got your software? Good, now prepare to get
very confused.
1.
Get graphing
Fire up GraphStudio, which is a complex bit
of DirectXShow voodoo. Select ‘Graph > Insert Filter' under the default
DirectShow selection, then double-click ‘Haali Media Splitter; click 'Browse'
and select your video. Now repeat the process, but double-click 'ffdshow Video
Decoder’. Two boxes are now displayed in the window. Use your mouse to drag a
line from the file's Video pin to the FFDShow In pin.
2.
Graphs and Scripts

Select 'File > Save graph (.GRF)’ and
name it video.grf. Now delete the two boxes and repeat the whole process, but
select 'ffsshow Audio Decoder' and name the graph file audio.grf. Start AvsP,
then drag the video.grf and audio.grf files to the AvsP window individually.
Just before each closing bracket, add audio=false to the video line and
vldeo=false to the audio.
3.
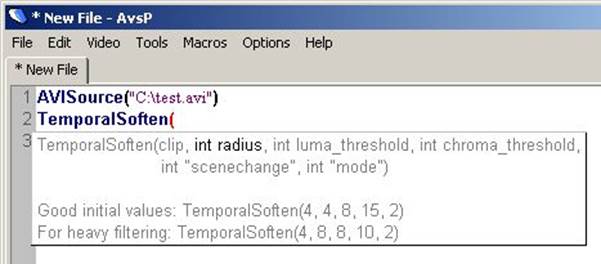
Write the script
At the start of the first line add vid=.
Add aud= to the start of the second line, and on the third line add
AudioDub(vid,aud). On the next line also add ConvertToYV12(), which adjusts the
colour space. We're building a script here that AviSynth will run, which is why
it seems like programming. Technically we just need the video, but having the
audio included too can be handy.
4.
Resize me
The script can resize the video to anything
you like. Add the line Spline36resize(x, y), with x being the new width and y
the new height. After cropping, if the width remains 1,920 you can calculate
the new height with this equation: (cropped.height/1,920) * 1,280. Round the
number to the nearest whole pixel and you should have an aspect-correct image.
5.
Go GUI

Save the script and fire up MeGUI. This is
a complex front-end for the x264 encoder. Under Encoder Settings, make sure
'x264' is set and click 'Config'. Set AVC Level as 'level 4.1', Encoding Mode
as 'Const' and Quality between 18 and 21 -18 being best. Tick 'Show Advanced
Setting > Analysis' and set ‘Subpixel refinement' to 08.
6.
Twiddle your thumbs

Set File Format to 'MKV' and drag your AVS
script to the top AviSynth Script box. Check the video output location and
name, and see the tip on p75 for how to test a short clip. Click the top
'Queue' button to encode the video, and use the bottom button to encode the
audio. The video will lack audio - see the next walkthrough to fix that.
Getting in a muz
It's time to add the audio back in. Sound
good?
1.
Yet another tool

Let us introduce you to MKVToolnix, which you
can download and install from www.bunkus.org/videotools/mkvtoolnix. This tool
will enable you to extract and combine all manner of streams within any number
of container files. Our aim here is to take the old video's audio and then add
it to the new encoded file. This is called muxing. Open the Start menu and find
MKVmerge Gui
2.
Cross the streams

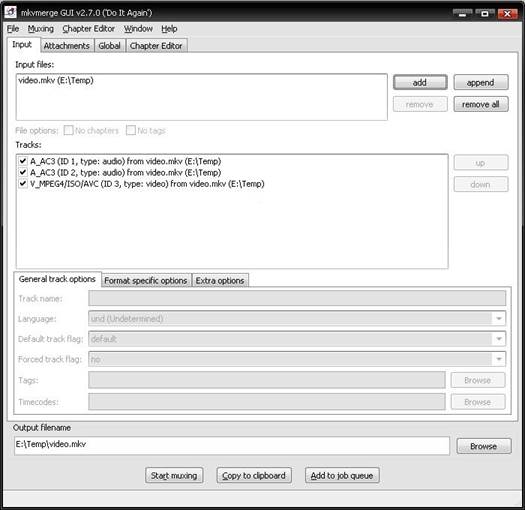
The muxing process is straightforward - you
just need to add the files to the input files section at the top of the sreen.
As you do this, the various tracks and elements contained within them are
displayed as a whole below. Once you've added the two files, deselect
everything, then select the video stream from your new MKV file and the audio
track from the original file.
3.
Muxing around

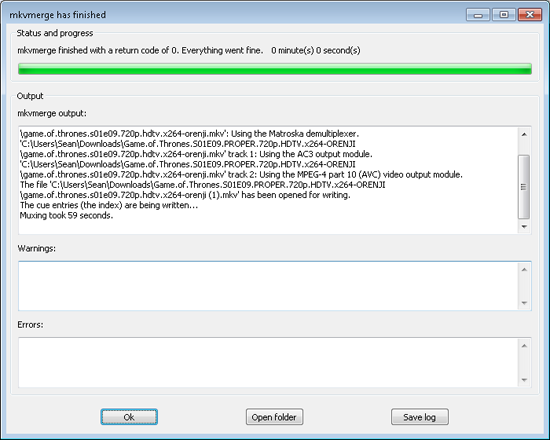
Enter a final output file name and location
in the bottom box, then click 'Start muxing'to generate the final file. It
shouldn't take long. Once it's finished, test the file and make sure the audio
syncs correctly - skip near to the end of the video to check. There can be
slight discrepancies, in which case you might want to use the next step and mux
in the remixed audio.
4.
Using audio tracks
Despite its name, this package doesn't just
handle MKV files - it's possible to add a huge range of audio tracks to the
Input Files section, from AC3 and AAC to the various DTS tracks. These can then
be muxed into the encoded video file. If you're taking this track from MeGUI
then you can be sure that its timing is exactly the same as the encoded video
track.
Just the basics
If you thought all that was complicated
enough then prepare to be terrified - we haven't even scratched the surface of
video encoding here! In fact, we've probably taken a couple of shortcuts to
keep this tutorial as slimed down as possible.
The authoring tools used in this tutorial
match those offered by professional systems. This means there's an incredible
wealth of options at your fingertips, but we've provided the core standards
here so you can output video at nearly the best possible quality and retain DX
VA compatibility without having to mess around with settings and options too
much.
For example, we skipped over the handy
subject of cropping. Adding the line (0,0,-0,-0) to the AVS script crops out
black bars. The numbers here refer to the number of pixels to be cropped from
the left, top right and bottom. To confuse matters, the remaining number of
pixels needs to be divisible by 16 without leaving a remainder, so adjust the
crop amount (usually upwards) to suit if required.
We're happy to admit that this route is not
by any means the fastest. In fact it's pretty darn slow, but quality is the key
here not speed. If you're after speed, check out the Freemake Video Converter,
which can hammer through conversions in a matter of seconds. Bizarrely, this
high-end x264 encoding tool - despite supporting as many cores as you can throw
at it -actually degrades the encoding quality as the number of threads
increases.
If you take time to check out the sites
some of these tools are taken from, you'll find out just how versatile this
system is for encoding video. As long as you have the audio, video and subtitle
files on your system then you'll be able to encode and mux them together at any
resolution, in almost any format that takes your fancy. If the source is of a
sufficiently high quality then you can be guaranteed a crystal-clear encode.