l’ve recently taken the plunge and upgraded
from Windows 7 Professional to Windows 8 Pro. It’s taking a little getting used
to, but on the whole I’m happy with it. Happy, that is, apart from my discovery
that several features are no longer available since the upgrade. I was prepared
for the Start Menu to disappear, but I was a little more surprised to find
Media Center was gone, along with Windows XP Mode and all my desktop gadgets. I
used several gadgets and had files and settings saved inside the Windows XP Virtual
machine, which I hope have not been deleted. Is there any way to get these
features back in Windows 8?
You’re right that several features in
Windows 7 Professional are no longer present in Windows 8 Pro. Furthermore, the
upgrade process gives you no warning that these features will be removed.
Fortunately, most of the features can be
reinstated using third-party apps.
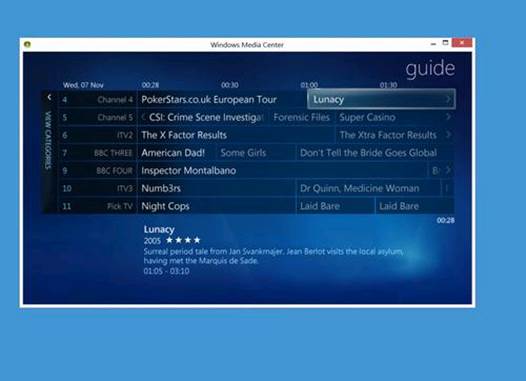
Windows Media Center
Windows Media Center has been taken out of
the core Windows distribution and made available as a paid-for extra. However,
the add-on is free for Windows 8 Pro users until 31 January 2013.

Windows
Media Center
Head to tinyurl.com/c7ahxfo and enter your
email address. Microsoft will send you a product key to enable the feature.
Windows XP Mode
Windows XP Mode is trickier to deal with
than Media Center. As you’re no longer running Windows 7 Professional, you
won’t be able to download and install it.
Thankfully, the upgrade process doesn’t
delete your Windows XP Mode virtual disk. The original XP installation is
stored in a .vhd file, which you will usually find in C:\Program Files\Windows
XP Mode.
This is a clean installation of Windows XP
and doesn’t contain any changes you might have made by installing programs or
adjusting settings. It’s still possible to retain those; find out how at
tinyurl.com/cs6cLzc.
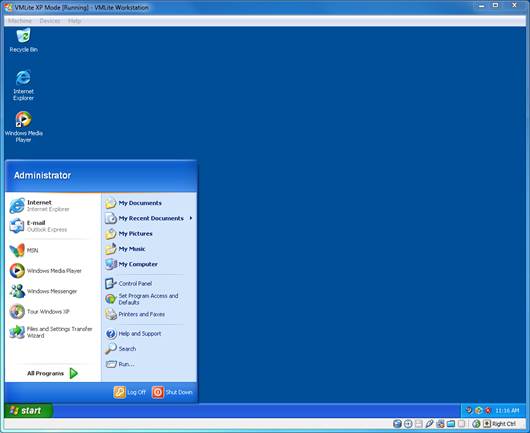
VMLite XP Mode
While most virtualisation software runs as
well on Windows 8 as it does on Windows 7, you’ll need a specific version of
the software to handle the activation of the XP Mode installation. VMLite XP
Mode, free from vmlite.com, is one such solution.
Download and install VMLite XP Mode, then
follow the instructions to import your Windows XP Mode installation.
By default, VMLite XP Mode will import the
base XP Mode .vhd file. You’ll need to manually install the VMLite Guest
Additions by choosing ‘Install Guest Additions’ from the Devices menu. Follow
the onscreen instructions and reboot the virtual PC.

VMLite
XP Mode
Windows start menu
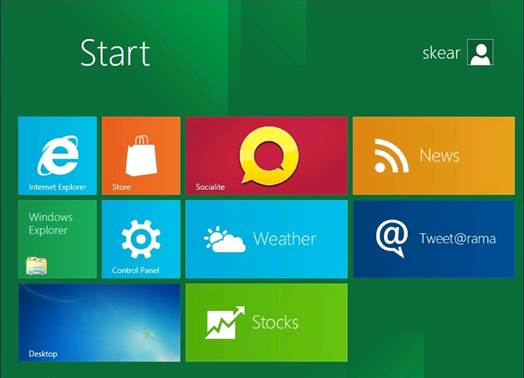
With the Start Menu officially
discontinued, you’re forced to instead use the new Modern Ul Start screen.
You’ll probably find you get used to it far more quickly than you would expect.
However, if you really want to stick with the old system, or if you want to
maintain a consistent interface between a network of Windows 7 and 8 PCs, you
can use a third-party program to reinstate the familiar Start Menu.

Windows
start menu
One such program is Start8 from Stardock
(stardock.com). It costs $4.99 (around £3), but offers a configurable Start
Menu that can be displayed in a traditional Windows 7 format or as a smaller
pop-up version of the Start screen. It also lets you go straight to the desktop
on bootup.
There are also free alternatives, such as
Classic Shell (classicshell.sourceforge.net) and Power8 (tinyurl.com/bxey559).
Gadgets in Windows 8
If you used of any of the desktop gadgets
in Windows 7, you will have noticed that they are no longer available in
Windows 8. Microsoft has ceased support for gadgets under the new OS.

Gadgets
in Windows 8
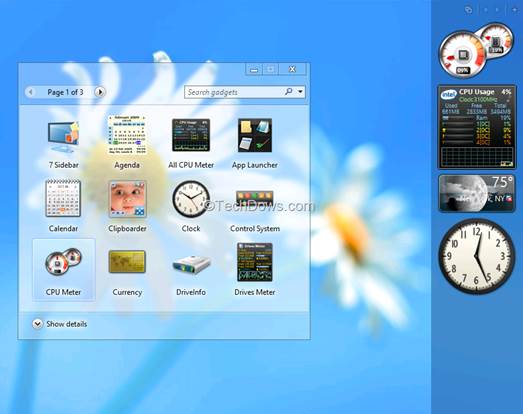
There’s no official way to reinstall your
gadgets, but you can get them back by installing a free utility called
8Gadgetpack, available from tinyurl.com/9mhmjdj.
Installing this utility will create a
gadget sidebar to which you can add any of the gadgets you had previously
installed in Windows 7, without you having to download them again. All user
settings should also be preserved. If you don’t like the sidebar, you can close
it and place the gadgets directly on the desktop.
You should be aware that Microsoft removed
support for gadgets as a security precaution, although you’ll be no less secure
as you were using them under Windows 7. Do some research before installing any
gadgets you find online, given that the official repository is now gone.
Can’t shut down
Since upgrading my PC from Windows 7 Pro to
Windows 8 Pro I’ve been able to shut down properly. I select Shut down, but
every time the PC restarts itself. I’ve resorted to holding down the power
switch, but Windows now thinks it’s having problems starting up and is
attempting to repair the issue. What can I do to fix this?
This problem can occur for a number of
reasons. Sometimes it’s caused by devices such as over-sensitive USB mice,
which are configured to wake the system from sleep when they pick up
vibrations. Other times it can be due to faulty device drivers.
Given that the system was working correctly
before the upgrade, a likely culprit in your scenario is the new Hybrid
Shutdown mode offered by Windows 8. We’ve seen this happen on a system where
hibernation had been previously disabled, causing some confusion when the
system was upgraded; the Windows 8 Shut down procedure, which uses a new form
of hibernation, failed.
To check your own system, go to the desktop
and press Windows, X, then select Power Options. Now click ‘Choose what the
power button does’.
Look under Shut down settings. Here, you
would usually find an option for ‘Turn on fast startup (recommended)’. If this
option is missing, hibernation is probably disabled.
To enable hibernation, open a command
prompt using the Administrator account and type powercfg /H on. Now restart the
system and return to the Shut down settings to see whether the fast startup
option has appeared. Select this option, then try shutting down the system. You
don’t need to enable the Hibernate option in the list. With any luck it will
now shut down correctly.
Other users have cured shutdown problems by
disabling fast startup.
Managing SSD space
My PC is fitted with a 60GB SSD. The OS is
installed on this, and most of my other files are stored on a 1TB hard drive. I
love the speed the SSD provides, but no matter how much I try to keep it clear
my C drive is almost full. I’ve used the Windows Disk Cleanup and CCIeaner, but
I don’t want to have to keep manually running these processes.

Managing
SSD space
Running out of storage space is a common
problem with smaller-capacity SSDs. Windows loves to save temporary files and
all sorts of other information to the Windows system drive by default, so even
if you install all your applications on a different drive your boot drive will
fill up over time.
One way to get around this problem is to
identify the folders that are becoming full and move them to your secondary
drive by creating a junction. A junction functions much like a shortcut, except
that all references to the original location are silently directed to your
secondary drive, without the application needing to know what’s going on.
Indeed, when viewed via File Explorer or
from any application, your files and folders will still appear to reside on
your SSD.
You’ll need to do a little bit of command
line work to set this up, but Windows has the required tool built-in.
Assuming you have a folder on drive C
called ‘BigFolder’, we can move it to drive D and then create a junction.
First move the folder to D:\BigFolder, but
keep an empty folder on C called BigFolder.
Open a command prompt with Administrator
privileges and type mkllnk /D C:\BigFolder D:\BigFolder.
Now if you look inside C:\BigFolder, you
will see the contents of D:\BigFolder. Windows and applications can continue to
use C:\BigFolder as before, but no space is actually consumed up on drive C.
It’s best to keep these links to a minimum
and use them only where necessary. Don’t attempt to use this trick with any
components of Windows itself or you may run into problems, and you should
definitely avoid creating infinite loops by linking to folders to other folders
within themselves.