Create an attractive document with a few
image tweaks
Documents can look bland and boring with
just paragraph after paragraph of text. Adding images to a document not only
adds a strong visual element, but it also breaks up the text. When you import
an image in to a document, you might find the app formats it in a weird way,
often leaving the image in an odd location. Using the Kingsoft Office app, you
can easily alter the location of your images, and even resize them for a better
fit. Follow this tutorial and you'll be creating visually exciting documents in
no time.

Using
the Kingsoft Office app, you can easily alter the location of your images, and
even resize them for a better fit.
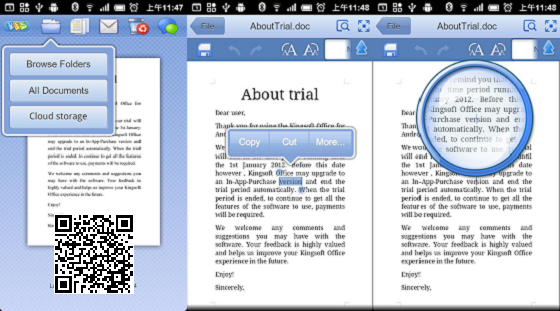
1. Open a document
Moving images in a document is a fairly
easy process once you’ve got all the images you need. Construct your document
by adding all the text you want, and then by importing all the necessary
images. After doing this you’re ready to start moving the images around.

Open a document
2. Zoom in further
To start moving an image you will first
need to squeeze two fingers together on your screen to zoom in closely on a
specific part of the document. From here you can select any image you want to
move around without accidentally selecting a different image.
3. Select an image
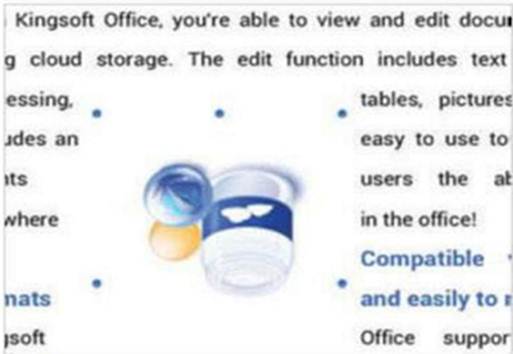
You can select an image by simply pressing
it. Blue dots will appear around the edge of the image to show it has been
selected. Zoom out of the document so that you can have full access in moving
it, and see how the text formats around your image of choice.

Select an image
4. Move the image

Move the image
By dragging the image across the screen,
you can place it anywhere in your document. As you move, the text will wrap
around it, meaning the layout of your document could drastically change. Use
the blue dots to resize the image and change the orientation of it.