The auto application activation in the
Office 365 set on desktop, the interface display error, the annoying spelling
error announcement and no zooming feature are common problems of the Office 365
in the “cloud”.
The Office 365 automatically activates applications on
desktop
By default, when the user clicks on the
application names to create a file in the web browser, a new tab will appear.
However, if you used to choose “Create in word”, this means editing a new file
with the Word application in the Office 365 package installed on Windows. This
option will be saved for later works. Therefore, if you want to create a new
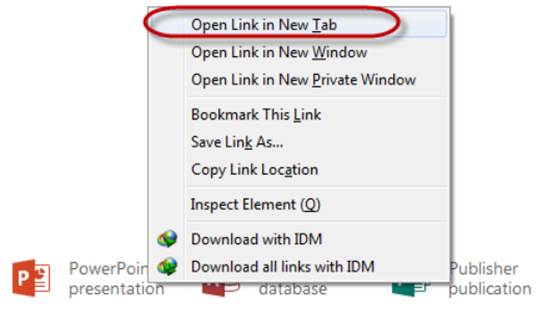
file in the web browser, right click on the application names in the list and
choose “Open Link in New Tab”.

How
to edit a new file with Office 365 on the web browser if desktop apps are set
open by default
The displaying error of the cloud Office 365
This error usually occurs when the user’s
web browser is not installed with the full extensions to support displaying
subjects of the main interface. Microsoft has taken the full advantage of the
newest technology, especially the HTML5, for the Office 365. Therefore, the
user should up to date the newest version of the browser, install fully the new
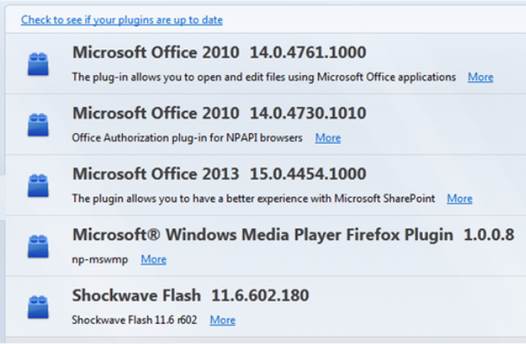
plug-in Flash Player and Silverlight.

Some
necessary plug-ins for the cloud Office 365 to be able to operate in the web
browser
The annoying spelling and grammar error announcements
Just like other Office on desktop, the
Office 365 also has the feature of checking for spelling and grammar, but it is
just useful only if the document is edited in English. If you want to get rid
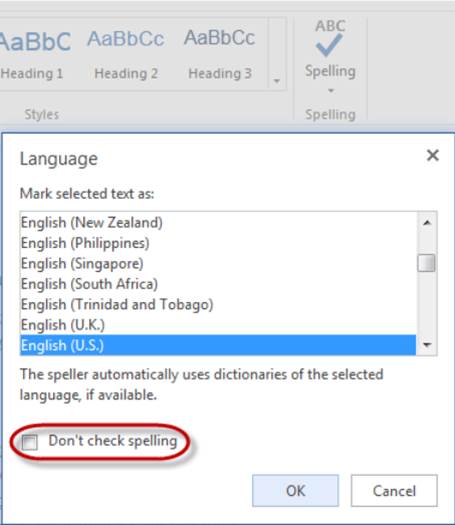
of these annoying waves, in the Home tab, you will see the Spelling section,
choose “Set Proofing Language” and then “Don’t check spelling” (with the cloud
Office 365); or choose File, Options, and choose Proofing tab, eliminate all of
the checks in the “When correcting spelling and grammar in Word” section (with
the Office 365 version on desktop).

Get
rid of the checking for spelling in Office 365
Cannot zoom the document for checking
After finishing the edition, the user may
want to zoom in the document to read easier and checking for errors (if there
is). However, in the cloud Office 365, this feature no longer exists. Therefore,
if you want to zoom in the content to read and review, the user should take
advantage on the zooming function of the browser. Usually, all you need to do
is holding the Ctrl button and scroll the slider on the mouse simultaneously.
Then, all of the web interface will be zoomed in, from the document content to
the menu bar and toolbar.
Problem when installing Office 365 on desktop
The Office 365 just enables the user to
install it online so the waiting time must be very long. Before the installation,
Office 365 will check the system very carefully, if it detects any “remnant” of
the old Office version, it will immediately announce error. To solve this
problem, the user needs to install an error correcting tool. Then, enable and
press Fix, agree with everything that the program requires to interfere.
Finish, you then can install it normally.