Whether you’re moving, building an
extension or buying furniture, visualizing a home in 3D will help you buy or
build with confidence. We lays down the groundwork
People tend to put a lot of thought into
how their home looks, but it’s just as important to think about how it
functions. A table might look gorgeous in the shop, but is it the right size
for your dining room? Have you got your extension plans cracked, or will moving
a door 50cm to the right transform how you use the space? Put simply, there’s
only so much you can do with a tape measure and your imagination. Eventually,
you’ll need to sketch it out, and what better way than to sketch it in 3D?
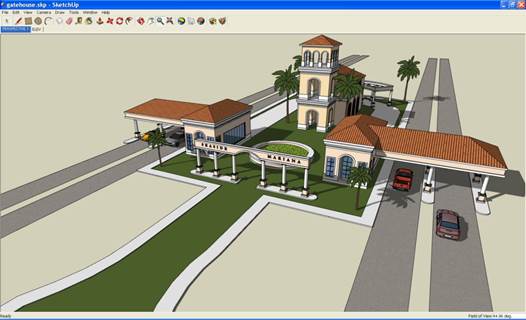
Three-dimensional
modeling used to be mind-numbingly difficult, but that all changed with the
arrival of SketchUp
Three-dimensional modeling used to be
mind-numbingly difficult, but that all changed with the arrival of SketchUp. In
2006, Google bought this innovative software and released a free version. In
April 2012, it was sold to Trimble Navigation, but it’s still free; you can
download it from www.sketchup.com. You
can use SketchUp to build a model of your entire house. We’ve found it easier
to use it for individual items of furniture, then bring the models together in
another free application called Sweet Home 3D, which lets you design rooms and
fill them with furniture. It’s perfect for quickly trying out different ideas,
and you can download it from www.sweethome3d.com.
Here, we’re creating a model of a bookcase
that we’re considering buying for our living room. We’ll need to know its
external dimensions and have some photos from which to work. If these aren’t
available online, you can take your own photos and measurements in the shop.
1.
Launch SketchUp, click on the figure that
appears by default in blank projects and hit the Delete key. We’ll start be
creating a bookcase. Select the Rectangle tool and click the point where the
three axes intersect. Move the mouse and click elsewhere to create a horizontal
rectangle. Don’t hold the mouse button down as you move it; you just need to
make a click at the start and another at the end. As you create this rectangle,
its dimensions will appear in millimeters at the bottom-right of the screen.
However, it’s virtually impossible to create exact dimensions in this freehand
approach. Instead, after creating the rectangle, simply type in the width and
depth of the bookcase in millimeters, separated by a comma, and hit Return.
To turn this
rectangle into a cuboid, select the Push/Pull tool, represented by a box with
an arrow pointing upwards. Click on the rectangle, move the mouse upwards and
click again. Type in the height of the bookshelf and hit Return.

The
two most useful ways to navigate your model are the Orbit tool (two blue
orbiting arrows) and the mouse scroll wheel to zoom in and out
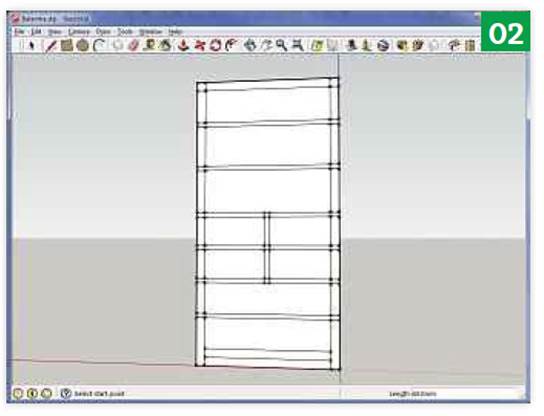
2.
The two most useful ways to navigate your model
are the Orbit tool (two blue orbiting arrows) and the mouse scroll wheel to
zoom in and out. Use them to get a view of the front of the bookcase, then use
the Rectangle tool to divide the front surface to create shelves, side panels
and so on. At this stage, you’re creating a 2D image on one side of the cuboid.
Exact measurements aren’t crucial, but it’s worth typing in values to ensure
symmetry and maintain round numbers. New rectangles will snap to existing
points and lines, and to the midpoint between two intersections.
At
this stage, you’re creating a 2D image on one side of the cuboid. Exact
measurements aren’t crucial, but it’s worth typing in values to ensure symmetry
and maintain round numbers.
3.
Select the Eraser tool and click on any lines
you want to remove. To give the shelves depth, select the Push/Pull tool, click
a surface, move the mouse and click. Type in a value for the distance (ideally
a little less than the depth of the case) so each shelf is the same depth.
Pushing as far as it will go will create a hollow space through to the other
side, which is how we created the space at the bottom.

Select
the Eraser tool and click on any lines you want to remove
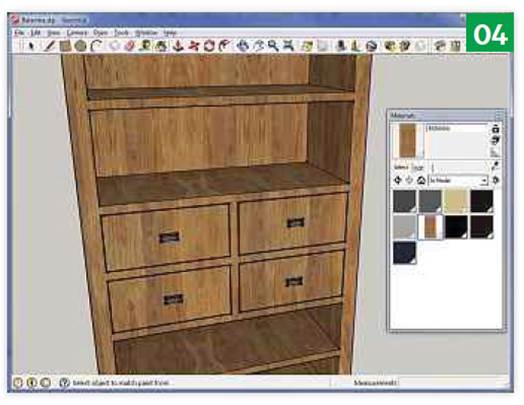
4.
Click the Window menu and select Materials. A
floating panel will appear showing colors and textured fills, arranged into
categories. Click on a material and the Paint Bucket tool is selected, ready to
apply to your model. Each surface of the model can be given a different
Material. If you want to apply the same one to the entire model, type Ctrl-A to
select all before clicking the model to apply.
.
Click on a material and the Paint Bucket tool is selected, ready to apply to
your model.
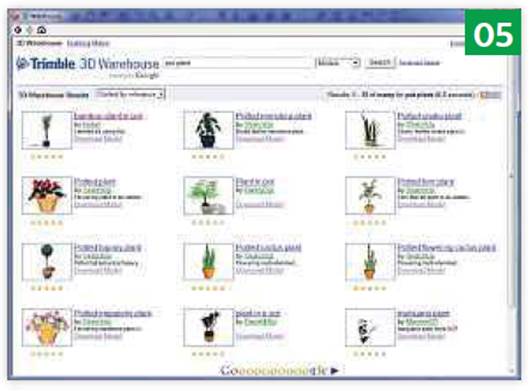
5.
A bookcase is an easy model to create, as it’s
just a cuboid with sections cut out. The same applies to tables, desks and
wardrobes. SketchUp is capable of more complex shapes, though. It’s worth
watching the video tutorials, as there are lots of tools and tricks but not all
of them immediately obvious. Alternatively, dip into the 3D Warehouse, where
other SketchUp users have shared designs for sofas, pianos, plants and lamps.
You can resize an object when you import it into Sweet Home 3D. start a new
project, click the Get Models button (an open box with a yellow arrow) and use
the search facility. Click Download Model, Yes to load it into SketchUp.
Export the model
by clicking the File menu, Export, 3D Model. Choose COLLADA File (*.dae) as the
file type and save it to your hard disk.
A bookcase is an easy model to create,
as it’s just a cuboid with sections cut out