iMovie secrets
75.
Avoid unwanted video resizing
When you import your videos you’ll be given
two size options. The smaller option will take less time to import and export,
but the quality will be lower – we would almost always suggest going for the
full option to avoid automatic resizing.
76.
Skip between clips fast
If you’re editing a long movie and want to
quickly skip between clips without scrolling and clicking, hold down the Cmd
key and hit the left or right arrow button to jump between clips and
transitions quickly. When you do this, the clips will be selected so you can
immediately do what you want with them.

77.
View Timeline in a single row
To view your video in a more traditional
way, first open Preferences>General and check the Show Advanced Tools
option. Now go back to your project and hit the button in the top-right of the
Project window to view your Timeline in a single row.
78.
Resize Thumbnails
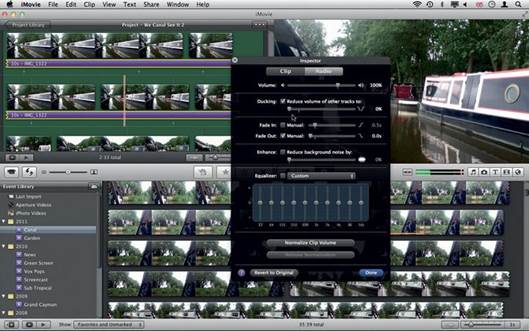
There are two sliders in the iMovie window:
one changes the clip’s displayed time, while the other controls the size of the
thumbnails in the iMovie window. The latter is often completely missed, but
it’s a great way of checking which clips are which without playing them all.
79.
Change clip timing to frame counts
For first-time iMovie users, the counter at
the bottom of the screen is easy to use and understand, which is great.
However, as you become more knowledgeable, you need more control, and this
comes in the form of a frame counter. You can switch this feature on in the
General section by checking the box next to Display time as HH:MM:SS:Frames.

GarageBand secrets
80.
Use the EQ Analyzer
To open the Visual EQ effect, double-click
a track’s header and choose Edit from the info panel on the right. Click the
Visual EQ option and you can manually adjust the equalizer settings and set the
EQ to analyses your track so you can see exactly which adjustments are needed.
81.
Change multi-track view
GarageBand has the ability to record up to
eight real instruments and one software instrument simultaneously, which is
more than enough for recording a full band in one sitting. To activate and set
it up, choose Track from the menu bar, and then click Enable Multi-track
Recording. This will make a small red button appear next to each track, and you
can click this to activate the tracks you want to record simultaneously. Hit R
on your keyboard to start recording.
82.
Copy and paste with Alt
If you’ve created a section of a track that
you want to copy and paste later in the song, you don’t have to use multiple
keyboard shortcuts to do it. Select the area you want to copy, then simply hold
the Alt key as you click and drag it. Now drop it where you want!

83.
Change your account information
GarageBand will automatically use the
information stored on your Mac when it comes to adding information about your
track. You can change this information to whatever you like, however. Do it by
opening up Preferences and choose the My Info tab. You can input your own
Artist, Composer and Album Name, as well as naming the new iTunes playlist the
track will be added to.
84.
Edit a movie’s audio track
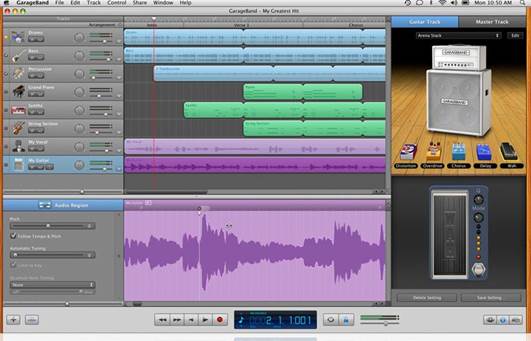
You can use GarageBand to fine-tune or
completely edit the audio tracks in your movie projects. Open GarageBand and in
the New Projects section choose Movie. Then, import the video you want to edit from
the menu on the right of the screen to see the audio tracks displayed below
their thumbnails. It offers much greater control over your audio than iMovie,
so it’s well worth a try for even more professional results.

You
can use GarageBand to fine-tune or completely edit the audio tracks in your
movie projects.
iWork secrets
85.
Temporarily disable guide lines
Dragging objects around in iWork will make
them automatically lock into guide lines on the page. Whether they’re aligning
with the center of the page itself, or aligning with the other objects that
you’ve added to your page, they can often make it hard to position things
precisely where you want them. To stop objects sticking to the lines
temporarily, hold the Cmd button while you drag them around.
86.
Password protect documents
If you want to keep documents secret, you
can request a password for the document you’re working on to be opened. To do
this, open the Inspector and in the first tab check the box marked require
password to open. You’ll be prompted to create a password and add a hint, and
once this is done your document will be secure.

87.
Export Pages as Microsoft Word documents
While Pages is a brilliant word processor,
it’s often frustrating that Pages documents cannot be opened and used by
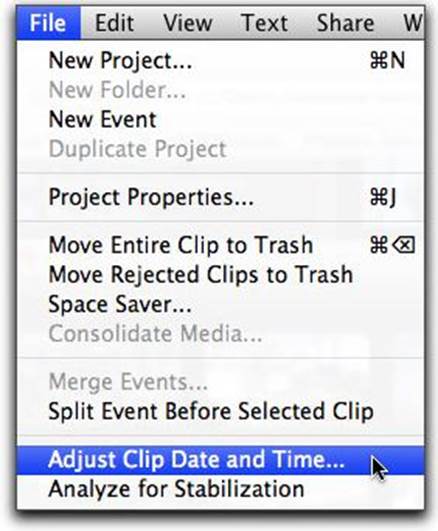
Microsoft Word. Instead, you’ll need to choose File>Export and then select
Microsoft Word from the options.
88.
Add an advanced gradient
Gradients are useful for adding some color
to your work, and with Advanced Gradients you can add multiple colors to your
shapes with smooth transitions. When you create a shape, open the Inspector to
the Graphic inspector section and choose the Advanced Gradient Fill option from
the drop-down box. You can add points to the gradients with different colors,
as well as move the mid-points around.
89.
Multiple inspectors
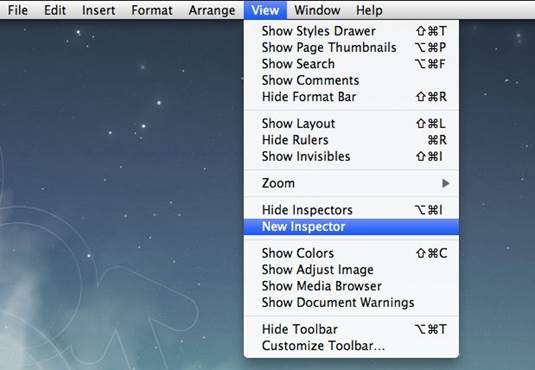
The Inspector is an incredibly useful tool,
but sadly it doesn’t let you see all your controls at once. Thankfully, you can
do this by opening up multiple inspectors, each displaying a different control
section. To do this, hover over the tab you want, hold Alt and click it. A new
Inspector will be opened in that tab – you can have as many open as you like.
